
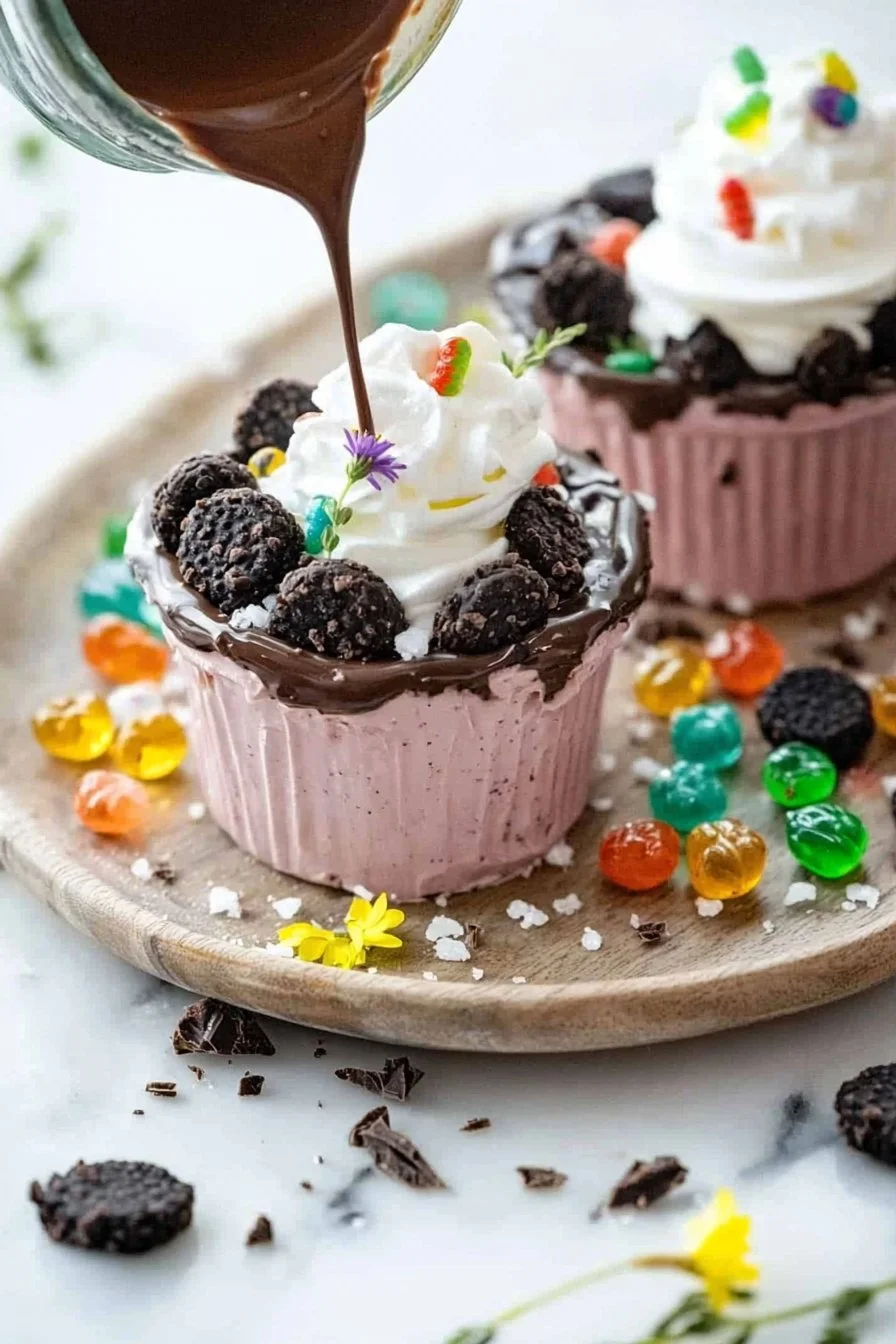
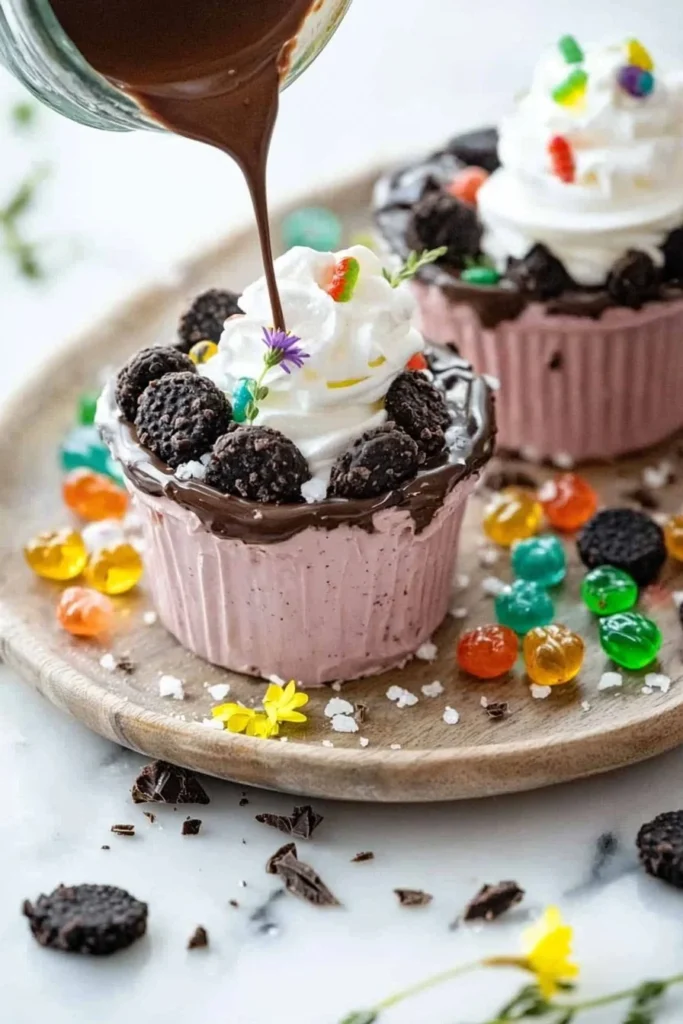
When it comes to desserts that delight both kids and adults alike, Spring Chocolate Dirt Cups take the crown! With a creamy chocolate pudding base layered with crushed cookies, colorful gummy worms, and topped with fluffy whipped cream, these cups serve up a delightful texture that contrasts smooth with crunchy. Picture a warm family gathering when these cups burst onto the scene—everyone’s eyes light up, and laughter fills the air as these whimsical treats are unveiled. Did you know that this dessert has its roots in childhood nostalgia, where dirt pies were a fun creative spin on traditional sweets? They evoke warm memories and are a fantastic conversation starter, much like my beloved No-Bake Cheesecake!
Not only are Spring Chocolate Dirt Cups simple to make, but they are also a charming way to bring smiles to your table. Plus, they can turn any ordinary day into a special occasion. Let’s dive into creating these delicious layers of joy that will have everyone asking for seconds!
What are Spring Chocolate Dirt Cups?
Now, you might wonder where the quirky name ‘Dirt Cups’ comes from. Was it inspired by a gardener’s mishap or perhaps a playful take on a mud pie? The truth is, it’s all in the presentation—these delightful treats are designed to mimic a layer of dirt, but trust me, they’re far from that! Just imagine digging into a cup filled with velvety chocolate with surprise toppings that are as colorful as a spring garden. They say the way to a man’s heart is through his stomach, so why not whip up a few of these at your next family gathering? Get ready to dig in—literally!
Why You’ll Love This Spring Chocolate Dirt Cups
Why settle for a basic dessert when you can indulge in Spring Chocolate Dirt Cups? These treats steal the show with their trifecta of deliciousness: creamy pudding, crunchy crushed cookies, and whimsical toppings. The satisfying combination of textures will tantalize your taste buds, making these cups a must-have at any gathering. Plus, making this dessert at home saves you money while offering a fun cooking experience. Why buy store-bought desserts when you can easily whip up these charming cups?
Imagine enjoying a light version of a traditional chocolate parfait—this dessert gives you the same vibes but with a playful twist! Bring some joy into your home and get started on these delightful dirt cups!
How to Make Spring Chocolate Dirt Cups
Let me tell you, making Spring Chocolate Dirt Cups is a breeze! The layering of the cookie crumbs, pudding, and gummy toppings creates an exciting visual that also tantalizes your palate. Plus, you can whip these up in about 20 minutes, making them an easy and satisfying dessert choice for any occasion.
Ingredients for Spring Chocolate Dirt Cups
- Chocolate pudding: 2 cups (prepared per package instructions)
- Crushed chocolate cookies: 1 ½ cups (Oreo or similar)
- Gummy worms: 1 cup (for the fun element!)
- Whipped cream: 1 ½ cups (homemade or store-bought)
- Plant or flower candies (optional for garnish)
Step-by-Step Instructions
- Prepare the Pudding: Start with your chocolate pudding, following the package instructions to achieve a smooth texture. Once made, set it aside to cool.
- Crush the Cookies: Take your chocolate cookies and place them in a zip-top bag. Using a rolling pin, crush the cookies into small, crumb-like pieces. This will create the ‘dirt’ layer for your cups.
- Layer the Ingredients:
- Grab your serving cups (clear cups work best for presentation).
- Begin by adding a layer of chocolate pudding to the bottom of each cup, approximately 1/3 full.
- Next, add a layer of the crushed cookies, approximately 1/4 of the cup.
- Follow up with another layer of chocolate pudding, filling the cup to about 2/3 full.
- Finish off with a layer of whipped cream.
- Add the Toppings: Top your cups generously with more crushed cookies, and then place gummy worms and any optional edible flowers or plant candies on top for an extra touch of whimsy.
- Chill and Serve: Chill your cups in the fridge for about 30 minutes to set. Serve these delightful treats chilled, and watch their faces light up!
Top Tips for Perfecting Spring Chocolate Dirt Cups
Need a little help with these cups? Here are my top tips to ensure your Spring Chocolate Dirt Cups are absolutely perfect:
- Substitutions: If you prefer a lighter version, opt for sugar-free pudding or low-fat whipped cream. For a gluten-free option, choose gluten-free cookies and pudding.
- Timing: Allow the pudding to cool completely before layering; this prevents the whipped cream from melting.
- Avoiding Mistakes: Be conscious not to over-crush the cookies, or they may become too fine and lose their ‘dirt’ aesthetic.
Storing and Reheating Tips
If you find yourself with some leftovers (though unlikely!), here are some key points to keep your Spring Chocolate Dirt Cups delicious:
- Refrigeration: Store any leftover cups in an airtight container in the refrigerator for up to 2-3 days. Avoid freezing as the texture of the whipped cream may change after thawing.
- Reheating: This dessert is best enjoyed fresh. If you decide to serve it again, simply allow it to come back to a chill in the fridge instead of reheating it.
With all these tips and techniques in mind, you’ll be able to serve up a show-stopping dessert that’s both fun and delicious! Get ready to dig into these charming Spring Chocolate Dirt Cups and make lasting memories with your loved ones. Enjoy!
FAQs
For any questions or additional tips about making the most delicious Spring Chocolate Dirt Cups, feel free to drop a comment below! Happy cooking!
Spring Chocolate Dirt Cups
Ingredients
Method
- Prepare the pudding by following the package instructions to achieve a smooth texture. Set aside to cool.
- Crush the chocolate cookies in a zip-top bag using a rolling pin until they resemble small crumbs.
- In clear serving cups, add a layer of chocolate pudding until each cup is 1/3 full.
- Add a layer of crushed cookies, filling each cup to approximately 1/4.
- Add another layer of chocolate pudding, filling each cup to about 2/3 full.
- Finish off with a generous layer of whipped cream on top.
- Top the cups with more crushed cookies and place gummy worms and any optional edible flowers or plant candies on top.
- Chill the cups in the fridge for about 30 minutes before serving.
- Serve chilled and enjoy the delight on your guests' faces!
Leave a Reply