
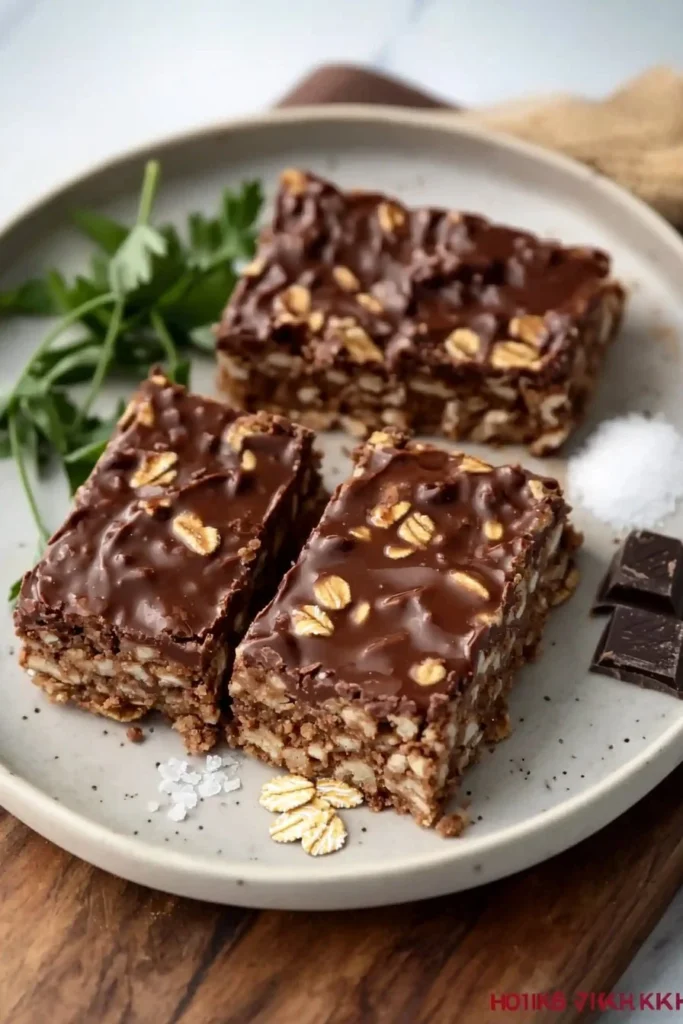
No-Bake Chocolate Oat Bars
Imagine a treat that feels like dessert but hits all the right notes of healthiness and satisfaction—meet No-Bake Chocolate Oat Bars! These delightful bars are a perfect blend of chewy oats and creamy peanut butter, then drenched in luscious dark chocolate. They offer a crispy yet indulgent texture that will have your taste buds dancing with joy.
Fun fact: Did you know that no-bake recipes originated from the need for quick and easy sweets during the roaring ’20s? Families wanted to enjoy delicious snacks without the hassle of using an oven, and what better way to indulge than with a simple bar that you can prepare in minutes? Much like my popular no-bake cheesecake recipe, which is a household favorite for gatherings, No-Bake Chocolate Oat Bars are equally easy and satisfying. They’re sure to bring smiles to your family gatherings or cozy winter evenings. So, roll up your sleeves and let’s whip up a batch of these scrumptious No-Bake Chocolate Oat Bars!
What is No-Bake Chocolate Oat Bars?
No-Bake Chocolate Oat Bars are the superhero of snacks—convenient, delicious, and incredibly satisfying! But why the name? Is it because we’re skipping the oven altogether? Should we be calling them “Magic Bars” instead? I mean, who doesn’t want a little magic in their lives, right? They’re perfect for those moments when cravings hit, and you want something quick but irresistible. After all, they say the way to a man’s heart is through his stomach, and these bars might just win over everyone at your table! Ready to dive in and create your very own treats? Let’s get to it!
Why You’ll Love This No-Bake Chocolate Oat Bars
You’ll fall head over heels for these No-Bake Chocolate Oat Bars for many reasons! First, these bars are incredibly versatile. You can enjoy them as a midday snack or a satisfying dessert after dinner—a delightful addition to any meal. Plus, making them at home offers significant cost savings compared to pre-packaged snacks, which often lack the wholesome ingredients you’re looking for. Is there anything more rewarding than creating something delicious right in your kitchen?
The flavors are out of this world! Imagine the rich, nutty taste of peanut butter combined with the satisfying crunch of oats, all dipped in dark chocolate. Want to kick it up a notch? Top them with chopped nuts, dried fruits, or even a drizzle of extra chocolate. Think of them as the talented cousin of energy bars—just as nutritious but with a delightful twist! So, gather your ingredients, and let’s whip up these delectable bars that you and your loved ones will adore!
How to Make No-Bake Chocolate Oat Bars
Quick Overview
Are you ready for an easy and satisfying treat? No-Bake Chocolate Oat Bars can be whipped up in just 15 minutes of preparation time, leaving you ample opportunity to enjoy their fantastic texture and chocolaty flavor without the fuss of baking. The best part? You’ll only need a handful of ingredients to bring this deliciousness to life!
Ingredients
- 2 cups oats
- 1 cup peanut butter
- 1/2 cup honey or maple syrup
- 1/2 cup dark chocolate chips
- 1/4 cup cocoa powder
- 1 teaspoon vanilla extract
- Pinch of salt
Make sure your peanut butter is smooth and creamy for easy mixing—this ensures the bars come together perfectly!
Step-by-Step Instructions
- Mix Ingredients: In a large mixing bowl, combine the oats, peanut butter, honey or maple syrup, cocoa powder, vanilla extract, and a pinch of salt. Stir until everything is well combined.
- Melt Chocolate: In a microwave-safe bowl, melt the dark chocolate chips in 30-second intervals, stirring between each interval until smooth.
- Combine: Pour half of the melted chocolate into the oat mixture, stirring until fully incorporated.
- Press the Mixture: Line an 8×8-inch baking dish with parchment paper and spread the mixture evenly into the dish using a spatula. Press it down firmly to pack it in.
- Drizzle Chocolate: Pour the remaining melted chocolate over the top, spreading it evenly.
- Chill: Place the dish in the refrigerator for at least 30 minutes to allow the bars to set.
- Cut and Serve: Once solid, lift the bars out using the parchment paper, then cut them into squares or rectangles. Enjoy!
Top Tips for Perfecting No-Bake Chocolate Oat Bars
- Substitutions: If you need nut-free options, try almond or seed butter instead of peanut butter. You can also use agave syrup in place of honey or maple syrup for a vegan-friendly option.
- Timing: Be patient while the bars are chilling; this helps them set properly and makes cutting easier.
- Avoid common mistakes: Ensure you press the mixture down firmly in the dish for the best texture; this will help them hold together when slicing.
Storing and Reheating Tips
These No-Bake Chocolate Oat Bars can be stored in an airtight container in the refrigerator for up to one week, making them an ideal grab-and-go snack. If you’d like to enjoy them later, you can freeze them for up to three months. Just ensure they are wrapped well to avoid freezer burn. For reheating, simply let them thaw at room temperature for a few minutes before serving. You’ll have deliciously chewy bars that are just as tasty as when you first made them!
Ready to create your own batch of No-Bake Chocolate Oat Bars? Trust me, your taste buds will thank you!
No-Bake Chocolate Oat Bars
Ingredients
Method
- In a large mixing bowl, combine the oats, peanut butter, honey or maple syrup, cocoa powder, vanilla extract, and a pinch of salt. Stir until everything is well combined.
- In a microwave-safe bowl, melt the dark chocolate chips in 30-second intervals, stirring between each interval until smooth.
- Pour half of the melted chocolate into the oat mixture, stirring until fully incorporated.
- Line an 8×8-inch baking dish with parchment paper and spread the mixture evenly into the dish using a spatula. Press it down firmly to pack it in.
- Pour the remaining melted chocolate over the top, spreading it evenly.
- Place the dish in the refrigerator for at least 30 minutes to allow the bars to set.
- Once solid, lift the bars out using the parchment paper, then cut them into squares or rectangles. Enjoy!
Leave a Reply