
Homemade Salted Caramel Ice Cream
There’s something utterly delightful about indulging in a scoop of Homemade Salted Caramel Ice Cream. The silky texture melts in your mouth, while the rich, buttery caramel flavor dances on your taste buds, creating a perfect symphony of sweet and salty. Did you know that homemade ice cream was once a luxury reserved for special occasions? It’s true! This creamy treat is not just an indulgence; it’s a family favorite that brings everyone together during those cozy winter evenings. When compared to other popular frozen delights—like classic vanilla or chocolate—this luscious salted caramel version elevates ice cream night to something truly special.
Making homemade ice cream might sound intimidating, but trust me, it’s simpler than you think! No need for an ice cream maker; you can create this delectable treat with just a few household staples. So, put on your favorite apron and get ready to wow your loved ones, because they say “the way to a man’s heart is through his stomach,” and what better way than this creamy creation?
What is Homemade Salted Caramel Ice Cream?
So, what exactly is Homemade Salted Caramel Ice Cream? It’s a dreamy dessert that combines the smoothness of cream with a delightful salted caramel that strikes the perfect balance between sweet and salty. The name might sound fancy, but it comes from the simple idea of adding a sprinkle of salt to sweet caramel. Isn’t it funny how such opposing flavors can harmoniously work together? Imagine scooping a heaping tablespoon of this creamy goodness and getting that first mouthwatering taste. It’s pure bliss! Don’t you want to serve this delicious dessert at your next family gathering? Let’s get started on making some magic in the kitchen!
Why You’ll Love This Homemade Salted Caramel Ice Cream
This Homemade Salted Caramel Ice Cream is undeniably a highlight at any dessert table! Not only does it bring a unique twist to your regular ice cream routine, but it also allows you to save money by whipping up an enticing treat right at home. Compared to store-bought alternatives, where you might skimp on quality, this ice cream is rich, creamy, and incredibly satisfying.
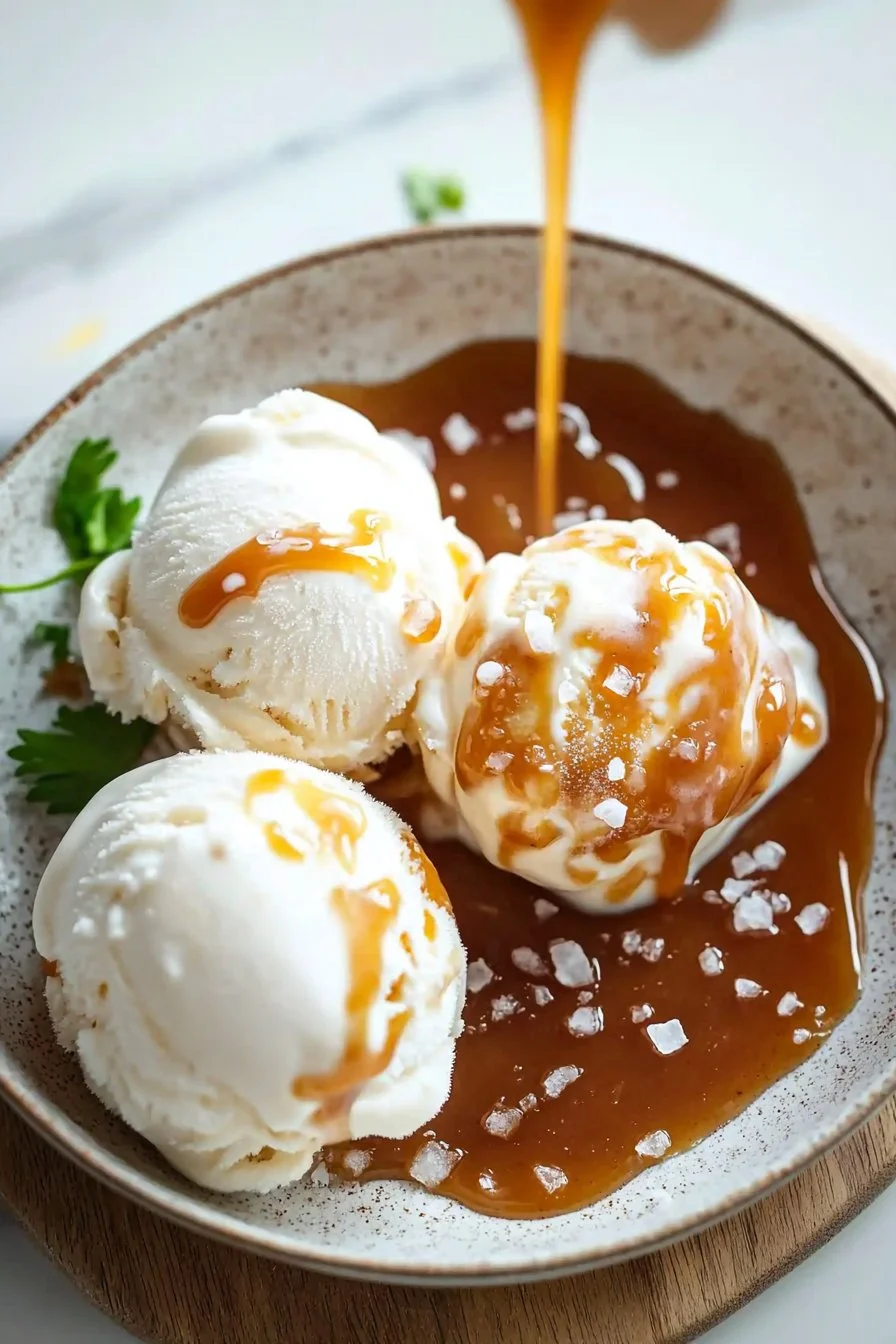
You might be wondering about toppings—oh, there are endless possibilities! From crushed nuts to chocolate shavings, you can personalize your bowl. Picture drizzling more salted caramel sauce over an already creamy scoop, and you can’t help but salivate. If you enjoy pushing the flavor envelope, why not compare it to the classic chocolate chip ice cream? While chocolate chip has its charm, this salted caramel will keep your taste buds tingling with excitement! Ready to impress? Let’s dive into the recipe!
How to Make Homemade Salted Caramel Ice Cream
Quick Overview
Making Homemade Salted Caramel Ice Cream is both easy and satisfying! With a creamy texture paired with the sweet and savory notes of caramel and salt, this ice cream is a treat for all ages. You can prepare this dish in about 20 minutes of active time, with a relaxing freeze phase afterward. So, don’t hesitate—let’s get started on making your own heavenly ice cream!
Ingredients
To get started, you’ll need the following ingredients:
- 2 cups heavy cream
- 1 cup whole milk
- 3/4 cup granulated sugar
- 1/2 teaspoon sea salt (plus more for topping)
- 1 tablespoon vanilla extract
- 1 cup salted caramel sauce
Make sure to use quality ingredients for the best results!
Step-by-Step Instructions
- Combine the Cream and Milk: In a large mixing bowl, whisk together the heavy cream, whole milk, and granulated sugar until the sugar is dissolved completely. It should be smooth and well-combined.
- Add Flavorings: Stir in the sea salt and vanilla extract. Mix until they are evenly distributed throughout the mixture.
- Incorporate the Caramel Sauce: Gradually fold in the salted caramel sauce, but don’t overmix! You want to leave some swirls of caramel throughout the mixture for that beautiful marbling effect.
- Chill the Mixture: Cover the bowl with plastic wrap and place it in the refrigerator for at least 2 hours. This step ensures that your ice cream base is nice and cold.
- Freeze the Ice Cream: Transfer the chilled mixture to an ice cream maker if you have one. Follow the manufacturer’s instructions to churn the ice cream until it reaches a soft-serve consistency. If you don’t have an ice cream maker, pour the mixture into a shallow container and place it in the freezer.
- Freeze Until Firm: For ice cream made without a machine, stir the mixture every 30-45 minutes to break up any ice crystals. After about 3-4 hours, or when the ice cream is firm, it’s ready to serve!
- Serve and Enjoy: Scoop your Homemade Salted Caramel Ice Cream into bowls, sprinkle a little extra sea salt on top, and dig in!
Top Tips for Perfecting Homemade Salted Caramel Ice Cream
- Ingredient Substitutions: If you’re looking to make lower-fat versions, feel free to use half-and-half instead of heavy cream and whole milk. Keep in mind that the texture will be slightly different!
- Timing is Key: Make sure all of your ingredients are chilled before starting; this helps the ice cream set faster and maintain a smoother texture.
- Avoid Common Mistakes: Don’t skip the refrigerating step—it’s essential for a creamy ice cream. Also, stir well during the freezing process if you’re making it without an ice cream maker to avoid ice chunks.
Storing and Reheating Tips
To keep your Homemade Salted Caramel Ice Cream fresh, store it in an airtight container in the freezer. It will maintain its best quality for about 2-3 weeks. If you want to keep it longer, make sure to keep it tightly sealed to avoid freezer burn. When you’re ready to serve, let the container sit at room temperature for a few minutes to soften slightly for easy scooping.
Delight your family and friends with your Homemade Salted Caramel Ice Cream—it’s the perfect combination of creamy goodness and delightful flavors that brings everyone together!

Homemade Salted Caramel Ice Cream
Ingredients
Method
- In a large mixing bowl, whisk together the heavy cream, whole milk, and granulated sugar until the sugar is dissolved completely.
- Stir in the sea salt and vanilla extract until evenly distributed.
- Gradually fold in the salted caramel sauce, leaving some swirls for marbling.
- Cover the bowl with plastic wrap and refrigerate for at least 2 hours.
- Transfer the chilled mixture to an ice cream maker and churn until it reaches a soft-serve consistency, or pour into a shallow container and freeze.
- For ice cream made without a machine, stir the mixture every 30-45 minutes until firm, about 3-4 hours.
- Scoop the ice cream into bowls, sprinkle with extra sea salt, and enjoy!
Leave a Reply