
Easy Pumpkin Pie Crisp
Imagine a dessert that wraps its arms around you like a cozy blanket on a chilly evening. The crunchy, buttery top layer dances with the creamy pumpkin filling, striking the perfect balance of flavors. Easy Pumpkin Pie Crisp invites you to indulge in all the warmth of pumpkin pie, without the fuss of making a traditional pie crust. This recipe is a cinch to whip up and is sure to impress at family gatherings, making it a delightful treat to share.
Fun fact: Did you know pumpkin is classified as a fruit? People often think of it as a vegetable, but it’s indeed one of the sweetest fruits out there! If you loved our popular Apple Crisp, you’ll surely enjoy this twist. So roll up your sleeves, and let’s dive into making this crunchy, flavorful dessert together!
What is Easy Pumpkin Pie Crisp?
So, what exactly is Easy Pumpkin Pie Crisp? Is it a pie? Is it a crisp? Let’s not get too technical here—it’s really the best of both worlds! Picture this: the velvety smoothness of traditional pumpkin pie, but topped with a layered crunch that gives it that much-desired texture. How did we get the name? Maybe because it’s as easy as pie? Or as grandma would say, “The way to a man’s heart is through his stomach!” Either way, this delicious dessert is sure to win over hearts and stomachs alike. So, gather your ingredients and let’s get started on this yummy journey together!
Why You’ll Love This Easy Pumpkin Pie Crisp
Firstly, this Easy Pumpkin Pie Crisp is the star of any autumn-themed family gathering! The combination of spiced pumpkin filling and a crisp topping makes every bite a heavenly experience. Plus, cooking at home allows you to save money—no need to spend on expensive desserts from bakeries!
And let’s talk toppings: a dollop of whipped cream or a scoop of vanilla ice cream turns this dessert into a luxurious experience. Imagine the creamy goodness melting into that warm pumpkin filling—can you feel it? If you’ve enjoyed a classic pumpkin pie before, you’ll appreciate how this recipe brings that flavor to the table with an added crunchy twist. Give it a shot, and enjoy the deliciousness!
How to Make Easy Pumpkin Pie Crisp
Quick Overview
What makes Easy Pumpkin Pie Crisp so special is how simple it is to prepare while still tasting exceptional. The warm, spiced pumpkin flavor combined with a crunchy topping creates a satisfying contrast that’s hard to resist. Preparation only takes about 15 minutes, and it bakes for 30-35 minutes. Perfect for those cozy family nights!
Ingredients
- 2 cups pumpkin puree
- 1 cup brown sugar
- 1 teaspoon cinnamon
- 1/2 teaspoon nutmeg
- 1/4 teaspoon ginger
- 1/4 teaspoon salt
- 1/2 cup all-purpose flour
- 1/2 cup oats
- 1/2 cup butter, melted
- 1 cup chopped pecans or walnuts (optional)
Step-by-Step Instructions
- Preheat the Oven: Begin by preheating your oven to 350°F (175°C). This step is crucial for ensuring an even cook on your Easy Pumpkin Pie Crisp.
- Mix the Filling: In a mixing bowl, combine the pumpkin puree, brown sugar, cinnamon, nutmeg, ginger, and salt. Whisk this mixture until it is smooth and well-blended, then set it aside.
- Prepare the Topping: In another bowl, mix the flour, oats, and chopped nuts. Pour in the melted butter and stir until the mixture resembles crumbly sand.
- Assemble the Dish: Take a baking dish and lightly grease it. Pour the pumpkin filling into the dish, spreading it evenly. Next, sprinkle the topping generously over the pumpkin layer.
- Bake: Place the dish in the preheated oven and bake for 30-35 minutes. The top should be golden brown, and a toothpick inserted into the center should come out clean.
- Cool & Serve: Let the crisp cool for a few minutes before serving. This dessert is amazing warm, especially with a scoop of ice cream!
Top Tips for Perfecting Easy Pumpkin Pie Crisp
- Substitutions: Need to make it gluten-free? Use almond or coconut flour instead of all-purpose flour! For a nut-free option, just leave out the nuts entirely or use seeds like pumpkin or sunflower.
- Timing: Keep an eye on it while baking. Every oven is different, so check for the crispness around 30 minutes.
- Common Mistakes: Please ensure your pumpkin puree is pure and not pumpkin pie filling, which has added sugar and spices. Trust me, it makes a big difference!
Storing and Reheating Tips
If you have any leftovers (which I doubt you will), store your Easy Pumpkin Pie Crisp in an airtight container in the fridge, where it will last for about 3-4 days. For longer storage, you can freeze it for up to 2 months. To reheat, pop it in the oven at 350°F (175°C) for about 10-15 minutes. This helps restore that delightful crispness on top while warming the filling to perfection.
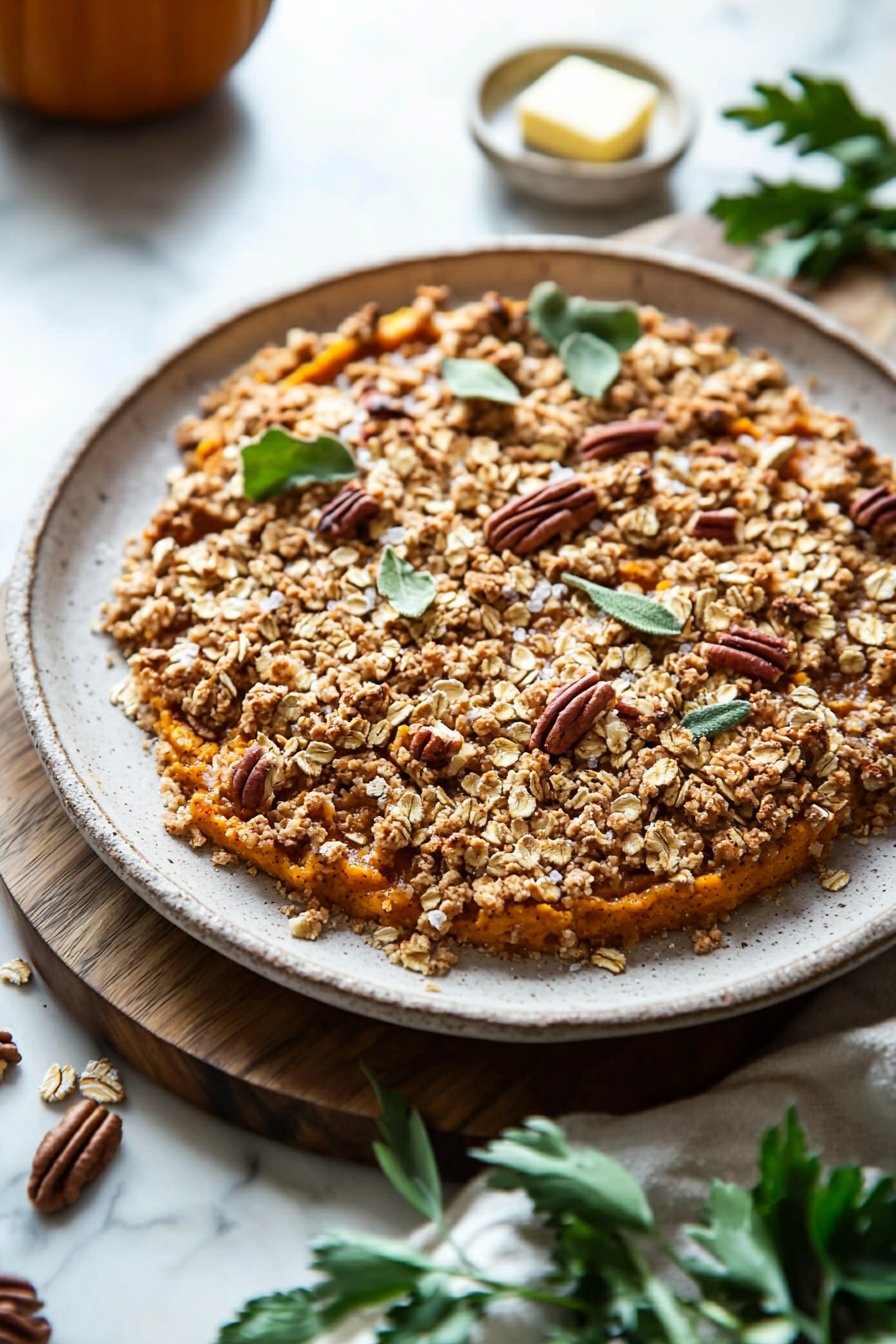
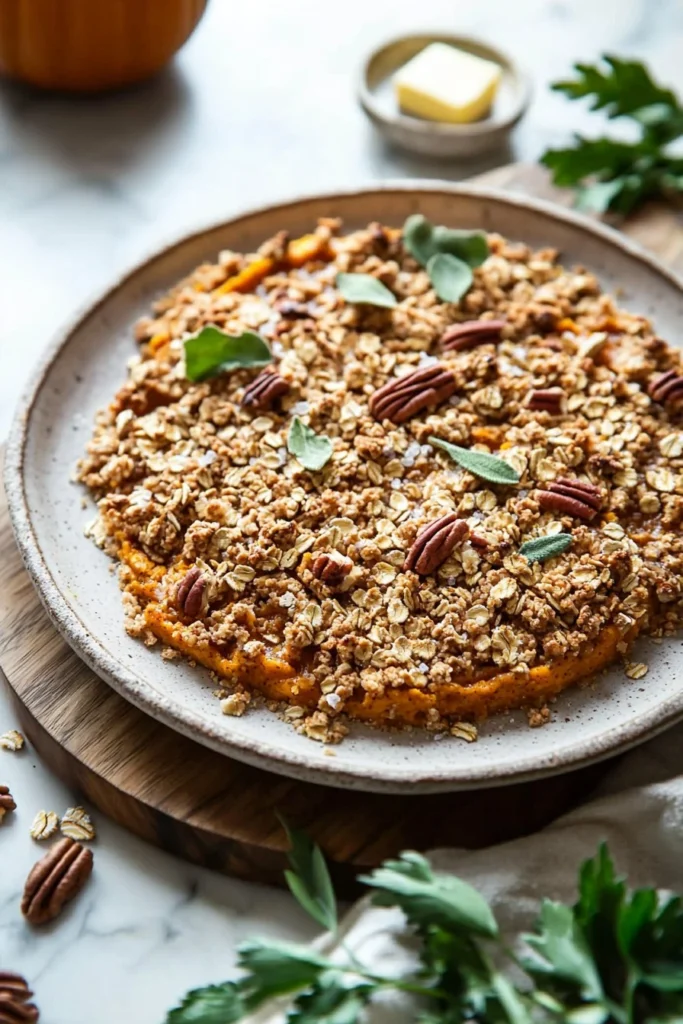
This Easy Pumpkin Pie Crisp is a delightful treat encapsulating the essence of comfort food. Friendly, approachable, and packed with flavor, this dessert will surely be a hit with family and friends. Enjoy making and savoring every bite!
FAQs
Can I use fresh pumpkin instead of canned?
Yes! Just make sure to thoroughly cook and puree the pumpkin until smooth.
What type of oats should I use?
Rolled oats work best for the crisp topping, providing the right texture.
Can I top it with something else?
Absolutely! Whipped coconut cream or a drizzle of caramel sauce are excellent alternatives!
Try this recipe for your next family gathering, and watch everyone reach for seconds!
Easy Pumpkin Pie Crisp
Ingredients
Method
- Preheat your oven to 350°F (175°C).
- In a mixing bowl, combine the pumpkin puree, brown sugar, cinnamon, nutmeg, ginger, and salt. Whisk until smooth and set aside.
- In another bowl, mix the flour, oats, and chopped nuts. Pour in the melted butter and stir until the mixture resembles crumbly sand.
- Lightly grease a baking dish, then pour the pumpkin filling into it, spreading it evenly. Sprinkle the topping generously over the pumpkin layer.
- Place the dish in the preheated oven and bake for 30-35 minutes, or until the top is golden brown and a toothpick inserted into the center comes out clean.
- Let the crisp cool for a few minutes before serving. Enjoy it warm with a scoop of ice cream if desired.
Leave a Reply