
Feeling the sweet, tangy burst of cherries in a buttery crust is one of life’s little pleasures, and that’s exactly what you’ll get with these Easy Cherry Pie Bars. Perfect for any family gathering or cozy winter evening, these delightful bars blend the warm essence of homemade pie with the convenience of a treat that can be prepared quickly. A fun fact about cherry pie: it’s been a beloved dessert in American households for generations, representing home, nostalgia, and love. This dessert quickly became a favorite in my own kitchen, especially when I realized how much my family adores cherry-flavored goodies. Similar to my popular Lemon Blueberry Muffins, the Easy Cherry Pie Bars provide that comforting taste of home without the hassle of mini pie crusts. Trust me, with this recipe in hand, you’ll be the star of any get-together!
What is Easy Cherry Pie Bars?
So, what exactly are Easy Cherry Pie Bars? Picture this: a luscious layer of cherry filling nestled between two buttery oat crusts, baked to perfection. It’s like a traditional cherry pie, but in bar form—making it even easier to share (and eat!). The name might conjure up visions of grandma’s cozy kitchen, but really, it’s all about the ease. You don’t have to be a professional baker to whip these up—after all, the way to a man’s heart is through his stomach, and these bars are sure to do the trick. So, grab your aprons and join me on this cherry-filled adventure!
Why You’ll Love This Easy Cherry Pie Bars
There are a multitude of reasons why Easy Cherry Pie Bars stand out as a beloved treat. First up, the main dish highlight: the delightful harmonization of sweet cherries and a crispy, buttery crust. It’s not just a bar; it’s a slice of happiness! Plus, cooking at home means you can save on costs while bringing that warm, freshly baked joy into your kitchen. Unlike store-bought desserts that often lack that homemade touch, these cherry bars sing with flavor, inviting you in for another bite. Throw in some whipped cream or a scoop of vanilla ice cream on top for extra indulgence! If you’ve tried my Chocolate Chip Cookie Recipe, you’ll notice the same love and simplicity in this dessert. Now, who’s ready for a taste?
How to Make Easy Cherry Pie Bars
Quick Overview
One of the best things about these Easy Cherry Pie Bars is how simple they are! In just under 30 minutes of preparation, you can create a delicious treat that the whole family will enjoy. With a combination of crispy oats and rich cherry filling, every bite promises to be a satisfying indulgence.
Ingredients for Easy Cherry Pie Bars
- 1 package refrigerated pie crusts
- 1 can (21 ounces) cherry pie filling
- 1 cup oats
- 1 cup all-purpose flour
- 1 cup brown sugar
- 1/2 cup unsalted butter, melted
- 1 teaspoon cinnamon
Make sure to have these ingredients ready before you start, and trust me, this dessert will be well worth the effort!
Step-by-Step Instructions
- Preheat the oven: Preheat your oven to 350°F (175°C). This will ensure an even bake for your cherry pie bars.
- Prepare the baking dish: Grease a 9×13 inch baking dish or line it with parchment paper for easy removal.
- Prepare the crust: Unroll your refrigerated pie crusts directly into the baking dish. Gently press the crust evenly along the bottom.
- Mix the toppings: In a large mixing bowl, combine oats, flour, brown sugar, melted butter, and cinnamon until a crumbly mixture forms.
- Layer ingredients: Evenly spread the cherry pie filling over the pie crust in the dish. Then, sprinkle the crumbly topping mixture over the cherry filling.
- Bake: Place the baking dish in the oven and bake for 30-35 minutes, or until the topping is golden brown and the filling is bubbling.
- Cool: Allow the bars to cool completely before slicing into squares.
And just like that, you’ve created a batch of heavenly Easy Cherry Pie Bars!
Top Tips for Perfecting Easy Cherry Pie Bars
For those looking to make these bars even better, here are some pro tips. If you want to switch things up, consider adding chopped nuts or using different fruit fillings, such as blueberries or even diced peaches! Timing is crucial; keep an eye on the bars in the last 5 minutes of baking to ensure they don’t over-brown. Another common mistake is cutting the bars too soon—allow them to cool completely so they set beautifully.
Storing and Reheating Tips
Storing your Easy Cherry Pie Bars is a breeze. Keep them in an airtight container in the refrigerator for up to 3 days. If you want to extend their shelf life, these bars can be frozen for up to 2 months—just ensure they are well-wrapped to prevent freezer burn. When you’re ready to enjoy them again, reheating is simple! Just pop them in a microwave for about 20-30 seconds, and enjoy the delightful smell of cherry again wafting through your kitchen.
Now that you have all the information needed to create these delectable treats, it’s time to roll up your sleeves and bake some Easy Cherry Pie Bars! Your taste buds will thank you, your family will rejoice, and who knows—you might just create a new family tradition in the process. Enjoy every bite, and happy baking!
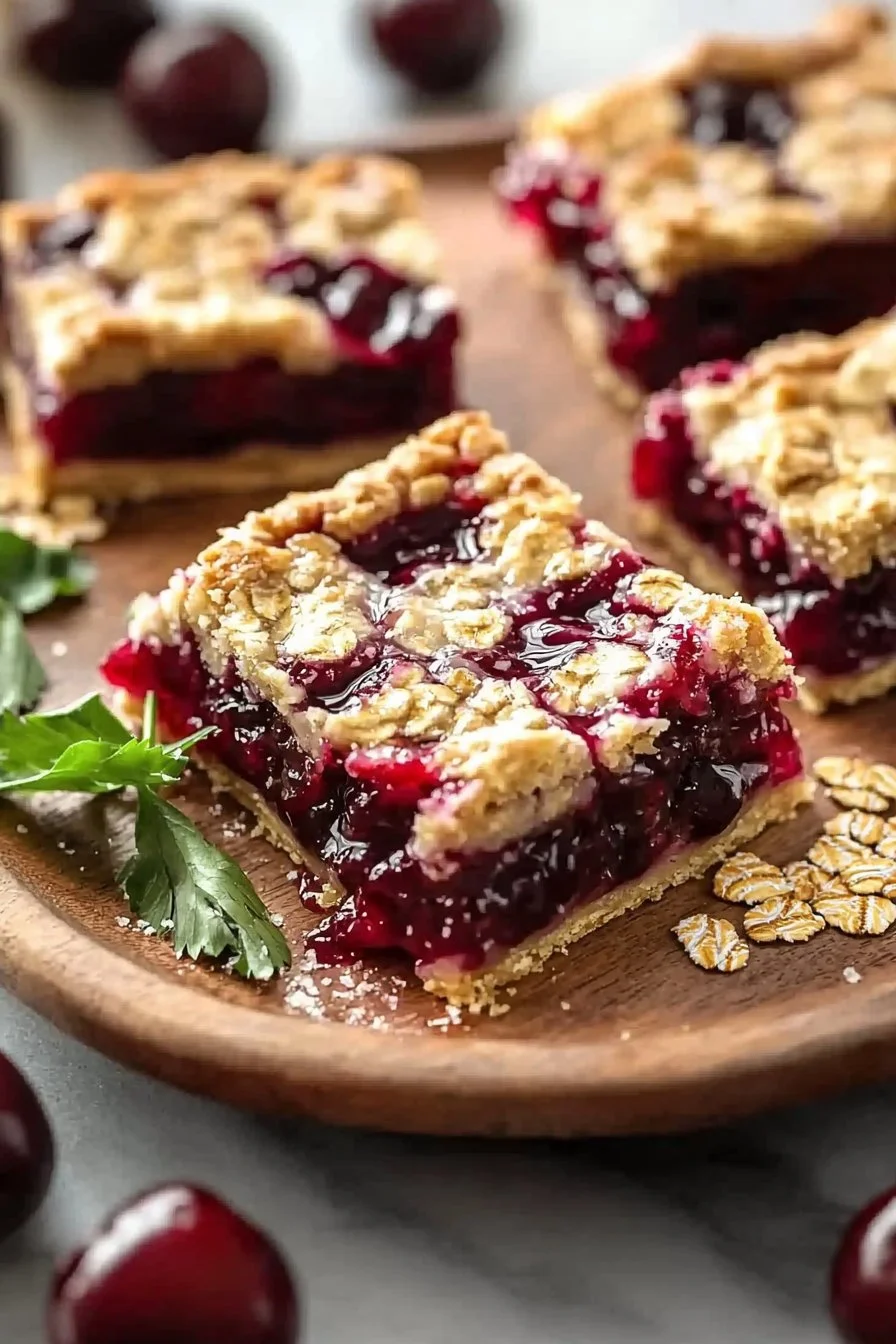
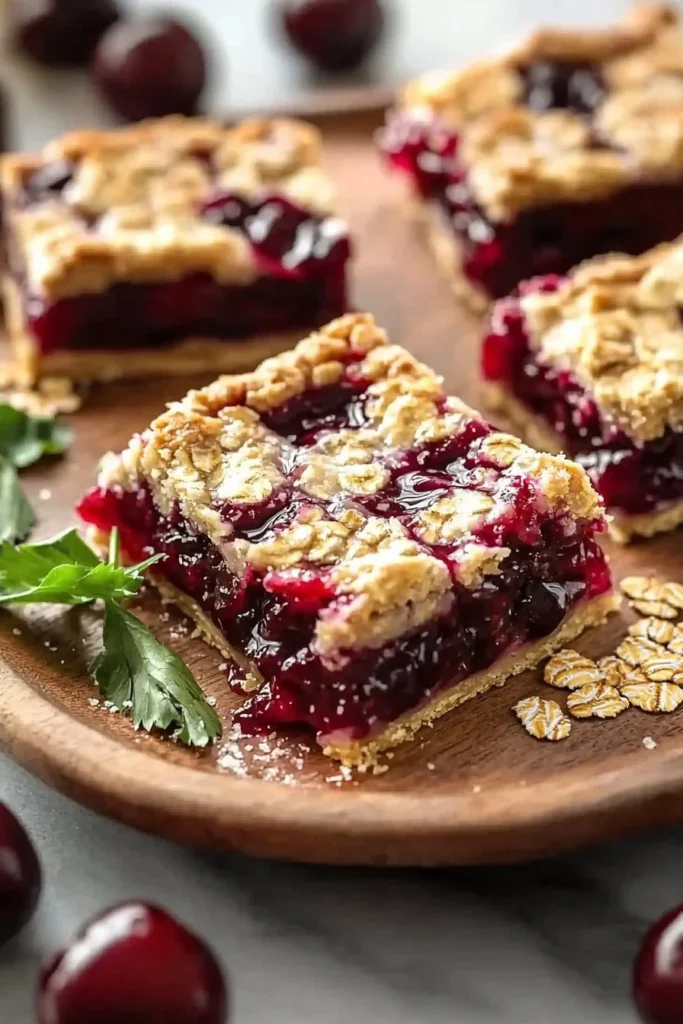
Easy Cherry Pie Bars
Ingredients
Method
- Preheat your oven to 350°F (175°C).
- Grease a 9x13 inch baking dish or line it with parchment paper.
- Unroll the refrigerated pie crusts into the baking dish, pressing them evenly along the bottom.
- In a large mixing bowl, combine oats, flour, brown sugar, melted butter, and cinnamon until a crumbly mixture forms.
- Spread the cherry pie filling evenly over the pie crust in the dish.
- Sprinkle the crumbly topping mixture over the cherry filling.
- Place the baking dish in the oven and bake for 30-35 minutes, or until the topping is golden brown and the filling is bubbling.
- Allow the bars to cool completely before slicing into squares.
Leave a Reply