
Roasted Chickpea Gyros
When you’re craving something crispy, savory, and oh-so-satisfying, let me introduce you to Roasted Chickpea Gyros! Picture this: crunchy chickpeas, flavorful toppings, and warm pita bread all wrapped into one delicious bite. It’s hard to resist! I remember the first time I decided to whip these up for a family gathering; the joy on everyone’s faces was palpable. This dish is not just a meal; it’s an experience. The simple ingredients come together to create a flavor explosion that rivals even the fanciest of gyro shops.
If you love my recipe for Spicy Lentil Tacos, you’re in for a treat! The Roasted Chickpea Gyros deliver just as much flavor while offering a delightful twist: they’re vegetarian, packed with protein, and ready in no time. Gather the family for an evening of cooking, and you’ll see why this dish is bound to become a new favorite!
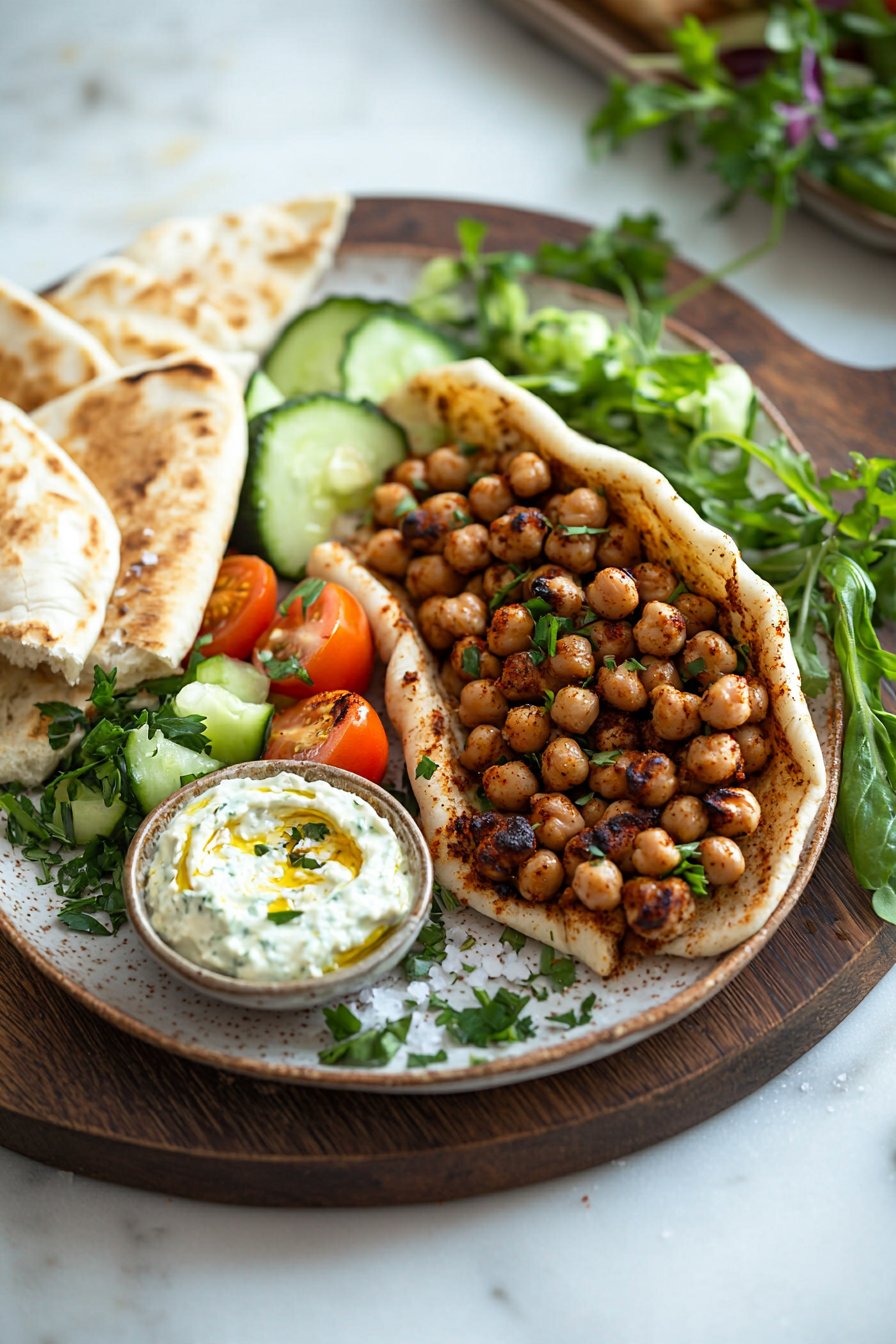
What is Roasted Chickpea Gyros?
So, what’s the deal with the name “gyros,” anyway? Is it because they spin around on a stick like a merry-go-round? Not quite! Gyros are named after the Greek word for “turn” because they turn on a spit while cooking. But let’s face it: when it comes to food, the way to a man’s heart is through his stomach! Roasted Chickpea Gyros take this classic dish and give it a delightful vegetarian twist, making it accessible for everyone to enjoy. Picture this: a cozy family night with everyone gathered around the table, wrapping their own gyros, and sharing laughter. Can you think of anything more enjoyable? Get ready to dive into the recipe—it’s time to make magic happen in your kitchen!
Why You’ll Love This Roasted Chickpea Gyros
Let’s start with the main dish highlight: these Roasted Chickpea Gyros are bursting with flavor while also being easy to prepare. The crispy chickpeas, seasoned to perfection, create a delightful contrast with the cool, creamy toppings. Cooking at home has never been so rewarding—bye-bye expensive takeout! You can whip up a fantastic meal without breaking the bank, saving money while treating your family to a gourmet experience.
Pair them with fresh vegetables and a dollop of tzatziki sauce, and you have a flavor-packed meal that’s not just filling but also refreshing. If you’re a fan of roasted vegetable wraps, you’re going to love these gyros! Why not give it a try and impress your loved ones with this hearty yet healthy alternative?
How to Make Roasted Chickpea Gyros
Quick Overview
Making Roasted Chickpea Gyros is as easy as pie! With just a few simple steps, you’ll have a satisfying meal ready in about 30 minutes. The combination of crunchy chickpeas and fresh toppings creates a texture that’s deliciously pleasing to the palate.
Ingredients
- 1 can chickpeas, drained and rinsed
- 2 tablespoons olive oil
- 1 teaspoon smoked paprika
- 1 teaspoon garlic powder
- 1 teaspoon onion powder
- Salt and pepper to taste
- Pita bread
- Hummus
- Fresh vegetables (e.g., lettuce, tomatoes, cucumbers, onions)
- Tzatziki sauce (optional)
Step-by-Step Instructions
- Preheat the Oven: Start by preheating your oven to 400°F (200°C). This will ensure your chickpeas get nice and crispy!
- Prepare the Chickpeas: In a mixing bowl, combine the drained and rinsed chickpeas with olive oil, smoked paprika, garlic powder, onion powder, salt, and pepper. Make sure every chickpea is coated well with the seasoning.
- Roast the Chickpeas: Spread the seasoned chickpeas on a baking sheet in a single layer, ensuring they are not overcrowded. Bake them in the preheated oven for 20-25 minutes, or until they are golden and crispy. Remember to shake the pan halfway through for even roasting!
- Prepare the Toppings: While the chickpeas are roasting, slice your fresh vegetables. This could include lettuce, tomatoes, cucumbers, and onions—whatever you enjoy!
- Assemble Your Gyros: Once the chickpeas are done roasting, warm your pita bread in the oven for about 2-3 minutes. To assemble, spread hummus on the pita, add a generous amount of roasted chickpeas and top it off with your fresh veggies. Drizzle with tzatziki sauce if desired.
- Enjoy: Roll up your gyros, take a big bite, and savor the flavors!
Top Tips for Perfecting Roasted Chickpea Gyros
- Substitutions: You can switch out the spices to match your preferences. Some people love adding cumin or cayenne for an extra kick!
- Timing: Keep an eye on the chickpeas near the end of the roasting time to prevent burning; they can go from perfect to overdone quickly.
- Avoid Mistakes: Make sure to dry the chickpeas thoroughly after rinsing them. This helps them get crispy in the oven!
Storing and Reheating Tips
These Roasted Chickpea Gyros are best enjoyed fresh, but if you have leftovers, don’t worry! Store any unassembled gyros in an airtight container in the refrigerator for up to 3 days. For reheating, simply place the chickpeas in a preheated oven at 350°F (175°C) for about 10 minutes to restore their crispiness. If you have any leftover hummus or vegetables, store them separately to keep everything fresh.
Delight your family with these easy, flavorful Roasted Chickpea Gyros that are not only satisfying but also make a wonderful addition to your home-cooked meals. Both tasty and practical, this recipe is sure to bring smiles at your family gatherings. Enjoy your culinary adventure!
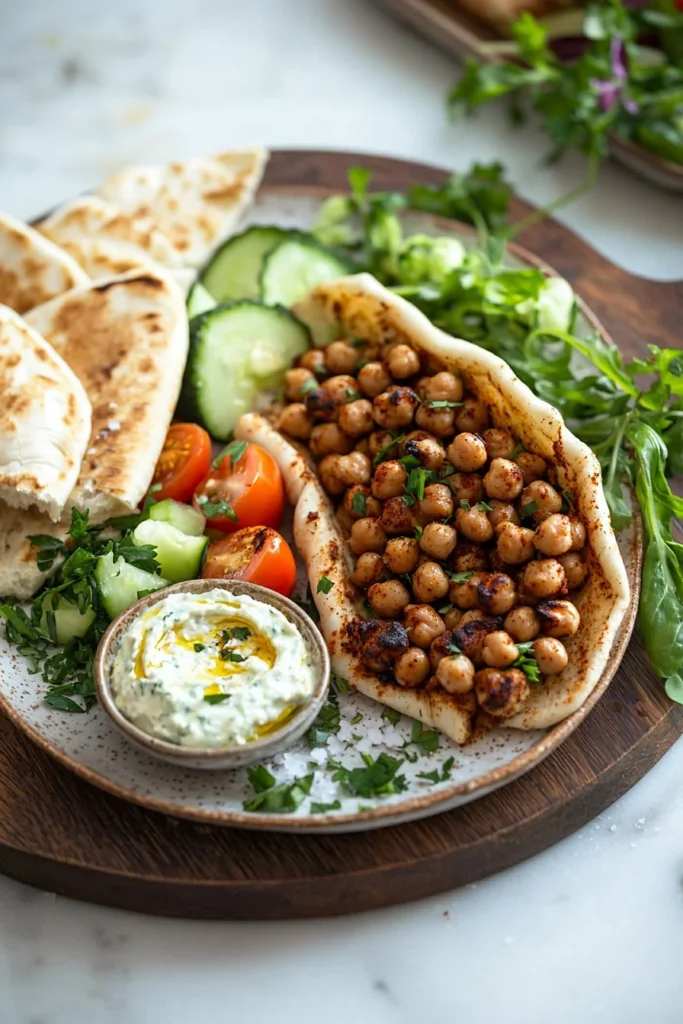
Roasted Chickpea Gyros
Ingredients
Method
- Preheat your oven to 400°F (200°C).
- In a mixing bowl, combine the drained and rinsed chickpeas with olive oil, smoked paprika, garlic powder, onion powder, salt, and pepper, ensuring all chickpeas are well coated.
- Spread the seasoned chickpeas on a baking sheet in a single layer and bake for 20-25 minutes, or until golden and crispy. Shake the pan halfway through.
- While the chickpeas roast, slice your fresh vegetables.
- Warm the pita bread in the oven for 2-3 minutes.
- Spread hummus on the warm pita, add a generous amount of roasted chickpeas, and top with fresh vegetables. Drizzle with tzatziki sauce if desired.
- Roll up your gyros and enjoy!
Leave a Reply