
Have you ever bitten into a dessert that’s rich, soft, and chocolatey, with just the right hint of sweetness? That’s exactly what you get with these Red Velvet Brownies! Imagine a gooey, fudgy brownie that offers the perfect combination of tangy and sweet, reminiscent of classic red velvet cake but in a portable brownie form. A delightful treat that never fails to impress guests and family alike, these brownies evoke that cozy, homey feeling we all cherish during family gatherings or cozy winter evenings.
A fun fact about red velvet desserts: the original red color came from a reaction between cocoa powder and buttermilk, creating a velvety texture. While this recipe eliminates the need for buttermilk, this twist retains that luscious texture we all love. Why not bake a batch to share—just as you would with our popular chocolate chip cookies recipe? Your loved ones will be raving about them!
What is Red Velvet Brownies?
So, what’s in a name? Are they brownies? Are they the dessert version of a red velvet cake? The truth is, they’re both! Red Velvet Brownies are the delightful offspring of two beloved desserts—brownies and red velvet cake. You can almost hear the dessert world collectively cheering, “Hooray for fusion treats!” And let’s be real here: the way to a man’s heart is through his stomach, and these brownies are bound to do the trick. So why not whip up a batch and see for yourself? I promise they’ll steal the show!
Why You’ll Love These Red Velvet Brownies
There’s so much to love about Red Velvet Brownies! First off, these brownies pack a punch with their rich flavor profile, bringing a unique twist that sets them apart from traditional chocolate brownies. If you’ve ever tasted a classic red velvet cake, you know exactly what I’m talking about—the light tanginess from the cocoa, balanced with sweetness to create a symphony of flavor in every bite!
Secondly, cooking from home allows you to save money while indulging in such delightful treats. Why spend a small fortune buying desserts when you can create something even better in your own kitchen?
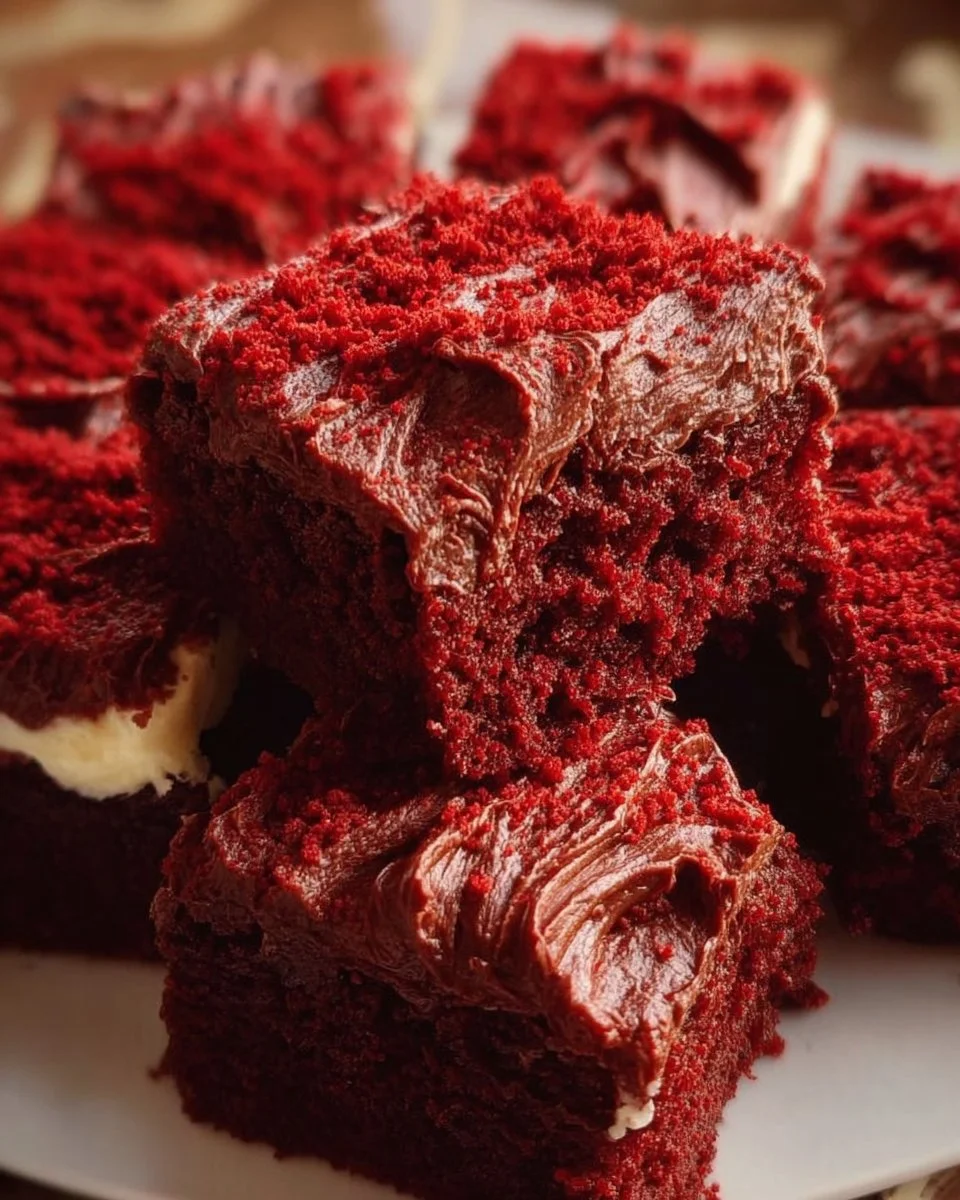
Lastly, the toppings! While the base brownie is fantastic on its own, consider adding white chocolate chips or a cream cheese frosting drizzle for that extra flavor burst. It’s everything you love about a decadent dessert, rolled into one soft, moist brownie. Ready to impress your family? Let’s get started!
How to Make Red Velvet Brownies
Quick Overview
Making Red Velvet Brownies is a breeze—they’re easy, satisfying, and a surefire way to please a crowd. In about 30 minutes, you can go from kitchen novice to brownie aficionado. It’s tough to beat that gooey, rich texture that makes these brownies melt in your mouth!
Ingredients
- 1 cup all-purpose flour
- 1/2 cup unsweetened cocoa powder
- 1/2 cup unsalted butter, melted
- 1 cup sugar
- 2 large eggs
- 1 tablespoon red food coloring
- 1 teaspoon vanilla extract
- 1/2 teaspoon baking powder
- 1/4 teaspoon salt
- 1/2 cup white chocolate chips (optional)
Make sure you have all these ingredients ready before you start; it will make the process go smoothly!
Step-by-Step Instructions
- Preheat your oven: Start by preheating your oven to 350°F (175°C). This ensures that your brownies bake evenly.
- Prepare the baking dish: Grease a 9×9-inch baking pan with a bit of butter or line it with parchment paper for easy removal.
- Mix the dry ingredients: In a medium bowl, whisk together the flour, cocoa powder, baking powder, and salt. This will help to evenly distribute the baking powder and ensure no clumps remain.
- Cream the butter and sugar: In a large bowl, combine the melted butter and sugar. Use an electric mixer or a whisk and mix until well combined. The mix should have a nice glossy texture.
- Add the eggs and flavorings: Crack in the eggs one at a time, mixing well after each addition. Then, add in the red food coloring and vanilla extract. Mix until everything is smooth and well combined.
- Combine wet and dry ingredients: Gradually add the dry mixture into the wet mixture while continuing to mix until just combined. Be careful not to overmix!
- Fold in white chocolate chips: If you’re using white chocolate chips, gently fold them into the batter now.
- Pour and spread in the baking pan: Pour the brownie batter into the prepared baking pan. Spread it evenly.
- Bake: Bake in the preheated oven for 20-25 minutes. Use a toothpick inserted into the center to check for doneness—it should come out with a few moist crumbs but not wet batter.
- Cool and slice: Let the brownies cool in the pan for about 10 minutes, then transfer to a wire rack to cool completely. Once cooled, slice into squares.
Top Tips for Perfecting Red Velvet Brownies
- Substitution tips: If you cannot find red food coloring, feel free to use beet juice for a natural alternative.
- Check for doneness: Remember that baking time may vary depending on your oven, so keep an eye on your brownies towards the last few minutes of baking.
- Avoiding common mistakes: Ensure that you don’t overmix the batter; overmixing can lead to tough brownies.
Storing and Reheating Tips
Store any leftover Red Velvet Brownies in an airtight container at room temperature for up to 3 days. If you plan to keep them longer, they can be refrigerated for up to a week or frozen for up to three months. When ready to enjoy, thaw them overnight in the fridge and warm gently in the microwave for that fresh-baked goodness!
Whether you’re enjoying them on a cozy evening with loved ones or at a family gathering, these Red Velvet Brownies are sure to make an impression. So what are you waiting for? Get cooking, and delight in the deliciousness that awaits!
Frequently Asked Questions
Do you have any lingering questions about making these irresistible Red Velvet Brownies? Let us know in the comments!

Red Velvet Brownies
Ingredients
Method
- Preheat your oven to 350°F (175°C).
- Grease a 9x9-inch baking pan or line it with parchment paper.
- In a medium bowl, whisk together flour, cocoa powder, baking powder, and salt.
- In a large bowl, combine melted butter and sugar, mixing until glossy.
- Add eggs one at a time, mixing in between, then add red food coloring and vanilla extract. Mix until smooth.
- Gradually add the dry ingredients into the wet mixture until just combined.
- Fold in white chocolate chips if using.
- Pour the brownie batter into the prepared baking pan and spread evenly.
- Bake for 20-25 minutes, checking for doneness with a toothpick.
- Let cool in the pan for 10 minutes before transferring to a wire rack to cool completely.
- Once cooled, slice into squares.
Leave a Reply