
Discover the Irresistible Pumpkin Crisp
As the chilly winds of winter sweep in, there’s nothing quite like a warm and crispy dessert to cozy up your family gatherings. Enter the Pumpkin Crisp—a delightful combination of velvety pumpkin and a crunchy topping that ignites a flavor explosion in every bite! With its crispy surface and creamy pumpkin layer just below, this dish captures the essence of comfort food in a way that’s hard to resist.
I still remember the first time I tried Pumpkin Crisp at a friend’s potluck. Everyone raved about it, and I was left wondering how something could be both satisfying and perfectly sweet! This recipe is the perfect alternative to traditional desserts, and it’s super simple to make. Compared to my popular Chocolate Chip Cookie recipe, this Pumpkin Crisp is less labor-intensive but just as delicious! If you’re looking to warm up your winter evenings, this Pumpkin Crisp is your new go-to.
What is Pumpkin Crisp?
Have you ever wondered what the story is behind the name “Pumpkin Crisp”? Is it because it’s made with crisp, fresh pumpkin? Or is it a secret way to hint at how crispy that topping gets? The world may never know! What I do know is that when it comes to satisfying family cravings, this dish is always a winner. They say the way to a man’s heart is through his stomach, but honestly, this Pumpkin Crisp might just win over everyone’s heart!
So, let’s whip up this delightful dish and make it the star of your next gathering!
Why You’ll Love This Pumpkin Crisp
Let’s talk about why this Pumpkin Crisp deserves a special spot on your table! First and foremost, the main highlight is the luxurious pumpkin filling hand-in-hand with that crunchy, sweet topping. You will be surprised at how satisfying each forkful is!
Now, let’s discuss cost savings. Making this Pumpkin Crisp at home not only allows you to save some bucks compared to dining out, but it also gives you complete control over the ingredients. Who doesn’t love a yummy dessert that won’t break the bank?
And let’s not forget about the flavorful toppings! Think whipped cream or perhaps some toasted nuts sprinkled on top. This can elevate your Pumpkin Crisp to a whole new level!
If you’ve ever enjoyed a traditional pumpkin pie, imagine that same comforting flavor combined with an irresistible crunch. Ready to dig in? Let’s get started!
How to Make Pumpkin Crisp
Quick Overview
Making Pumpkin Crisp is not just easy; it’s incredibly satisfying as well! The creamy pumpkin filling paired with the crisp topping creates a perfect harmony of textures that will leave you craving another bite. The preparation time is just 15 minutes, followed by 30 minutes of baking. So, in less than an hour, you can create a dish that’s bound to impress!
Ingredients
For this scrumptious Pumpkin Crisp, gather the following:
- 2 cups pumpkin puree
- 1 cup brown sugar
- 1/2 cup granulated sugar
- 1 teaspoon cinnamon
- 1/2 teaspoon nutmeg
- 1/4 teaspoon ginger
- 1/4 teaspoon salt
- 1/2 cup flour
- 1 cup oats
- 1/2 cup butter (melted)
- 1 cup chopped nuts (optional)
- Whipped cream for serving (optional)
Step-by-Step Instructions
- Preheat your oven to 350°F (175°C). This helps ensure even baking for that crisp topping.
- In a large mixing bowl, combine the pumpkin puree, brown sugar, granulated sugar, cinnamon, nutmeg, ginger, and salt. Mix until well blended—the colors should magically intertwine into a luscious, warm orange!
- Spread the pumpkin mixture evenly into a greased baking dish.
- In another bowl, mix the flour, oats, and melted butter together. For added crunch, toss in nuts if desired. The mixture should look crumbly.
- Sprinkle the oat mixture generously over the pumpkin layer. Press it lightly to ensure it stays in place.
- Bake in the preheated oven for about 30 minutes, or until the top is golden brown and the pumpkin layer is set.
- Let it cool slightly before serving. Add a dollop of whipped cream on top if you like that extra touch of elegance!
Top Tips for Perfecting Pumpkin Crisp
- Substitutions: For those who are gluten-free, try swapping out the flour with almond flour. It adds a nutty flavor that pairs beautifully with pumpkin!
- Timing: Make sure to keep an eye on the baking time—the golden brown color is your go-to indicator that the topping is just right.
- Avoiding common mistakes: Don’t skip the cooling time! This allows the Pumpkin Crisp to firm up a bit, making it easier to serve.
Storing and Reheating Tips
Planning to make this dessert ahead of time? You can store your Pumpkin Crisp in the refrigerator for up to 4 days. Just cover it well to maintain freshness. If you want to keep it longer, consider freezing it for up to 2 months—just make sure it’s well-wrapped!
When you’re ready to enjoy again, simply pop it in the oven at 350°F (175°C) for about 15-20 minutes, or until heated through. This will bring back that crispy topping and warm texture that makes it so special!
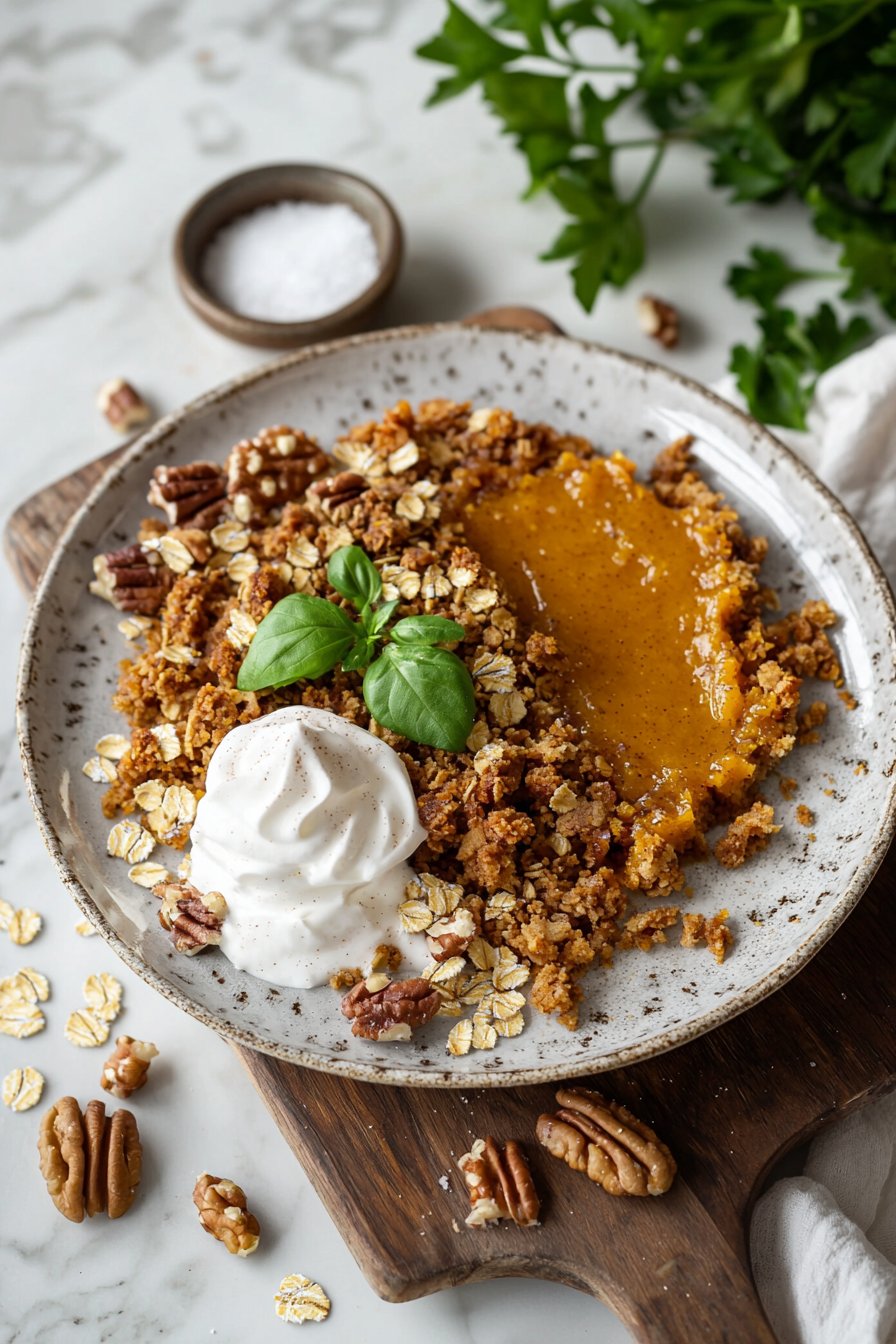
By following this guide to creating a heavenly Pumpkin Crisp, you’ll soon become the star of your family gatherings! Who says dessert can’t be both delicious and satisfying? Get ready to take your taste buds on a journey and indulge in this delightful treat. Happy baking!
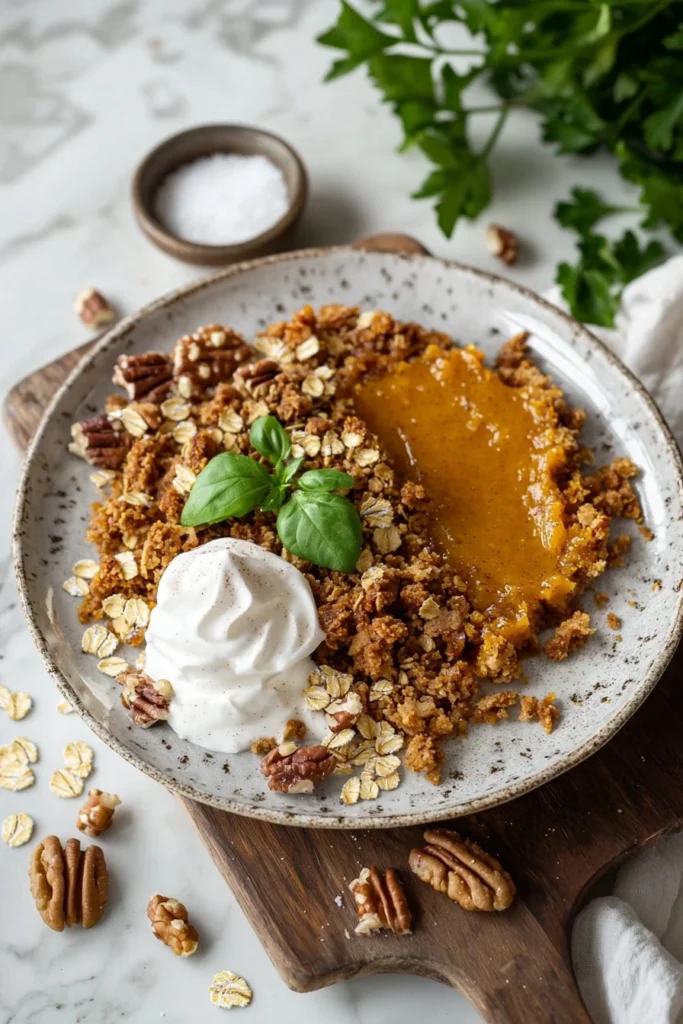
Pumpkin Crisp
Ingredients
Method
- Preheat your oven to 350°F (175°C).
- In a large mixing bowl, combine pumpkin puree, brown sugar, granulated sugar, cinnamon, nutmeg, ginger, and salt. Mix until well blended.
- Spread the pumpkin mixture evenly into a greased baking dish.
- In another bowl, mix the flour, oats, and melted butter together. Add nuts if desired.
- Sprinkle the oat mixture generously over the pumpkin layer and press lightly.
- Bake in the preheated oven for about 30 minutes, until the top is golden brown and the pumpkin layer is set.
- Let it cool slightly before serving. Add a dollop of whipped cream on top if desired.
Leave a Reply