
Discover the Delightful Lunch Lady Peanut Butter Bars
If you’re looking for a treat that’s as nostalgic as it is delicious, you’ve got to try my Lunch Lady Peanut Butter Bars! Picture sinking your teeth into a perfectly chewy, peanut butter-infused square that has just the right amount of sweetness and a hint of chocolatey goodness from the chips scattered throughout. These bars are not just a dessert; they are a heartwarming memory wrapped in every bite, reminiscent of school lunches and family gatherings.
Did you know that these bars are often associated with the lunch ladies of the past who prepared hearty meals for kids? Simplicity is key with this recipe, making it an easy choice for busy families. If you love the rich, comforting flavors of my earlier recipe for Chewy Chocolate Chip Cookies, then you’re in for a treat with the Lunch Lady Peanut Butter Bars!
So, why not gather your family and whip these up for your next cozy winter evening? Trust me; they won’t last long!
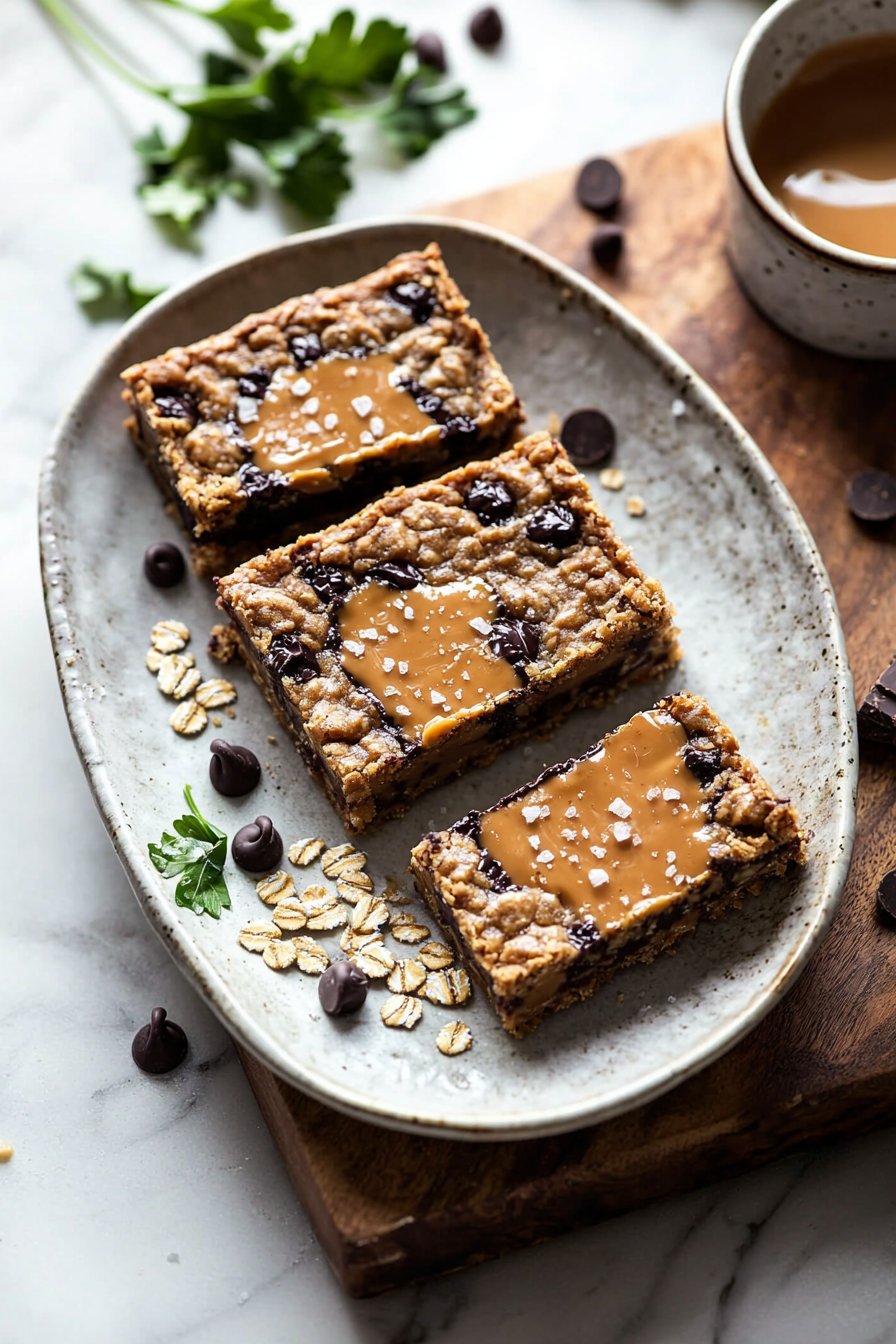
Lunch Lady Peanut Butter Bars in a Nutshell
With a name that brings up images of school cafeterias and warm meals served with a smile, you might wonder—who exactly were these lunch ladies? Were they culinary magicians wielding spatulas like wands? And how did they create such simple yet satisfying treats?
These bars embody the spirit of home-cooked goodness, transforming the humble peanut butter into something extraordinary. So, are you ready to delight your loved ones?
Lunch Lady Peanut Butter Bars: Why It's Worth It
There’s no denying that Lunch Lady Peanut Butter Bars are a winner for a reason! First off, they are a delicious dessert that satisfies your sweet tooth in the best way possible. Imagine biting into a chewy texture that’s rich and peanut buttery, contrasted perfectly with delightful chocolate chips melding into every piece.
Secondly, let’s talk about the benefits of cooking at home. Not only are you creating an irresistible treat, but you’re also saving money compared to buying snacks at the store—plus, there’s something special about sharing homemade food with friends and family.
Lastly, one of the best parts about these bars is their versatility when it comes to toppings! Love a drizzle of melted chocolate? Go for it! Want to sprinkle some chopped nuts or even a touch of sea salt on top? It’s all welcome in the world of Lunch Lady Peanut Butter Bars! So why wait? Gather your ingredients today and let’s create some memories!
Lunch Lady Peanut Butter Bars: The Method
The Recipe in Brief
Making Lunch Lady Peanut Butter Bars is an easy and satisfying process. With just a few straightforward steps, you’ll soon have delicious bars to enjoy! They combine chewy textures, nutty flavors, and a chocolaty layer that makes each bite an experience. Prep time is just 15 minutes, and bake time is about 30 minutes, so you’ll be enjoying them in no time!
Ingredients
To make these delightful bars, gather the following ingredients:
- 1 cup unsalted butter, softened
- 1 cup peanut butter (smooth or chunky based on preference)
- 1 cup granulated sugar
- 1 cup brown sugar, packed
- 2 cups all-purpose flour
- 1 cup rolled oats
- 1 teaspoon baking powder
- 1 teaspoon baking soda
- 1 teaspoon vanilla extract
- 1/2 teaspoon salt
- 1 cup chocolate chips (milk, dark, or semisweet)
How It Comes Together
- Preheat the Oven: Start by preheating your oven to 350°F (175°C) and greasing or lining a 9×13-inch baking pan with parchment paper for easy removal.
- Cream Butter and Sugars: In a large mixing bowl, use an electric mixer to cream together the softened butter, peanut butter, granulated sugar, and brown sugar until the mixture is smooth and fluffy—about 2-3 minutes.
- Add Wet Ingredients: Beat in the vanilla extract to the creamy mixture until it’s well combined.
- Mix Dry Ingredients: In a separate bowl, whisk together the flour, oats, baking powder, baking soda, and salt until evenly mixed.
- Combine Ingredients: Gradually add the dry mixture to the wet mixture, mixing just until everything is combined. Avoid over-mixing.
- Fold in Chocolate Chips: Gently fold in the chocolate chips until they are evenly distributed throughout the batter.
- Pour into Pan: Spread the mixture evenly into your prepared baking pan, making sure to reach the corners.
- Bake: Bake in the preheated oven for 25-30 minutes, or until the edges are golden brown and a toothpick inserted into the center comes out clean.
- Cool: Allow the bars to cool in the pan for about 10 minutes before transferring them onto a wire rack to cool completely.
- Slice and Serve: Once cooled, slice into squares and serve to your eager family or friends. Enjoy the smiles that follow!
A Few Pointers for Lunch Lady Peanut Butter Bars
Want to be a pro at making Lunch Lady Peanut Butter Bars? Here are some handy tips:
- Substitutions: You can use crunchy peanut butter for added texture, or swap half the all-purpose flour for whole wheat flour for a healthier twist.
- Timing: Be careful not to overbake; for softer bars, you might consider taking them out even if a few crumbs stick to the toothpick.
- Avoiding Mistakes: Ensure your butter is softened but not melted for the right consistency in your batter, and remember to pack the brown sugar to achieve that ideal sweetness.
How to Keep It Fresh
The best part about these Lunch Lady Peanut Butter Bars? They are easy to store! Once cooled, you can keep them in an airtight container at room temperature for up to 5 days, or in the refrigerator for up to a week.
For longer storage, feel free to freeze them! Just wrap each bar individually in plastic wrap and place them in a freezer-safe bag for up to 3 months. When you’re ready to enjoy, you can easily defrost them at room temperature or warm them up in the microwave for a short burst to recreate that freshly baked treat vibe!
With this wonderful recipe in your baking arsenal, you’re all set to create joy and smiles with your Lunch Lady Peanut Butter Bars.
Lunch Lady Peanut Butter Bars
Ingredients
Method
- Preheat your oven to 350°F (175°C) and grease or line a 9×13-inch baking pan with parchment paper.
- In a large mixing bowl, cream together unsalted butter, peanut butter, granulated sugar, and brown sugar using an electric mixer until smooth and fluffy, about 2-3 minutes.
- Beat in the vanilla extract until well combined.
- In a separate bowl, whisk together flour, oats, baking powder, baking soda, and salt until evenly mixed.
- Gradually add the dry mixture to the wet mixture, mixing just until combined. Avoid over-mixing.
- Fold in the chocolate chips until evenly distributed throughout the batter.
- Spread the mixture evenly into the prepared baking pan.
- Bake in the preheated oven for 25-30 minutes, or until the edges are golden brown and a toothpick inserted into the center comes out clean.
- Allow the bars to cool in the pan for about 10 minutes, then transfer them to a wire rack to cool completely.
- Once cooled, slice into squares and serve.
Leave a Reply