
Key Lime Pie
Who can resist a slice of a refreshingly vibrant Key Lime Pie? With its creamy, tangy filling paired with a crispy, sweet crust, this dessert is a delightful experience for the taste buds. It’s like a taste of summer in every bite, no matter the season. Originating from the sunny Florida Keys, this pie not only embodies the spirit of easygoing gatherings but also serves as a reminder that simple ingredients can create extraordinary flavors. I fondly remember my first attempt at making this pie—let’s just say there was a slightly tumultuous wrestling match between me and the kitchen blender! But the end result, a luscious dessert that you can share with family, made every mixing mishap worthwhile. If you love creamy desserts as much as I do, like my famous Chocolate Mousse, keep reading. I promise you’ll want to add this Key Lime Pie to your recipe repertoire!
What is Key Lime Pie?
Ah, Key Lime Pie—the dessert that brings smiles and squints of delight! Ever wondered where this sweet-tart wonder gets its peculiar name? Could it be from the glee it brings, or perhaps its zesty hue? Maybe we will never know! One thing’s for sure, though: the best flavor comes from the love you put into making it. They say that the way to a man’s heart is through his stomach, and I firmly believe that this pie has the power to win anyone over—just ask my uncle who can’t resist seconds (or thirds)! So why not whip up a delightful Key Lime Pie and create your own memories?
Why You’ll Love This Key Lime Pie
First off, the creamy, tart flavor of the filling will dance upon your palate, offering a lovely contrast to the crunchy, graham cracker crust. It’s a refreshing end to any meal, making it perfect for family gatherings or cozy evenings. Not only is it near-impossible to find a Key Lime Pie that matches the homemade version, but you’ll also save some coins by making it at home. Plus, you can customize it with toppings like fresh whipped cream or toasted coconut for that extra decadence! Compared to a classic cheesecake, this pie packs a punch of flavor while keeping things light and zesty. What’s not to love? So, gather your ingredients and let’s dive into this delightful dessert!
How to Make Key Lime Pie
Quick Overview
Making Key Lime Pie is surprisingly straightforward, making it an excellent choice for both beginner and seasoned bakers. With a delightful crunch from the crust and a creamy filling that’s perfectly balanced between sweet and tangy, this pie truly embodies culinary comfort. In just about an hour, plus chilling time, you can whip up this showstopper for your loved ones.
Ingredients
- 1 ½ cups graham cracker crumbs
- ½ cup unsweetened shredded coconut
- ⅓ cup sugar
- ½ cup unsalted butter, melted
- 4 large egg yolks
- 1 can (14 ounces) sweetened condensed milk
- ½ cup key lime juice
- Zest of 2 key limes
- Whipped cream for topping
Note: Make sure all your ingredients are Halal-compliant.
Step-by-Step Instructions
- Prepare the Crust: In a mixing bowl, combine the graham cracker crumbs, shredded coconut, sugar, and melted butter. Mix until all crumbs are coated in butter. Press this mixture tightly into the bottom and up the sides of a pie dish to form a crust. Bake at 350°F (175°C) for about 8-10 minutes or until golden. Remove and let it cool.
- Make the Filling: In another bowl, whisk the egg yolks until they become thick and pale. Gradually add in the sweetened condensed milk, mixing until smooth. Then stir in the key lime juice and zest. You should have a silky filling that smells heavenly!
- Combine and Bake: Pour the filling into the cooled crust, smoothing it out evenly. Bake at 350°F (175°C) for about 15-18 minutes, or until tiny pinhole bubbles appear on the surface. Remove from the oven and let it cool on the counter for about half an hour.
- Chill: Transfer your pie to the refrigerator and chill for at least 3 hours, or overnight if you’re super patient. This will help firm it up and enhance the flavors!
- Serve: Top generously with whipped cream before slicing, and enjoy your delightful slice of Key Lime Pie!
Top Tips for Perfecting Key Lime Pie
- For a Lighter Texture: Use an electric mixer to beat the egg yolks until they’re fluffy. This incorporates air, giving the filling a lighter feel.
- No Key Limes? Don’t fret! Regular lime juice can be used, although the flavor will differ slightly.
- Whip Up the Cream: For an extra special topping, try whipping fresh cream with a touch of sugar and vanilla for enhanced sweetness.
- Time it Right: Under baking can result in a runny filling, so keep an eye on the pie as it bakes!
Storing and Reheating Tips
To maintain the freshness of your Key Lime Pie, cover it tightly with plastic wrap or aluminum foil and store it in the refrigerator. It will keep well for about 3-4 days. If you have leftovers, you can also freeze slices for up to a month. Just make sure they’re properly wrapped to avoid freezer burn. When you’re ready to enjoy it again, allow it to thaw in the refrigerator overnight for the best texture.
Now that you’re all set to create this legendary Key Lime Pie, it’s time to roll up your sleeves and let the magic of baking fill your kitchen! Your family will love this treat, and just maybe, you’ll find the way to their hearts through their stomachs! Happy baking!
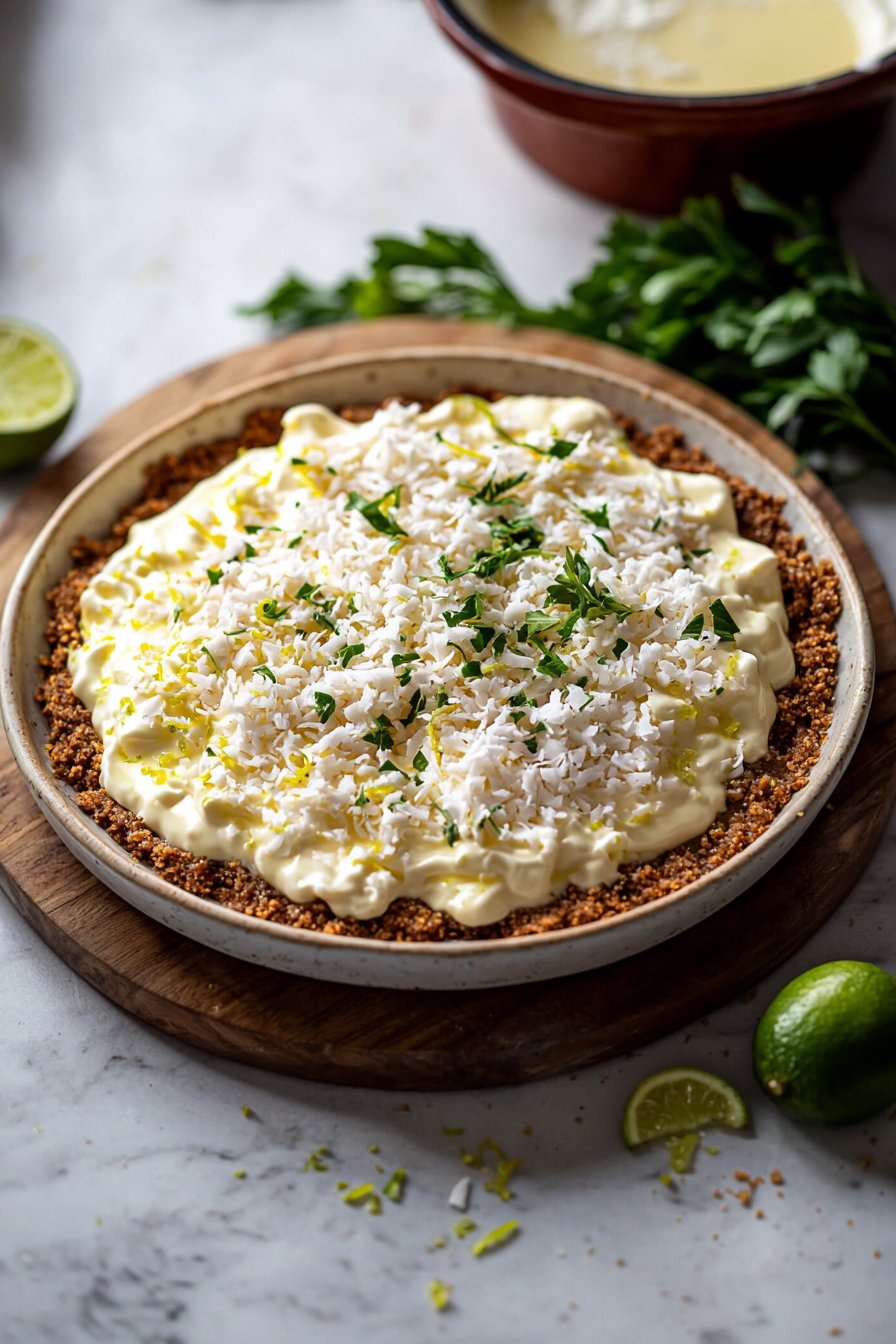
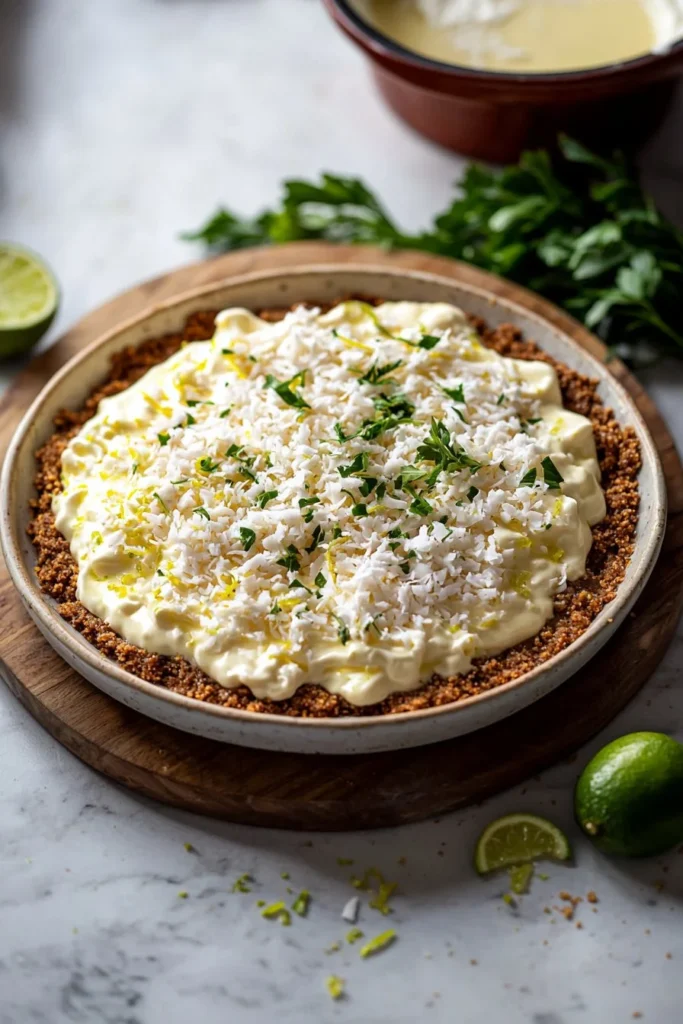
Key Lime Pie
Ingredients
Method
- In a mixing bowl, combine the graham cracker crumbs, shredded coconut, sugar, and melted butter. Mix until all crumbs are coated in butter.
- Press this mixture tightly into the bottom and up the sides of a pie dish to form a crust.
- Bake at 350°F (175°C) for about 8-10 minutes or until golden. Remove and let it cool.
- In another bowl, whisk the egg yolks until they become thick and pale.
- Gradually add in the sweetened condensed milk, mixing until smooth.
- Stir in the key lime juice and zest to create a silky filling.
- Pour the filling into the cooled crust, smoothing it out evenly.
- Bake at 350°F (175°C) for about 15-18 minutes, or until tiny pinhole bubbles appear on the surface.
- Remove from the oven and let it cool on the counter for about half an hour.
- Transfer your pie to the refrigerator and chill for at least 3 hours, or overnight if you’re super patient.
- Top generously with whipped cream before slicing and enjoy your delightful slice of Key Lime Pie!
Leave a Reply