
Homemade Roasted Cherry Brownies
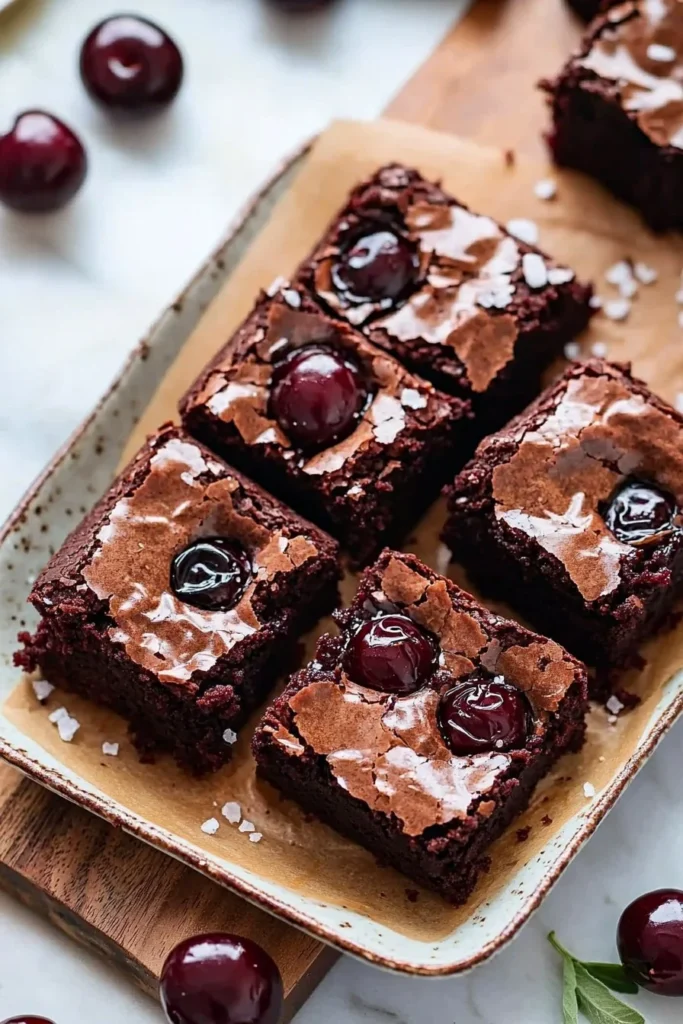
Have you ever bitten into a brownie that felt like a hug in dessert form? If not, it’s time to change that! These Homemade Roasted Cherry Brownies are an irresistible combination of rich chocolate and sweet, juicy cherries that come together effortlessly. The crispy edges yield to a fudgy center bursting with flavor—a texture experience you won’t forget! I remember the first time I made these brownies. It was one of those cozy family gatherings where everyone just needed a little sweet comfort food. My cousin took one bite and exclaimed, “The way to a man’s heart is through his stomach!” We all laughed, but he was right; these brownies have a way of winning hearts and stomachs alike.
If you’re a fan of my popular Chocolate Chip Cookie Dough Dip, you’re going to adore these brownies even more. With just a few simple ingredients and steps, you can create a delightful dessert that’ll impress anyone at your table. Let’s dive into the sweet, chocolatey world of these delicious brownies!
What is Homemade Roasted Cherry Brownies?
So, what’s all the fuss about with Homemade Roasted Cherry Brownies? What makes this dessert so special? Honestly, I like to think it’s the name itself—who doesn’t want to savor something that sounds so fancy? Imagine biting into chocolaty goodness with chewy cherries sprinkled throughout. Where did the idea of roasting cherries come from, you ask? Picture me standing in my kitchen, experimenting like a mad scientist, and deciding that roasting cherries just sounded delicious. And let’s be real: the way to a man’s heart is through his stomach. So, how can you resist indulging someone with these decadent desserts? Try making these brownies, and I promise they’ll definitely put a smile on any face!
Why You’ll Love This Homemade Roasted Cherry Brownies
There are many reasons to love Homemade Roasted Cherry Brownies. Firstly, they are the star of your dessert table, guaranteed to make taste buds dance with joy! Each bite delivers a rich chocolate flavor complemented perfectly by the tartness of roasted cherries; it’s the best of both worlds. Secondly, making these brownies at home is a fantastic way to save money compared to purchasing top-notch desserts from your local bakery. Last but not least, the toppings are endless! Imagine drizzling some rich chocolate ganache over the brownies or adding a dusting of powdered sugar for an elegant touch. Combine these brownies with a scoop of ice cream, and you’ll have a dessert that rivals any fancy restaurant option!
So, grab those cherries and get ready to bake!
How to Make Homemade Roasted Cherry Brownies
Preparing Homemade Roasted Cherry Brownies is easier than you might think. It takes just about 15 minutes to prep and 25 minutes to bake, making it a convenient dessert option for those impromptu get-togethers or cozy family evenings. You’ll love the chewy, fudgy texture and the warm, inviting aroma wafting through your kitchen while these brownies bake. Sounds good, right? Let’s get into it!
Ingredients
- 1 cup cherries, pitted and halved
- 1 cup sugar
- 1/2 cup unsalted butter, melted
- 1 cup all-purpose flour
- 1/2 cup cocoa powder
- 2 eggs
- 1 teaspoon vanilla extract
- 1/4 teaspoon salt
Step-by-Step Instructions
- Preheat the Oven: Start by preheating your oven to 350°F (175°C). Grease a baking dish or line it with parchment paper for easy removal later.
- Roast the Cherries: Spread the pitted and halved cherries on a baking sheet. Roast them in the oven for about 10 minutes until they are tender and starting to caramelize. This step intensifies their flavor!
- Mix the Batter: In a large mixing bowl, combine the sugar and melted butter. Stir well until they are thoroughly mixed. Then, add the eggs and vanilla extract, and mix until smooth.
- Combine Dry Ingredients: In another bowl, whisk together the flour, cocoa powder, and salt. Gradually add this dry mixture to the wet ingredients, stirring until just combined.
- Add the Cherries: Gently fold in your roasted cherries, ensuring they’re evenly distributed throughout the brownie batter.
- Pour and Bake: Transfer the brownie mixture into the prepared baking dish and spread it evenly. Bake in the preheated oven for 25-30 minutes, or until a toothpick inserted in the center comes out clean.
- Cool and Serve: Let the brownies cool for at least 10-15 minutes before cutting into squares. Serve warm, and enjoy the rich chocolatey goodness!
Top Tips for Perfecting Homemade Roasted Cherry Brownies
- Substitutions: If you’re out of all-purpose flour, you can use a gluten-free flour mix instead. Just make sure it’s suitable for baking!
- Adjusting Sweetness: Feel free to adjust the sugar according to your preference. Some people love a more indulgent dessert, while others prefer a less sweet option.
- Common Mistakes: Ensure not to overmix your batter; this can lead to dense brownies.
Storing and Reheating Tips
These Homemade Roasted Cherry Brownies can be stored at room temperature for up to 3 days. For longer shelf life, refrigerate them in an airtight container for up to a week. You can also freeze them for about a month! To reheat, simply pop them in the microwave for about 15-20 seconds to revive their fudgy texture.
Enjoy using this recipe at your next family gathering or cozy winter evening, and witness how these brownies become the highlight of your dessert table!

FAQ
Q: Can I use frozen cherries instead of fresh ones?
A: Absolutely! Just ensure that you thaw and drain them before roasting to avoid excess moisture in your brownies.
Q: Do I need to use butter, or can I substitute it with oil?
A: While butter adds a lovely flavor, you can use a neutral oil if you prefer. It may slightly change the texture, but the brownies will still be delicious!
Q: Can I double the recipe?
A: Yes, doubling the recipe is a great idea for larger gatherings! Just remember to adjust the baking time as needed.
Now get baking and enjoy the delightful flavor experience of these Homemade Roasted Cherry Brownies!
Homemade Roasted Cherry Brownies
Ingredients
Method
- Preheat your oven to 350°F (175°C) and grease a baking dish or line it with parchment paper.
- Spread the pitted and halved cherries on a baking sheet and roast in the oven for about 10 minutes until tender and starting to caramelize.
- In a large mixing bowl, combine the sugar and melted butter, stirring until thoroughly mixed. Add the eggs and vanilla extract, and mix until smooth.
- In another bowl, whisk together the flour, cocoa powder, and salt. Gradually add this dry mixture to the wet ingredients, stirring until just combined.
- Gently fold in the roasted cherries, ensuring they are evenly distributed throughout the brownie batter.
- Transfer the brownie mixture into the prepared baking dish and spread it evenly. Bake for 25-30 minutes, or until a toothpick inserted in the center comes out clean.
- Let the brownies cool for at least 10-15 minutes before cutting into squares. Serve warm.
Leave a Reply