
Homemade Coffee Ice Cream: A Sweet Scoop of Bliss!
Imagine a silky, smooth scoop of coffee ice cream that melts in your mouth and awakens your senses with every creamy bite. Sounds tempting, doesn’t it? Homemade Coffee Ice Cream brings the delightful combination of rich coffee flavor and luscious cream right to your freezer, making it one of those must-try recipes. What makes it even more appealing is how quick and easy it is to prepare—perfect for those warm summer days when you crave something sweet but don’t want to spend hours in the kitchen.
Did you know that making ice cream at home allows you to control the ingredients, ensuring a fresh, personalized flavor that stored brands can’t compete with? Plus, it’s an excellent way of getting the whole family involved; kids love watching the magic happen in the ice cream maker! If you’ve tried and enjoyed the stunning Homemade Strawberry Vanilla Bean Ice Cream featured in our blog, you’re in for another treat. So roll up your sleeves and get ready for a fun culinary adventure. You’ll want to make this delectable dessert sooner rather than later!

What is Homemade Coffee Ice Cream?
Now, let’s dive into the name: Homemade Coffee Ice Cream. It’s deliciously straightforward, don’t you think? I mean, it’s coffee, it’s ice cream, and it’s homemade—what more could you ask for? It’s almost like a culinary hug for coffee lovers! Why do we call it coffee ice cream, you ask? Well, just like the classic saying, “the way to a man’s heart is through his stomach,” this rich treat finds its way to the hearts of coffee enthusiasts far and wide! It’s a real classic, a timeless dessert perfect for hot days or cozy movie nights. So why not whip up a batch today? Your taste buds will thank you!
Why You’ll Love This Homemade Coffee Ice Cream:
Homemade Coffee Ice Cream is a game-changer! First and foremost, the creamy texture is a highlight that will have you indulging in guilt-free pleasure. Unlike store-bought varieties, making it at home not only gives you the satisfaction of creating something delicious but also helps you save a few bucks in the process—you won’t have to splurge on those pricey pint-sized tubs!
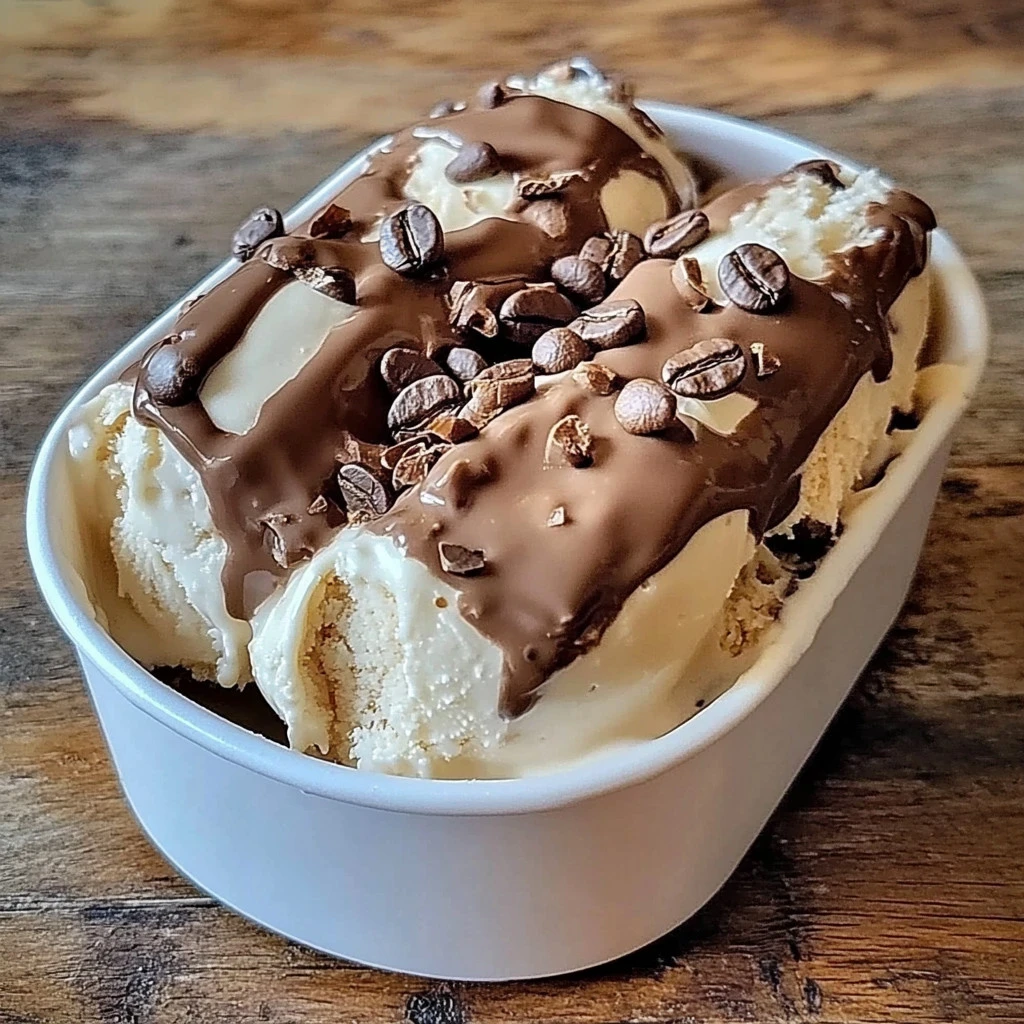
Additionally, the possibilities are endless when it comes to toppings; think crunchy chocolate-covered espresso beans or a drizzle of caramel sauce, which can elevate this ice cream from ordinary to extraordinary. And if you’re a fan of that classic mint chocolate chip, I encourage you to check out our easy Mint Chocolate Chip Ice Cream recipe for an equally delightful treat. So grab your ice cream maker and get ready to impress everyone with this delectable homemade delight!
How to Make Homemade Coffee Ice Cream:
Quick Overview:
Making Homemade Coffee Ice Cream is as easy as 1-2-3! With just a few simple ingredients, you can whip up a creamy, coffee-flavored dessert that will impress family and friends. This satisfying treat takes about 30 minutes of active preparation time, but the waiting for it to freeze will be the toughest part!
Key Ingredients for Homemade Coffee Ice Cream:
- 2 cups heavy cream
- 1 cup whole milk
- 3/4 cup granulated sugar
- 1/2 cup brewed coffee
Step-by-Step Instructions:
- Combine the Ingredients: In a mixing bowl, pour in 2 cups of heavy cream, 1 cup of whole milk, 3/4 cup of granulated sugar, and 1/2 cup of brewed coffee.
- Mix Well: Use a whisk to combine everything until the sugar is fully dissolved and the mixture is smooth.
- Chill the Mixture: Refrigerate the mixture for about 30 minutes to ensure it’s cold before churning; this helps the ice cream to freeze faster.
- Churn It Up: Pour the cooled mixture into your ice cream maker and churn according to the manufacturer’s instructions—typically for about 20-25 minutes.
- Transfer and Freeze: Once the ice cream reaches a soft-serve consistency, transfer it to a lidded container and freeze for at least 4 hours or until firm.
- Serve and Enjoy: Scoop it into bowls, add your favorites toppings, and dig in!
What to Serve Homemade Coffee Ice Cream With:
This coffee masterpiece pairs wonderfully with a variety of delicious treats! For a more indulgent experience, consider serving it alongside warm chocolate brownies for a delightful contrast of flavors. Additionally, a fresh fruit salad can bring brightness to the rich creaminess, or wonderful biscotti on the side for some added crunch goes perfectly. Who wouldn’t enjoy a scoop of homemade goodness topped with a spoonful of leftover homemade almond brittle? The options abound, so mix and match for your perfect dessert spread!
Top Tips for Perfecting Homemade Coffee Ice Cream:
- Choose Fresh Coffee: Use high-quality, freshly brewed coffee for the best flavor.
- Experiment with Add-ins: Try adding mix-ins like crushed chocolate chips or toasted nuts during the last few minutes of churning for extra texture.
- Adjust Sweetness: Feel free to modify the amount of sugar based on your taste preferences; if you love a robust coffee flavor, reduce the sugar for a less sweet treat.
- Temperature Matters: Make sure all your ingredients are cold before mixing; it helps with the churning process and leads to a creamier texture.
Storing and Reheating Tips:
Leftover Homemade Coffee Ice Cream can be stored in an airtight container in the freezer for up to 2 weeks—if it lasts that long! For optimal freshness, avoid repeatedly opening the container and exposing the ice cream to warmer air. If you want to scoop it easily, let it sit at room temperature for a few minutes before serving. Enjoying coffee ice cream doesn’t have to be a thing of the past, so be sure to make a batch to keep your dessert game strong!
Now that you’re equipped with the ultimate guide to Homemade Coffee Ice Cream, it’s time to get cooking! Whether you’re treating yourself or showing off for your friends and family, this delightful dessert is bound to be a hit!
Homemade Coffee Ice Cream: A Sweet Scoop of Bliss!
Ingredients
Method
- Combine the Ingredients: In a mixing bowl, pour in 2 cups of heavy cream, 1 cup of whole milk, 3/4 cup of granulated sugar, and 1/2 cup of brewed coffee.
- Mix Well: Use a whisk to combine everything until the sugar is fully dissolved and the mixture is smooth.
- Chill the Mixture: Refrigerate the mixture for about 30 minutes to ensure it’s cold before churning; this helps the ice cream to freeze faster.
- Churn It Up: Pour the cooled mixture into your ice cream maker and churn according to the manufacturer’s instructions—typically for about 20-25 minutes.
- Transfer and Freeze: Once the ice cream reaches a soft-serve consistency, transfer it to a lidded container and freeze for at least 4 hours or until firm.
- Serve and Enjoy: Scoop it into bowls, add your favorites toppings, and dig in!
Leave a Reply