
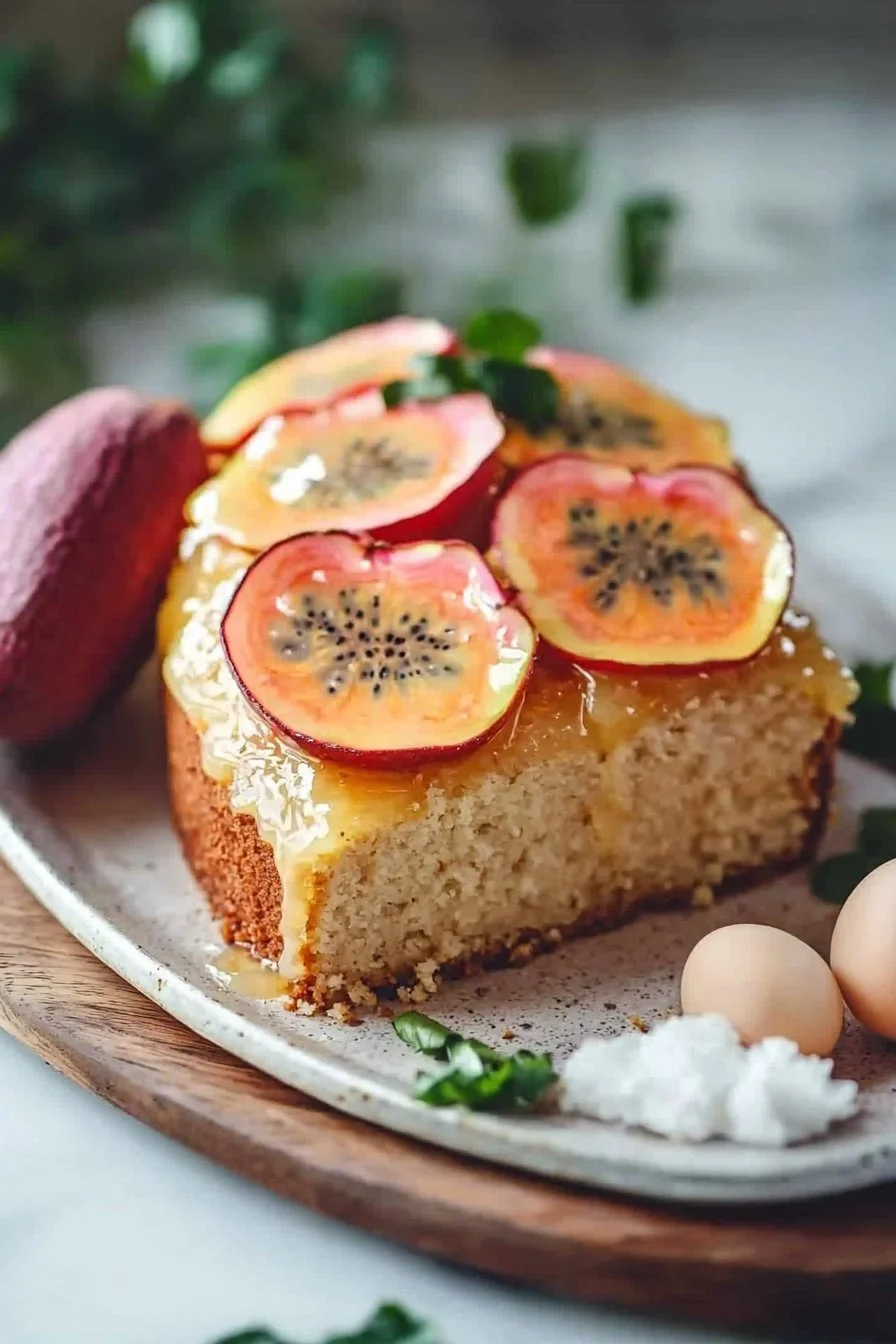
If you’re looking for a dessert that captures the essence of tropical islands, look no further than this delightful Hawaiian Guava Cake. With its moist, fluffy texture and vibrant guava flavor, this cake is sure to tickle your taste buds. Imagine biting into a slice with a soft, buttery crumb that melts in your mouth, transporting you to sun-soaked beaches with a gentle sea breeze.
The fun fact about guava? It’s not just delicious; it’s also packed with vitamins and antioxidants! I first discovered this gem when a friend brought it to a family gathering, and honestly, I couldn’t stop at one slice. It’s special for its simplicity – perfect for any occasion, whether a cozy winter evening at home or a lively family gathering. If you’ve enjoyed my popular coconut cake, this Hawaiian Guava Cake will quickly become another favorite, offering a refreshing twist that is both satisfying and utterly indulgent.
What is Hawaiian Guava Cake?
So, what’s the deal with the name Hawaiian Guava Cake? Did someone just wake up one day and decide to throw together guavas with cake? It’s a fun thought, right? In reality, this cake hails from the wonderful flavors of Hawaii, where tropical fruits abound. Legend has it that locals believe “the way to a man’s heart is through his stomach,” and trust me, this cake has worked wonders! If you’re ready to indulge in a decadent slice of paradise, give this Hawaiian Guava Cake a try; your family will thank you!
Why You’ll Love This Hawaiian Guava Cake
This Hawaiian Guava Cake is a showstopper for several reasons! First, it highlights the often-overlooked guava fruit, elevating it to an elegant dessert that stuns at any gathering. Second, making this cake at home is a cost-saving joy, allowing you to enjoy bakery-level flavors without breaking the bank. Why settle for store-bought cakes laden with preservatives when you can whip this up effortlessly?
Lastly, let’s talk toppings. While it stands superbly on its own, a sprinkle of powdered sugar or a dollop of whipped cream brings out the flavors wonderfully. If you’ve had a pineapple upside-down cake, then you’ll appreciate the similar heartwarming flavor profile, but guava truly adds that extra zing! So, what are you waiting for? Gather your ingredients, roll up your sleeves, and let’s dive into making this delicious treat!
How to Make Hawaiian Guava Cake
Quick Overview
Creating this Hawaiian Guava Cake is a breeze! It’s easy to mix together and satisfies the senses with its soft texture and sweet, fruity flavor. Plus, it comes together in just about 15 minutes of prep time, with a total baking time of around 30 minutes. Perfect for a quick family dessert!
Ingredients Needed:
- 1 cup guava puree
- 1 cup all-purpose flour
- 1 cup sugar
- ½ cup unsalted butter, softened
- 2 eggs
- 1 teaspoon baking powder
- ½ teaspoon baking soda
- ¼ teaspoon salt
- 1 teaspoon vanilla extract
Step-by-Step Instructions
- Preheat the Oven: Begin by preheating your oven to 350°F (175°C). This is essential to ensure an even bake.
- Prepare the Baking Pan: Grease and flour a 9-inch round cake pan or line it with parchment paper for easy removal later.
- Mix the Dry Ingredients: In a medium bowl, whisk together the all-purpose flour, baking powder, baking soda, and salt.
- Cream the Butter and Sugar: In a large mixing bowl, beat the softened unsalted butter and sugar together until light and fluffy, about 3-4 minutes.
- Add Eggs and Guava Puree: Mix in the eggs one at a time, beating well after each addition. Then, stir in the guava puree and vanilla extract until combined.
- Combine Ingredients: Gradually add the dry ingredients to the wet mixture. Stir until just combined; be careful not to overmix, as this can lead to a dense cake.
- Pour and Bake: Pour the batter into the prepared cake pan and smooth the top. Bake in the preheated oven for about 30 minutes or until a toothpick inserted into the center comes out clean.
- Cool and Serve: Once baked, allow the cake to cool in the pan for 10 minutes before transferring it to a wire rack. Let it cool completely before slicing and serving.
Top Tips for Perfecting Hawaiian Guava Cake
- Substitutions: If you’re looking to experiment, you can easily substitute the guava puree with mango or passion fruit puree. Both will provide a delicious tropical twist while keeping the cake moist.
- Timing: When baking, keep an eye on the cake. Oven temperatures can vary, so it’s best to check for doneness a few minutes before the timer goes off.
- Common Mistakes: Avoid overmixing the batter to ensure a light and fluffy texture. Overmixing can activate the gluten in the flour too much, resulting in a tougher cake.
Storing and Reheating Tips
To enjoy your Hawaiian Guava Cake for days, store any leftovers in an airtight container at room temperature for up to 3 days. If you wish to keep it longer, refrigerate for up to a week. You can also freeze the cake for up to three months. To reheat, simply thaw at room temperature or warm individual slices in the microwave for 10–15 seconds. This will help to retain its wonderful texture and flavor.
Now that you have everything you need, it’s time to roll up your sleeves and bake this scrumptious Hawaiian Guava Cake! Your family gatherings will be forever enriched with this tropical delight, and who knows – it might just become your next favorite dessert. Enjoy!

Hawaiian Guava Cake
Ingredients
Method
- Preheat your oven to 350°F (175°C).
- Grease and flour a 9-inch round cake pan or line it with parchment paper.
- In a medium bowl, whisk together the all-purpose flour, baking powder, baking soda, and salt.
- In a large mixing bowl, beat the softened unsalted butter and sugar together until light and fluffy, about 3-4 minutes.
- Mix in the eggs one at a time, beating well after each addition.
- Stir in the guava puree and vanilla extract until combined.
- Gradually add the dry ingredients to the wet mixture and stir until just combined.
- Pour the batter into the prepared cake pan and smooth the top.
- Bake in the preheated oven for about 30 minutes or until a toothpick inserted into the center comes out clean.
- Allow the cake to cool in the pan for 10 minutes before transferring it to a wire rack.
- Let it cool completely before slicing and serving.
Leave a Reply