
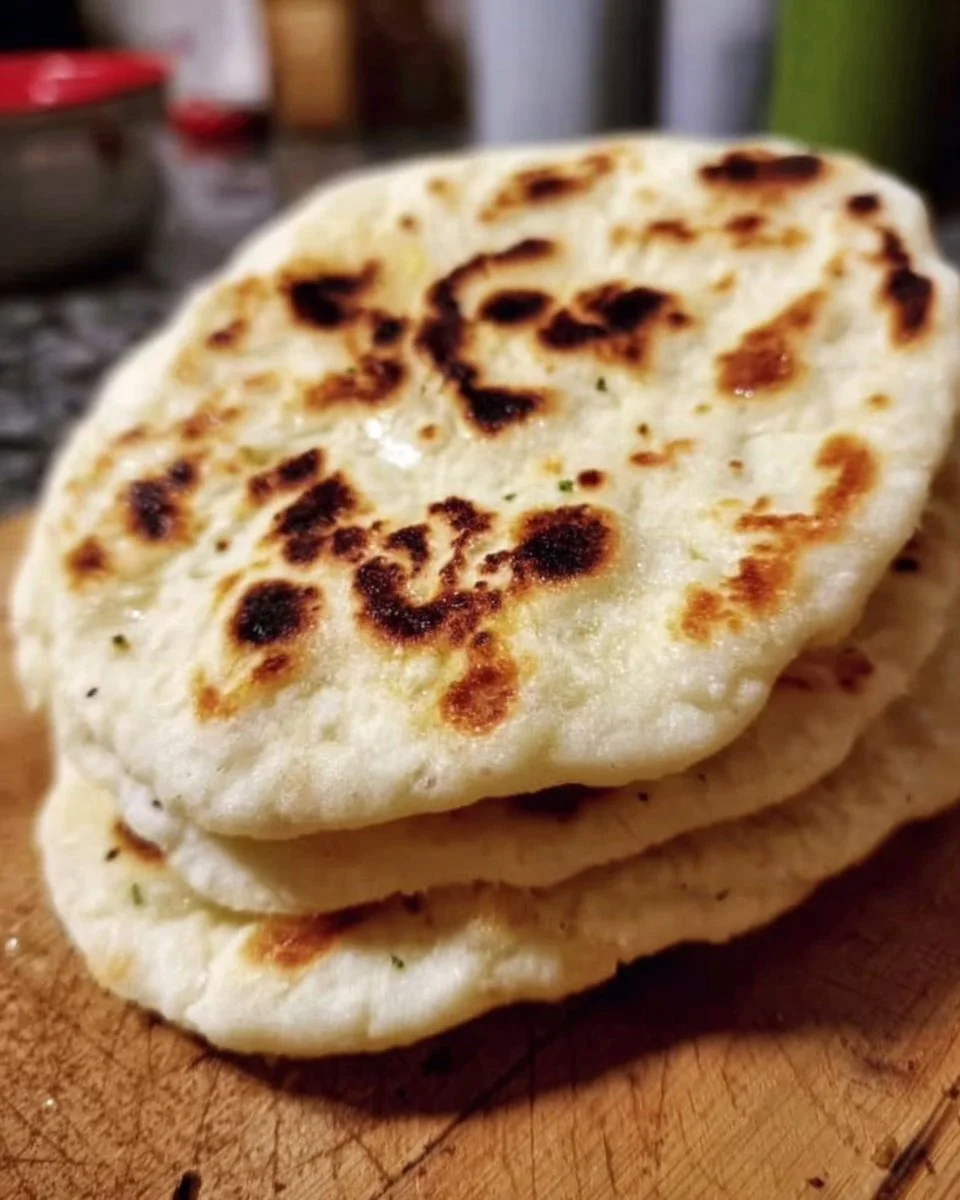
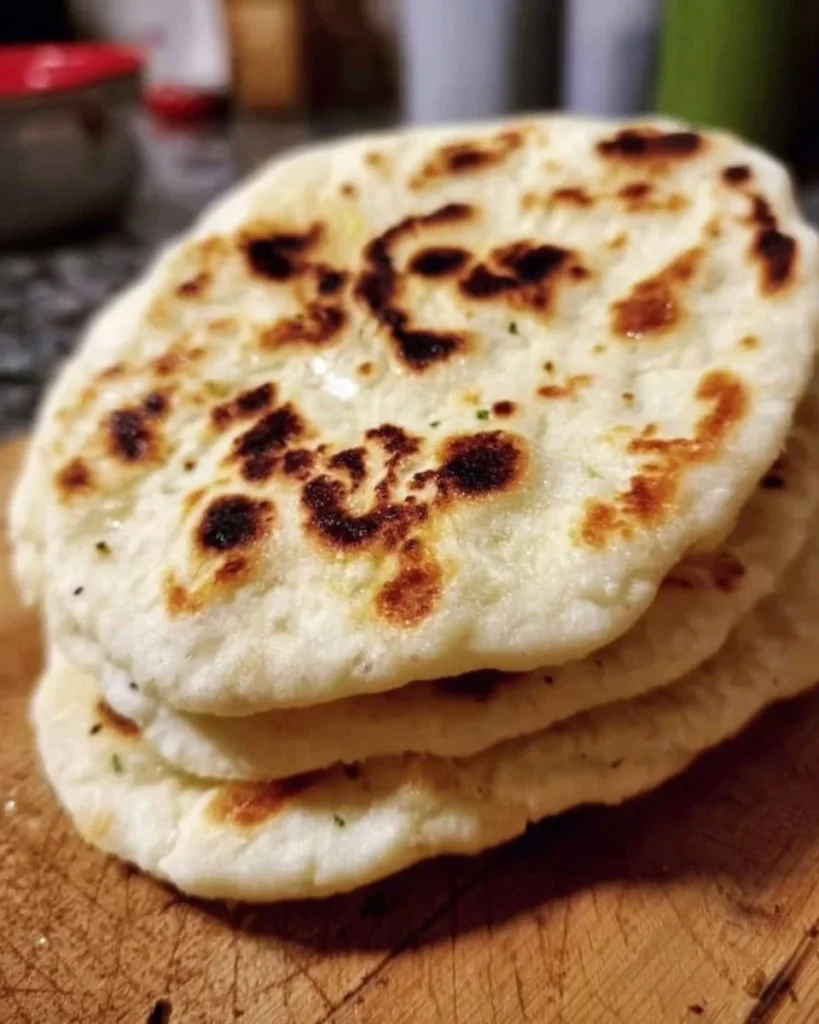
Gluten-Free Pita Bread
There’s nothing quite like the feeling of tearing into a warm, fluffy pita bread, the soft texture juxtaposed with a subtle crispness that promises a delightful bite every time. Imagine gathering around the table with family, dipping that freshly made pita into seasoned hummus or stuffing it with vibrant veggies, savory meats, or a delightful medley of both. Not only does it evoke warm memories of shared meals, but it also introduces a fun, interactive dining experience. Despite its simplicity, this gluten-free pita bread stands out. You’ll find it is a wonderful alternative to the traditional pita, similar to the whole wheat flatbreads you might find on other popular food blogs but tailored to meet gluten-free needs. This recipe encourages creativity in the kitchen while upholding the beloved ethos that ‘the way to a man’s heart is through his stomach.’ Let’s dive into how you can whip up this delicious bread at home!
What is Gluten-Free Pita Bread?
Let’s take a moment to ponder: where on earth did the name “pita” come from? Is it named after a charming Middle Eastern merchant, or does it have a more whimsical background? It makes you wonder! Pita bread, with its delightful pocket perfect for stuffing, has traveled the world and seems to have become a family favorite. There’s a saying that ‘the way to a man’s heart is through his stomach,’ and trust me, when it comes to this warm, gluten-free pita, it’s absolutely true! But don’t just take my word for it—get your hands floury and experience the joy yourself!
Why You’ll Love This Gluten-Free Pita Bread
This gluten-free pita bread is a highlight for any main dish—it can be the canvas for your culinary creations. Imagine using it to make a wrap filled with roasted chicken, a salad, or a plant-based delight. Not only is it a hit for family gatherings, but making it at home also saves you a pretty penny compared to store-bought gluten-free alternatives. Plus, the versatility of toppings means you can stick to flavorful favorites like creamy hummus, zesty tzatziki, or even a dollop of pesto. If you’ve enjoyed a traditional flatbread from a popular food blog, you’ll love this gluten-free twist even more. So, grab your apron and let’s get cooking!
How to Make Gluten-Free Pita Bread
Quick Overview
Making gluten-free pita bread is a delightful and straightforward process that you can accomplish in roughly 30 minutes from start to finish. The result is a warm, fluffy bread with a satisfying chew—perfect for pairing with all your favorite dishes.
Ingredients for Gluten-Free Pita Bread
- 2 cups gluten-free all-purpose flour
- 1 teaspoon salt
- 1 teaspoon sugar
- 1 teaspoon baking powder
- 1 cup warm water
- 2 tablespoons olive oil
- 1 teaspoon active dry yeast
Note: Ensure your gluten-free flour blend includes xanthan gum for the best texture.
Step-by-Step Instructions
- Activate the Yeast: In a bowl, combine warm water and sugar. Sprinkle the active dry yeast over the water and let it sit for about 5-10 minutes until it becomes foamy.
- Mix the Dry Ingredients: In a separate large mixing bowl, whisk together the gluten-free flour, salt, and baking powder until well combined.
- Combine Mixtures: Once the yeast has activated, add the olive oil and foamy yeast mixture into the dry ingredients. Stir them together until you form a smooth, slightly sticky dough.
- Rest the Dough: Cover the bowl with a damp cloth and let the dough rest for about 15 minutes. This allows the yeast to work its magic.
- Shape the Pita: Preheat your oven to 475°F (245°C) or use a pizza stone if available. Divide the dough into small balls (about the size of a golf ball). Roll each ball into a flat disk, about ¼ inch thick.
- Bake the Pita: Place the disks on a baking sheet lined with parchment paper or directly onto the pizza stone. Bake for 5-7 minutes or until they puff up and turn lightly golden.
- Cool and Store: Remove the pita from the oven and let them cool slightly before serving. Enjoy warm or store for later!
Top Tips for Perfecting Gluten-Free Pita Bread
- Substitutions: If you’re out of gluten-free flour, try chickpea flour for an even nuttier flavor.
- Rising Time: Don’t skip letting the dough rest—this creates a lovely texture and helps with the bread’s puffiness.
- Avoiding Mistakes: Ensure your ingredients are fresh, especially the yeast, as expired yeast won’t activate properly.
Storing and Reheating Tips
Store your leftover gluten-free pita bread in an airtight container at room temperature for up to 3 days. For longer storage, freeze the pita bread, separated by sheets of parchment paper, for up to 2 months. When ready to enjoy, simply reheat on a baking sheet in a 350°F (175°C) oven for 5-7 minutes or until warmed through, restoring its soft, delightful texture.
Frequently Asked Questions
Can I make this pita bread in advance?
Absolutely! You can prepare the dough in advance and refrigerate it for a day or two. Just remember to let it come to room temperature and rest before baking.
What toppings work well with gluten-free pita?
You can load up your pita with grilled veggies, falafel, salads, or any protein of your choice! The flavor combinations are endless.
Is gluten-free pita bread suitable for freezing?
Yes, it’s great for freezing! Just make sure they’re well wrapped to prevent freezer burn.
By creating your gluten-free pita bread, you tap into an enjoyable experience full of flavor, nutrition, and love that only home cooking can provide. Ready to get started? Roll up your sleeves and tell your taste buds they’re in for a treat! Happy cooking!
Gluten-Free Pita Bread
Ingredients
Method
- In a bowl, combine warm water and sugar. Sprinkle the active dry yeast over the water and let it sit for about 5-10 minutes until it becomes foamy.
- In a separate large mixing bowl, whisk together the gluten-free flour, salt, and baking powder until well combined.
- Once the yeast has activated, add the olive oil and foamy yeast mixture into the dry ingredients. Stir them together until you form a smooth, slightly sticky dough.
- Cover the bowl with a damp cloth and let the dough rest for about 15 minutes.
- Preheat your oven to 475°F (245°C) or use a pizza stone if available.
- Divide the dough into small balls (about the size of a golf ball). Roll each ball into a flat disk, about ¼ inch thick.
- Place the disks on a baking sheet lined with parchment paper or directly onto the pizza stone. Bake for 5-7 minutes or until they puff up and turn lightly golden.
- Remove the pita from the oven and let them cool slightly before serving.
Leave a Reply