
Date Bars
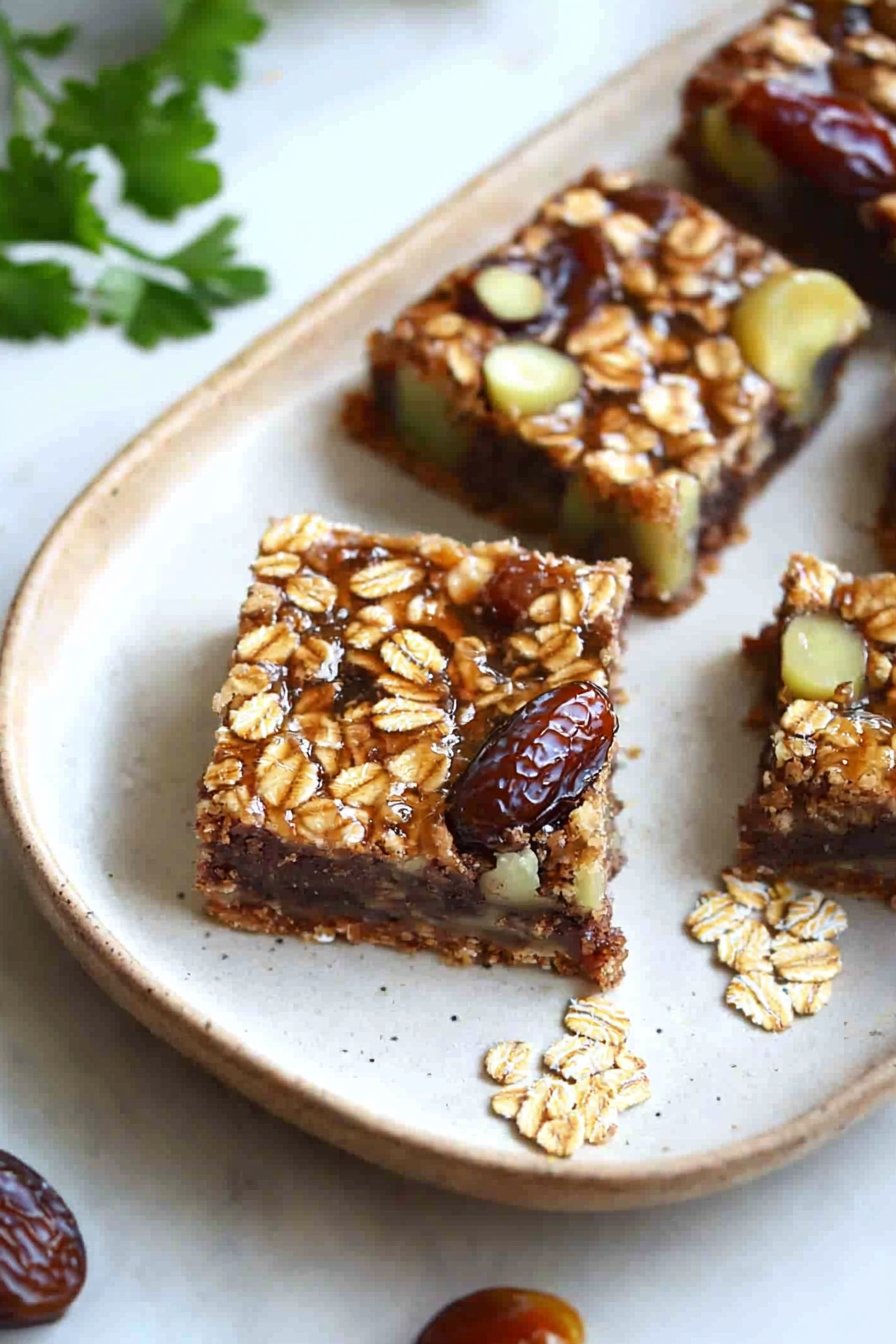
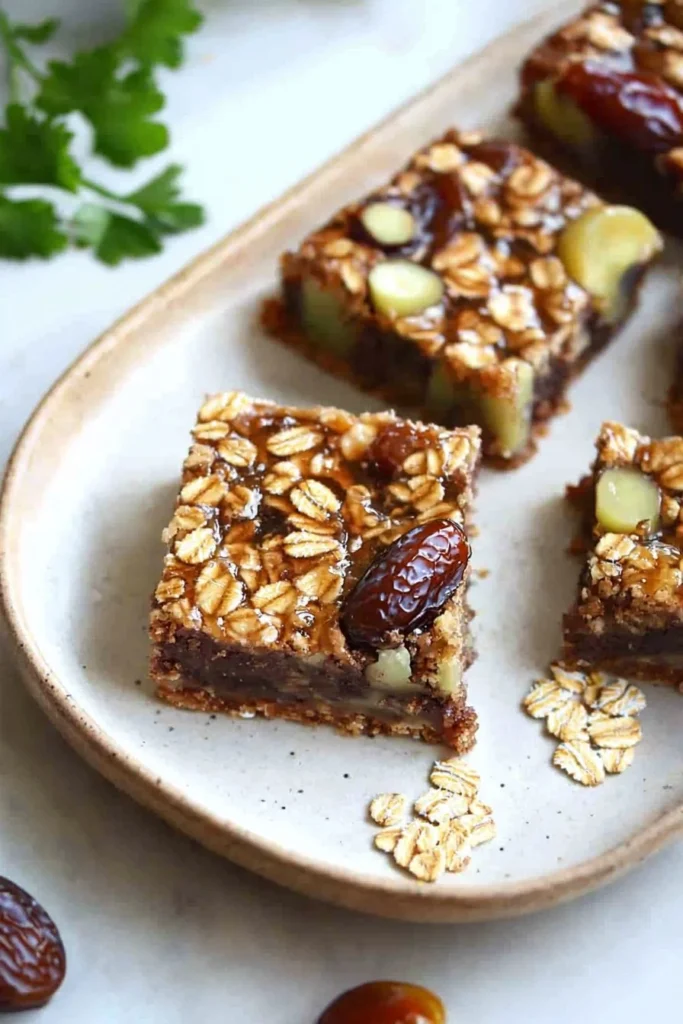
When you’re looking for a delectable treat that brings joy to any family gathering, look no further than date bars! These delightful squares combine the rich sweetness of dates with the heartiness of oats, resulting in a chewy yet satisfying texture that will have everyone reaching for seconds. The unique blend of flavors and the nutritious elements of dates make this recipe a staple in many households. Fun fact: did you know that the phrase “the way to a man’s heart is through his stomach” has never been truer when it comes to serving these delicious treats? Compared to my popular almond cookies, which have a nutty crunch, date bars offer a luscious softness that is equally irresistible. Get ready to taste something special that embodies simplicity and family appeal!
What is Date Bars?
So, what exactly are date bars? Imagine sweet, chewy squares filled with nature’s candy—dates! The origins of this delightful treat might leave you wondering: Do they date back to ancient times, or do they just have a thing for making modern-day snackers swoon? While we may never know the history behind their name, one thing is clear: date bars know how to satisfy cravings! Whether you enjoyed them during cozy winter evenings or brought them to potlucks, these bars are sure to hit the sweet spot! Why not whip up a batch today and see for yourself?
Why You’ll Love This Date Bars
The joy of this Date Bars recipe lies in its simplicity and heartfelt flavors. With just a handful of ingredients, you can create a treat that serves as the perfect dessert, breakfast, or midday snack. Unlike store-bought desserts loaded with preservatives, home-cooked date bars are both wholesome and delicious. Plus, making these bars at home saves you money, allowing you to spend your budget on other essentials while still impressing your family and friends. Imagine biting into one of these chewy squares topped with a sprinkle of coconut or a drizzle of honey. Isn’t that just perfect? Get started in your kitchen and join the ranks of other satisfied bakers!
How to Make Date Bars
Quick Overview
Making Date Bars is a breeze, perfect for both beginner cooks and seasoned bakers. With a preparation time of just about 15 minutes and a baking time of 25 minutes, you’ll have these delectable treats ready to enjoy in no time! The chewy oats combined with the sweetness of dates create a delightful texture and flavor that is irresistible!
Ingredients for Date Bars
- 1 cup chopped dates
- 1 cup rolled oats
- 1/2 cup flour
- 1/2 cup brown sugar
- 1/4 cup butter (dairy or non-dairy for a vegan option)
- 1/2 teaspoon baking soda
- 1/4 teaspoon salt
- 1/2 teaspoon vanilla extract
Step-by-Step Instructions
- Preheat Your Oven
Start by preheating your oven to 350°F (175°C). - Prepare Your Baking Dish
Grease an 8-inch square baking dish with butter or line it with parchment paper for easy removal later. - Mix the Dry Ingredients
In a large mixing bowl, combine the rolled oats, flour, brown sugar, baking soda, and salt. Stir until well mixed. - Add Butter and Dates
Melt the butter in the microwave or on the stovetop and let it cool slightly. Pour the melted butter and chopped dates into the bowl, and mix until every ingredient is fully incorporated. - Add Vanilla Extract
Add the vanilla extract to the mixture and stir once more. - Transfer to Baking Dish
Pour the mixture into the prepared baking dish, spreading it out evenly with a spatula. - Bake
Place the dish in the oven and bake for about 25 minutes, or until the edges are golden brown. - Cool and Cut
Let the bars cool in the pan before cutting them into squares to serve.
Top Tips for Perfecting Date Bars
- If you want a little extra flavor, consider adding chopped nuts, like walnuts or almonds for a delightful crunch!
- To save time, you can prep the dry ingredients the night before. Simply combine them in a bowl and store them in the refrigerator until you’re ready to bake.
- Ensure that your dates are fresh and moist for the best flavor. If they seem a little dry, soaking them in warm water for 10-15 minutes can help soften them up.
Storing and Reheating Tips
To store your lovely Date Bars, allow them to cool fully before wrapping them in plastic wrap or transferring to an airtight container. They can be stored at room temperature for about a week. For longer preservation, they can be frozen for up to 3 months. Just remember to thaw them out at room temperature for a while before enjoying! Reheating in the microwave for a few seconds will revive that gorgeous chewy texture, making them taste freshly baked again.
Frequently Asked Questions
- Can I substitute the butter for a vegan alternative?
Yes! You can use coconut oil or unsalted vegan butter as a perfect substitute. - Are Date Bars gluten-free?
You can easily make a gluten-free version by swapping out the flour for a gluten-free baking blend. - Can I add chocolate to this recipe?
Absolutely! Incorporating chocolate chips would make a delicious addition. - What’s the best way to serve these bars?
They’re great on their own, but you could also serve them with a dollop of yogurt or a sprinkle of nuts on top.
Now that you’ve learned how to make these irresistibly delicious Date Bars, it’s time to gather your ingredients and delight your loved ones! Happy baking!
Date Bars
Ingredients
Method
- Preheat your oven to 350°F (175°C).
- Grease an 8-inch square baking dish with butter or line it with parchment paper.
- In a large mixing bowl, combine rolled oats, flour, brown sugar, baking soda, and salt. Stir until well mixed.
- Melt the butter and let it cool slightly. Pour the melted butter and chopped dates into the bowl, mixing until fully incorporated.
- Add vanilla extract to the mixture and stir well.
- Pour the mixture into the prepared baking dish, spreading it out evenly.
- Place the dish in the oven and bake for about 25 minutes, or until the edges are golden brown.
- Let the bars cool in the pan before cutting them into squares to serve.
Leave a Reply