
Cheesy Bean and Rice Burrito
Are you ready to indulge in a comforting, flavorful dish that brings the whole family together? Meet the Cheesy Bean and Rice Burrito! Picture this: soft, warm tortillas wrapped around a delightful mixture of creamy cheese, hearty black beans, and fluffy rice, perfectly seasoned and topped with your choice of zesty salsa. It’s a combination that promises both satisfaction and smiles at the dinner table.
Growing up, my family often enjoyed burritos during our cozy winter evenings. I still remember the joy of unwrapping that foil, revealing a hot, cheesy burrito bursting with flavors. This recipe is truly a family favorite and shares delightful similarities with my popular Vegetable Quesadilla recipe—both simple and fulfilling meals that transport you to flavorful destinations in minutes! You just can’t go wrong with cheese, beans, and rice in a burrito, can you?
What is Cheesy Bean and Rice Burrito?
So, what’s a Cheesy Bean and Rice Burrito anyway? Is it simply a cheesy hug wrapped in a tortilla or is it a culinary masterpiece waiting to happen? These delightful bundles of goodness are the best vegetarian option to fill your belly and your heart. As they say, “the way to a man’s heart is through his stomach!” And trust me, once they dig into these burritos, they’ll know they are loved.
Feeling adventurous? Why not give this recipe a try? Your family will thank you, and you may become the official “Burrito Guru” of the household!
Why You’ll Love This Cheesy Bean and Rice Burrito
Why should you cook Cheesy Bean and Rice Burrito tonight? Well, for starters, this dish checks all the boxes for a main dish. It’s rich, hearty, and incredibly wholesome! By preparing this at home, you not only save some money, but you also get control over the quality of ingredients used—no need to hit that drive-thru!
And let’s not forget about the toppings! You can go as wild as you want with flavors: from fresh avocado slices to dollops of creamy sour cream, or perhaps a sprinkle of sliced jalapeños for those who crave a kick. It’s almost like enjoying a fiesta in every bite! Think of it as a comforting cousin to the classic burrito varieties you’d find in a restaurant—only better because it’s homemade!
So why not roll up your sleeves and dive into feeling the joy of making a meal together?
How to Make Cheesy Bean and Rice Burrito
Quick Overview
Making Cheesy Bean and Rice Burrito is straightforward and truly satisfying. Ready in about 30 minutes, this dish highlights warm, cheesy textures that simply melt in your mouth—and what’s better than that? Perfect for a busy weeknight dinner, this recipe is not just easy; it’s also deeply delicious!
Ingredients
- 1 cup cooked rice
- 1 can black beans, rinsed and drained
- 1 cup shredded cheese (cheddar or Monterey Jack)
- 1/2 cup salsa
- 4 large flour tortillas
- 1 teaspoon cumin
- Salt and pepper to taste
- Olive oil for cooking
This combination is all you need to create the ultimate family-friendly burrito. Feel free to use leftover rice or beans you might have on hand—it’s all about making the most of what you have!
Step-by-Step Instructions
- Prepare Your Ingredients: In a bowl, combine the cooked rice, drained black beans, shredded cheese, salsa, cumin, salt, and pepper. Mix well.
- Heat the Tortillas: In a pan over low heat, warm each tortilla briefly until it is pliable—about 20 seconds on each side.
- Fill the Tortillas: Spoon the bean and rice mixture into the center of each tortilla, about 1/3 of the way down.
- Roll It Up: Fold the sides of the tortilla inward and then roll from the bottom up until tightly wrapped.
- Cook the Burritos: In the same pan, add a bit of olive oil and carefully place the burritos seam-side down. Cook until golden brown and crispy, about 2–3 minutes. Flip and cook the other side.
- Serve: Remove from heat, slice in half if desired, and serve with additional salsa on the side.
And there you have it—perfectly crunchy on the outside and cheesy on the inside, ready to be enjoyed!
Top Tips for Perfecting Cheesy Bean and Rice Burrito
- Substitutions: You can easily swap the black beans with pinto beans if that’s what you have or even add some sautéed veggies for more flavor and texture.
- Timing: Make sure your tortillas are warm before adding the filling; this prevents them from cracking.
- Avoid Common Mistakes: Don’t overstuff your burritos! You want them to roll up easily without breaking.
Storing and Reheating Tips
If you have leftovers (which is not very likely, but just in case!), place your burritos in an airtight container and refrigerate. They’ll be good for about 3 to 4 days. To reheat, pop them in the microwave for about 1–2 minutes or warm them in a skillet over medium heat, turning occasionally to ensure they warm through without becoming soggy.
For longer storage, you can freeze the burritos before cooking them. Wrap them tightly in foil or freezer-safe bags. They will last up to 3 months in the freezer! When you’re ready to enjoy them, thaw in the fridge overnight and then cook as instructed.
So there you have it, my friends—a delightful way to create mouthwatering Cheesy Bean and Rice Burritos for your next family gathering or cozy weeknight dinner. Enjoy the flavors and the smiles they bring!
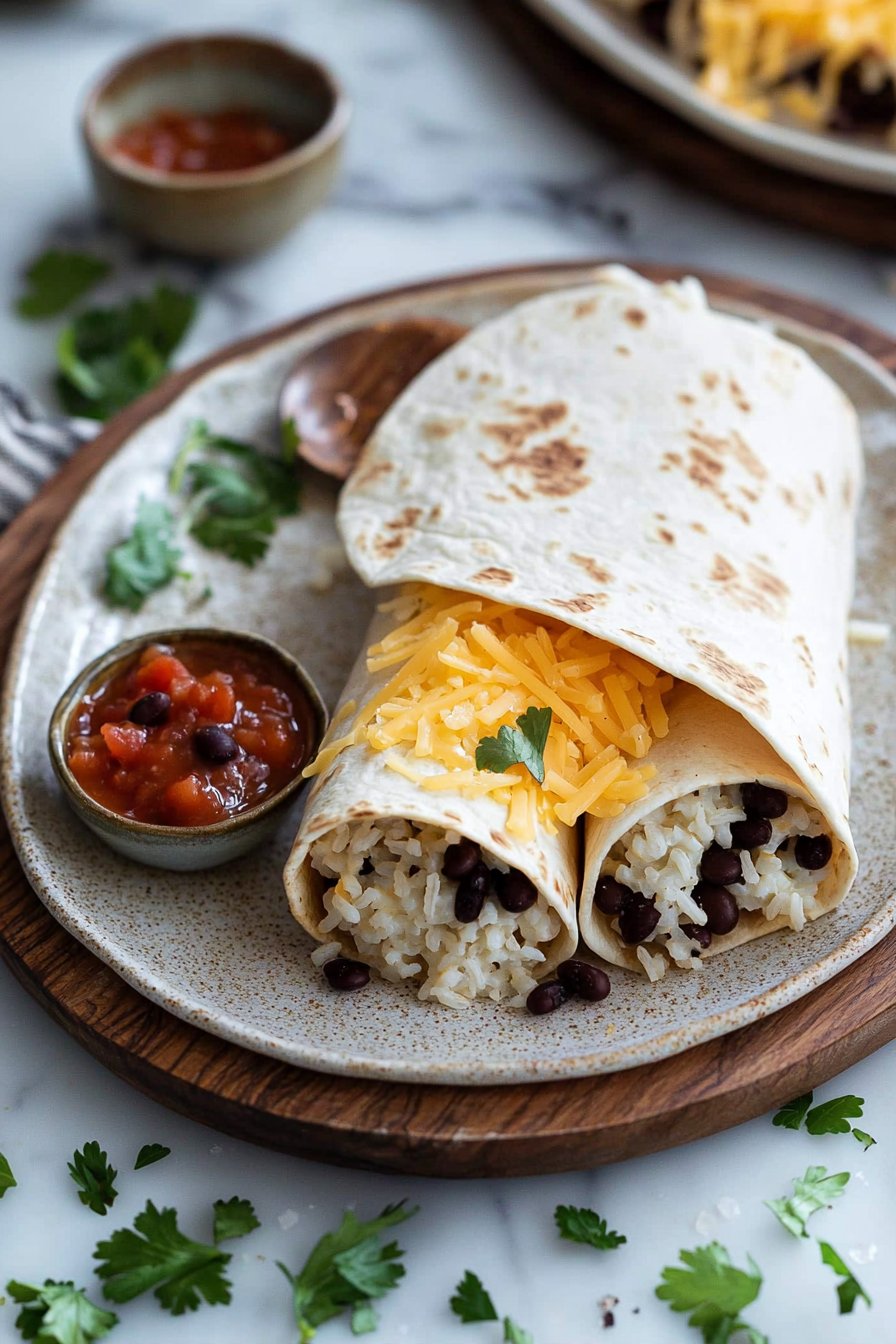
Do you have any tips or variations for making this dish even more perfect? Share your thoughts in the comments below!
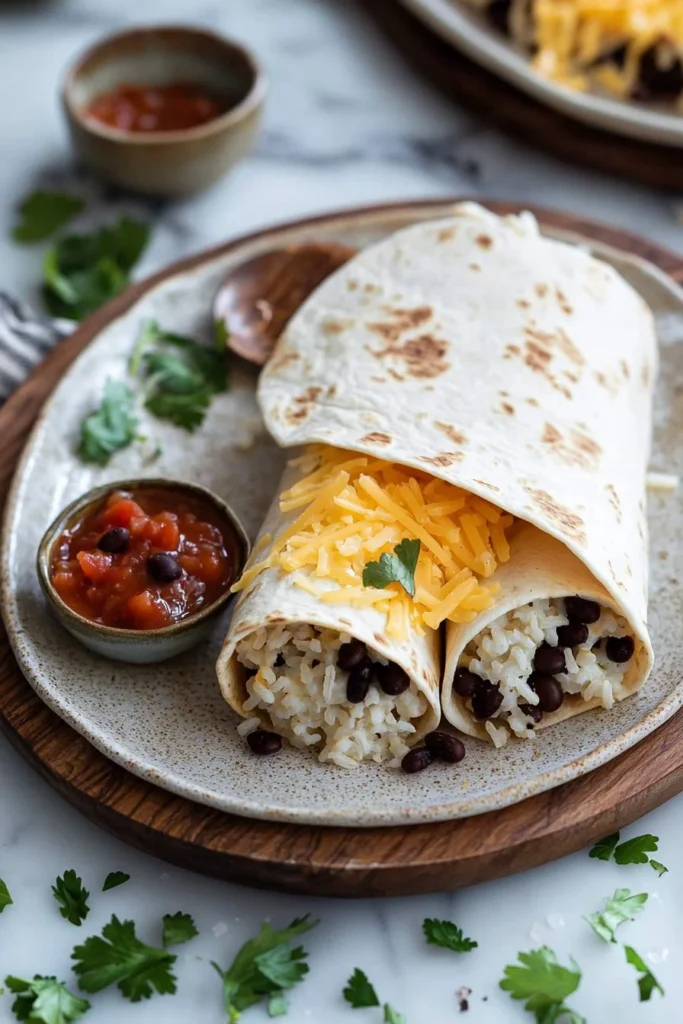
Cheesy Bean and Rice Burrito
Ingredients
Method
- In a bowl, combine the cooked rice, drained black beans, shredded cheese, salsa, cumin, salt, and pepper. Mix well.
- In a pan over low heat, warm each tortilla briefly until it is pliable—about 20 seconds on each side.
- Spoon the bean and rice mixture into the center of each tortilla, about 1/3 of the way down.
- Fold the sides of the tortilla inward and then roll from the bottom up until tightly wrapped.
- In the same pan, add a bit of olive oil and carefully place the burritos seam-side down. Cook until golden brown and crispy, about 2–3 minutes.
- Flip and cook the other side.
- Remove from heat, slice in half if desired, and serve with additional salsa on the side.
Leave a Reply