
Baked Cheesy Bean and Rice Burritos
Are you ready to step into a world of cheesy goodness and comforting flavors? Baked Cheesy Bean and Rice Burritos are not just your average meal; they are a crispy and savory celebration of hearty ingredients. Imagine biting into a warm, gooey burrito where cheesy melted goodness meets seasoned black beans and fluffy rice, all enveloped in a soft tortilla. It’s the kind of dish that makes family gatherings feel extra special — and trust me, you’ll be going back for seconds!
Did you know that burritos originated in Mexico as a way to carry food conveniently? Just like my popular Vegetarian Stuffed Peppers, this recipe is not only simple to make but also adaptable to your family’s taste preferences. No matter the occasion, these burritos will surely be the star of the show. So, gather your ingredients and get ready to impress!
What is Baked Cheesy Bean and Rice Burritos?
So, what exactly are Baked Cheesy Bean and Rice Burritos? Great question! They’re like little flavor-packed treasure chests, but instead of jewels, you find a delightful mix of black beans, rice, and melty cheese. You might be wondering, does “burrito” mean “little donkey”? Well, that’s one playful interpretation, given their shape! You know how they say, “the way to a man’s heart is through his stomach”? Well, these burritos might just take the prize for winning over everyone at your dinner table. Trust me, once you serve these, you’ll be hearing “more, please!” from every corner. So, let’s roll up our sleeves and dive into this delicious recipe!
Why You’ll Love These Baked Cheesy Bean and Rice Burritos
Here’s the deal: these burritos are not only the ultimate comfort food, but they’re also packed with flavor and nutrients, making them an excellent main dish. When you make them at home, you’re not just saving money; you’re creating a wholesome meal that’s tailor-made for your family. For an extra flavor boost, imagine topping your burritos with fresh salsa, sour cream, or even sliced jalapeños. Yum!
Think of these burritos like the cousin of classic enchiladas — they are equally satisfying and perfect for family gatherings. Better yet, they offer a crispy outer layer thanks to baking, providing that textural contrast which elevates the dish. Are you ready to whip up your own batch of these irresistible burritos? Let’s get started!
How to Make Baked Cheesy Bean and Rice Burritos
Quick Overview
Making these Baked Cheesy Bean and Rice Burritos is a breeze! With a prep time of just 15 minutes and baking time of 20 minutes, you can have a delicious, satisfying meal ready in no time. The blend of creamy cheese, savory beans, and fluffy rice creates a filling dish that promises to satisfy the hungriest of appetites, while the baking gives each burrito a crispy exterior that is simply irresistible.
Ingredients
Here’s what you’ll need to make these delightful burritos:
- 1 cup cooked rice
- 1 can black beans (drained and rinsed)
- 1 cup shredded cheese (cheddar or a blend)
- 1 teaspoon taco seasoning
- 4 large flour tortillas
- 1/2 cup salsa
- Cooking spray or olive oil
Step-by-Step Instructions
- Preheat Your Oven: First things first, preheat your oven to 375°F (190°C) to ensure it’s hot and ready for those burritos.
- Mix the Filling: In a medium bowl, combine the cooked rice, black beans, shredded cheese, and taco seasoning. Stir well until everything is evenly mixed.
- Assemble the Burritos: Lay each tortilla flat on a clean surface. Spoon a generous portion of the filling into the center of each tortilla. Fold the sides over the filling and then roll it up tightly from the bottom to secure everything inside.
- Bake ‘Em: Lightly coat a baking dish with cooking spray or drizzle with olive oil. Place the burritos seam-side down in the dish. If desired, drizzle a little extra salsa on top for added flavor.
- Get Cooking: Bake in the preheated oven for about 20 minutes, or until the burritos are heated through and the cheese has melted.
- Serve and Enjoy: Remove from the oven, let them cool for a few minutes, and then serve them warm, topped with any of your favorite toppings!
Top Tips for Perfecting Baked Cheesy Bean and Rice Burritos
- Substitutions: Feel free to customize the filling! You can add diced bell peppers, corn, or even shredded chicken (make sure it’s halal) for added flavor.
- Timing: Keep an eye on your burritos in the oven — depending on your oven, you may need to adjust the cooking time slightly.
- Common Mistakes: Avoid overfilling your burritos; this can make it challenging to roll them properly and can cause them to burst while baking.
Storing and Reheating Tips
These Baked Cheesy Bean and Rice Burritos are great for meal prep! Allow them to cool completely before placing them in an airtight container. They can be stored in the refrigerator for up to 4 days or frozen for up to 3 months.
When you’re ready to enjoy a burrito, reheat it in the oven at 350°F (175°C) for about 15-20 minutes or until warmed through, ensuring it has that delightful crispness on the outside. Alternatively, you can microwave them for about 1-2 minutes, but this may soften the tortilla a bit.
Now that you have the recipe for Baked Cheesy Bean and Rice Burritos, it’s time to get cooking! Your family will be delighted, and you might just earn some brownie points in the kitchen. Happy cooking!
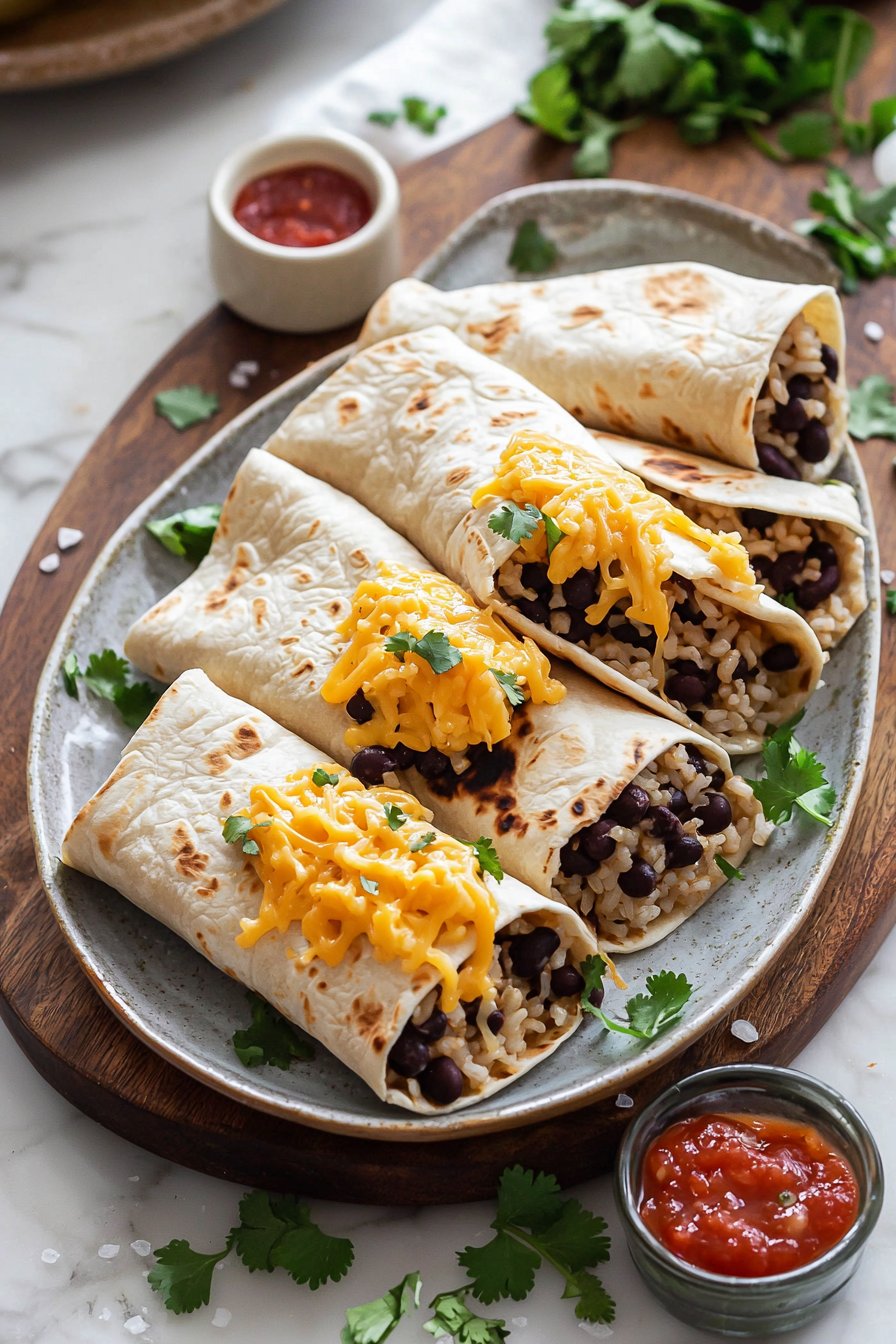

Baked Cheesy Bean and Rice Burritos
Ingredients
Method
- Preheat your oven to 375°F (190°C).
- In a medium bowl, combine the cooked rice, black beans, shredded cheese, and taco seasoning. Stir well until everything is evenly mixed.
- Lay each tortilla flat on a clean surface. Spoon a generous portion of the filling into the center of each tortilla. Fold the sides over the filling and then roll it up tightly from the bottom.
- Lightly coat a baking dish with cooking spray or drizzle with olive oil. Place the burritos seam-side down in the dish. Drizzle a little extra salsa on top if desired.
- Bake in the preheated oven for about 20 minutes, or until the burritos are heated through and the cheese has melted.
- Remove from the oven, let them cool for a few minutes, and then serve them warm, topped with your favorite toppings.
Leave a Reply