
Apple Pie Bars: A Delicious Twist on a Classic Favorite
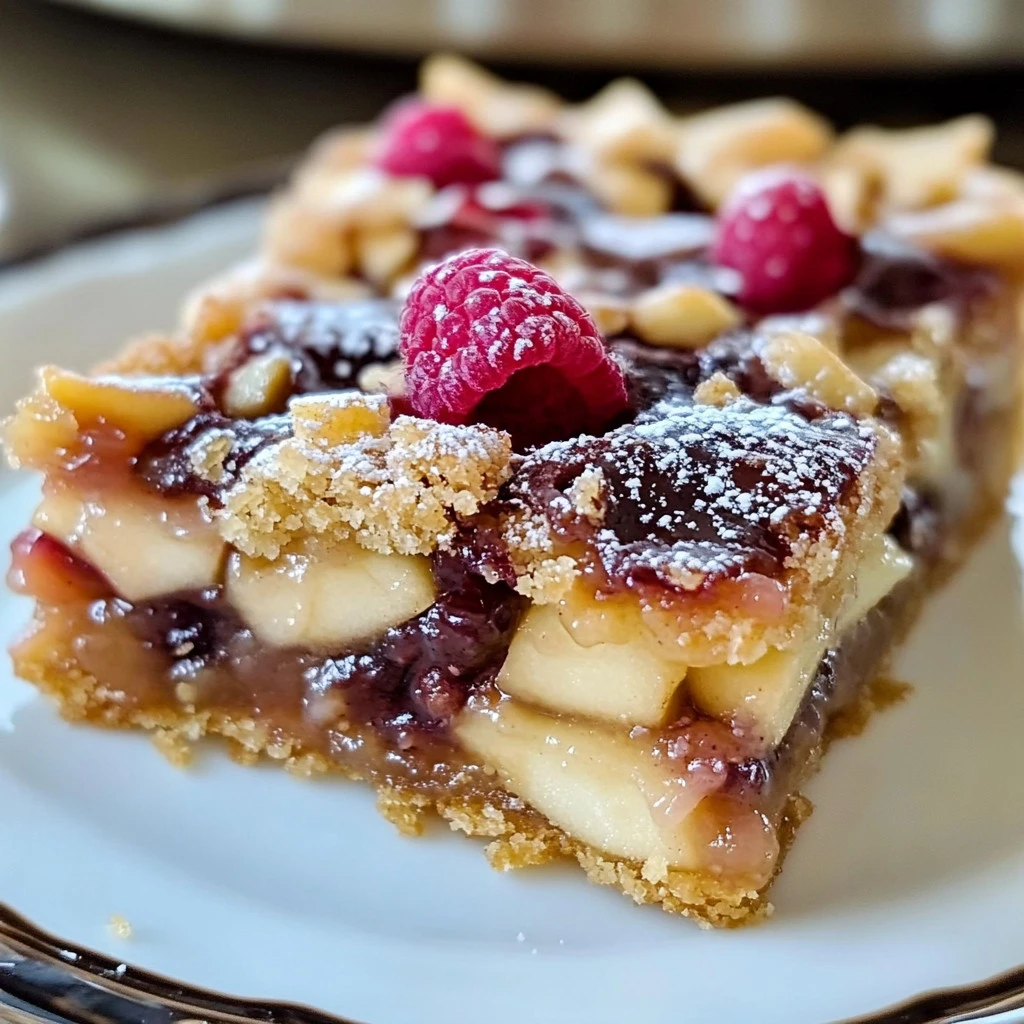
When you think of desserts that warm the heart and soul, apple pie often tops the list. But what if I told you that you could enjoy all the flavors of that beloved dessert in a fun and portable format? Enter the delightful world of Apple Pie Bars! These scrumptious treats boast all the sweet and spicy notes of traditional apple pie but with a modern twist that makes them perfect for sharing or grabbing on-the-go. Imagine sinking your teeth into a soft, buttery crust layered with tender spiced apples and finished off with a crumbly topping—yum!
You might even have a cherished memory of a family member baking apple pie during autumn. This recipe aims to capture that nostalgia while offering a fuss-free option for busy bakers. Whether you’re hosting a gathering or just want to surprise your family with a treat, Apple Pie Bars deliver both flavor and comfort. If you already enjoy classics like our beloved Chocolate Chip Cookies, you’ll surely find these bars to be a delightful addition to your repertoire. So roll up your sleeves, and let’s get baking!

What are Apple Pie Bars?
Have you ever scratched your head wondering, “What’s the deal with pie bars?” It’s like the universe decided to make life easier by combining the deliciousness of pie with the portability of a bar—thank you, baking gods! Apple Pie Bars bring all the joy and flavor of homemade apple pie without the need for a fork or a plate. They’re like a cozy hug wrapped in cinnamon and sweetness, just waiting to be devoured. I often joke that “the way to a man’s heart is through his stomach,” so why not make it easy with these delightful bars? Whether you’re baking for your family, a gathering, or to just indulge yourself, give this recipe a shot!
Why You’ll Love These Apple Pie Bars:
Apple Pie Bars are a must-try for three fantastic reasons! First, they feature a beautifully rich and buttery crust that cradles the warm, spiced apples. You’ll love the way the flavors meld together, creating the perfect bite. Second, making them at home is budget-friendly: you can whip up a tray for a fraction of the cost you’d pay at a bakery. Lastly, let’s talk toppings! A scoop of vanilla ice cream or a drizzle of caramel elevates these bars to heavenly status. If you’re a fan of desserts like Brownie Sundaes, you’ll appreciate how easy and satisfying these bars are to make—you won’t want to miss out!
How to Make Apple Pie Bars:
Quick Overview
Apple Pie Bars are the best of both worlds: easy and utterly delicious. They come together quickly, and the worst part is waiting for them to bake! Your taste buds will thank you for this warm, gooey, and comforting treat. In only about 1 hour, you’ll have a mouthwatering dessert that’s sure to impress without requiring hours in the kitchen.
Key Ingredients for Apple Pie Bars:
To make these delicious Apple Pie Bars, you’ll need the following ingredients:
- 2 ½ cups all-purpose flour
- 1 cup granulated sugar
- ½ cup brown sugar, packed
- 1 teaspoon baking powder
- ½ teaspoon baking soda
- ½ teaspoon salt
- 1 cup unsalted butter, softened
- 2 large eggs
- 4 cups peeled and sliced apples (Granny Smith works wonders!)
- 1 tablespoon lemon juice
- 2 teaspoons ground cinnamon
- ½ teaspoon nutmeg (optional)
- 1 cup rolled oats
- 1 cup chopped walnuts (optional)
Step-by-Step Instructions:
- Preheat the Oven: Preheat your oven to 350°F (175°C) and grease a 9×13 inch baking pan.
- Make the Dough: In a large bowl, whisk together flour, granulated sugar, baking powder, baking soda, and salt. Add the softened butter and eggs, mixing until a dough forms.
- Create the Base Layer: Press 2/3 of the dough into the bottom of the prepared baking pan to form an even layer.
- Prepare the Apples: In another bowl, toss the sliced apples with lemon juice, brown sugar, cinnamon, and nutmeg until evenly coated.
- Layer the Apples: Spread the apple mixture over the base layer in the baking pan.
- Add Crumb Topping: Crumble the remaining dough over the apple filling evenly. Sprinkle oats and walnuts over the top for added crunch if desired.
- Bake: Bake in the preheated oven for approximately 40-45 minutes, or until the top is golden brown.
- Cool and Serve: Let the bars cool in the pan before cutting into squares. Enjoy!
What to Serve Apple Pie Bars With:
Apple Pie Bars are delightful on their own, but why not enhance your treat experience? Consider pairing them with a scoop of homemade vanilla ice cream, a dollop of whipped cream, or a drizzle of warm caramel sauce. For a cozy beverage, a cup of spiced apple cider or a warm chai latte will make the perfect accompaniment, creating a balanced blend of flavors to complement your dessert!
Top Tips for Perfecting Apple Pie Bars:
- Choose the Right Apples: Opt for tart apples like Granny Smith or Honeycrisp to achieve the perfect balance of sweetness and tang.
- Don’t Overmix the Dough: Mix just until combined to ensure your bars stay tender and soft.
- Experiment with Spices: Feel free to play around with spices—adding a touch of clove or cardamom can elevate the flavors!
- Let Them Cool: Allow your bars to cool completely before cutting to ensure they hold their shape and textures.
Storing and Reheating Tips:
Once you’ve made a batch of these delightful Apple Pie Bars, you might wonder how to store the leftovers—or if there will be any! If you do have some left, store them in an airtight container in the refrigerator for up to 5 days. You can also freeze them by wrapping individual bars tightly in plastic wrap and storing them in a freezer-safe container, where they’ll keep for up to 3 months. To reheat, simply pop them in the microwave for a few seconds until warmed through—perfect for a late-night snack!
With these delicious Apple Pie Bars, you can enjoy the flavors of classic apple pie without all the fuss. They’re easy to make, budget-friendly, and sure to impress anyone who takes a bite. So gather your ingredients, put on your apron, and get ready to enjoy a slice of apple pie heaven! Happy baking!
Apple Pie Bars: A Delicious Twist on a Classic Favorite
Ingredients
Method
- Preheat the Oven: Preheat your oven to 350°F (175°C) and grease a 9x13 inch baking pan.
- Make the Dough: In a large bowl, whisk together flour, granulated sugar, baking powder, baking soda, and salt. Add the softened butter and eggs, mixing until a dough forms.
- Create the Base Layer: Press 2/3 of the dough into the bottom of the prepared baking pan to form an even layer.
- Prepare the Apples: In another bowl, toss the sliced apples with lemon juice, brown sugar, cinnamon, and nutmeg until evenly coated.
- Layer the Apples: Spread the apple mixture over the base layer in the baking pan.
- Add Crumb Topping: Crumble the remaining dough over the apple filling evenly. Sprinkle oats and walnuts over the top for added crunch if desired.
- Bake: Bake in the preheated oven for approximately 40-45 minutes, or until the top is golden brown.
- Cool and Serve: Let the bars cool in the pan before cutting into squares. Enjoy!
Leave a Reply