
Apple Pie Bubble Up: A Delightful Twist on a Classic
There’s nothing quite like the first bite of a warm, homemade dessert. Picture this: a crispy, golden-brown layer of buttery biscuit drenched in sweet, cinnamon-kissed apples, all bubbling together in a dish that feels like a warm hug. That’s exactly what you’ll get with Apple Pie Bubble Up, a dish that is not only simple to make but incredibly satisfying to devour. Everybody loves a good apple pie, but what if you could transform it into a quick and easy family favorite that requires minimal effort? This delightful dessert is reminiscent of another popular recipe from my blog, Classic Apple Crisp, but with a fun, savory twist that’s perfect for family gatherings.
Gather your loved ones around the table, because this is the kind of dessert that brings everyone together and will have them asking for seconds—if not thirds! Let’s dive into the scrumptious world of Apple Pie Bubble Up.
What is Apple Pie Bubble Up?
You might be wondering about the name Apple Pie Bubble Up. Is it a bubbling cauldron straight out of a children’s fairy tale? Or did someone just get a bit carried away in the kitchen? Well, it’s a delightful mishmash of biscuit dough and apples that rises up beautifully in the oven, creating an irresistible bubble of flavors! They say “the way to a man’s heart is through his stomach,” and after trying this recipe, you might find that applies to all genders! So why not whip up this comforting dessert for your family? I assure you; they’ll thank you for it!
Why You’ll Love This Apple Pie Bubble Up
What makes Apple Pie Bubble Up so special? Let’s explore three standout reasons!
First, the main dish highlight—imagine biting into warm, gooey biscuits mixed with tender apples and aromatic cinnamon. The flavors dance on your palate, making every bite a delightful experience.
Second, cooking at home offers significant cost-saving benefits. Why splurge on desserts from a bakery when you can create this amazing dish for a fraction of the price? Plus, the satisfaction you’ll get from baking from scratch is priceless.
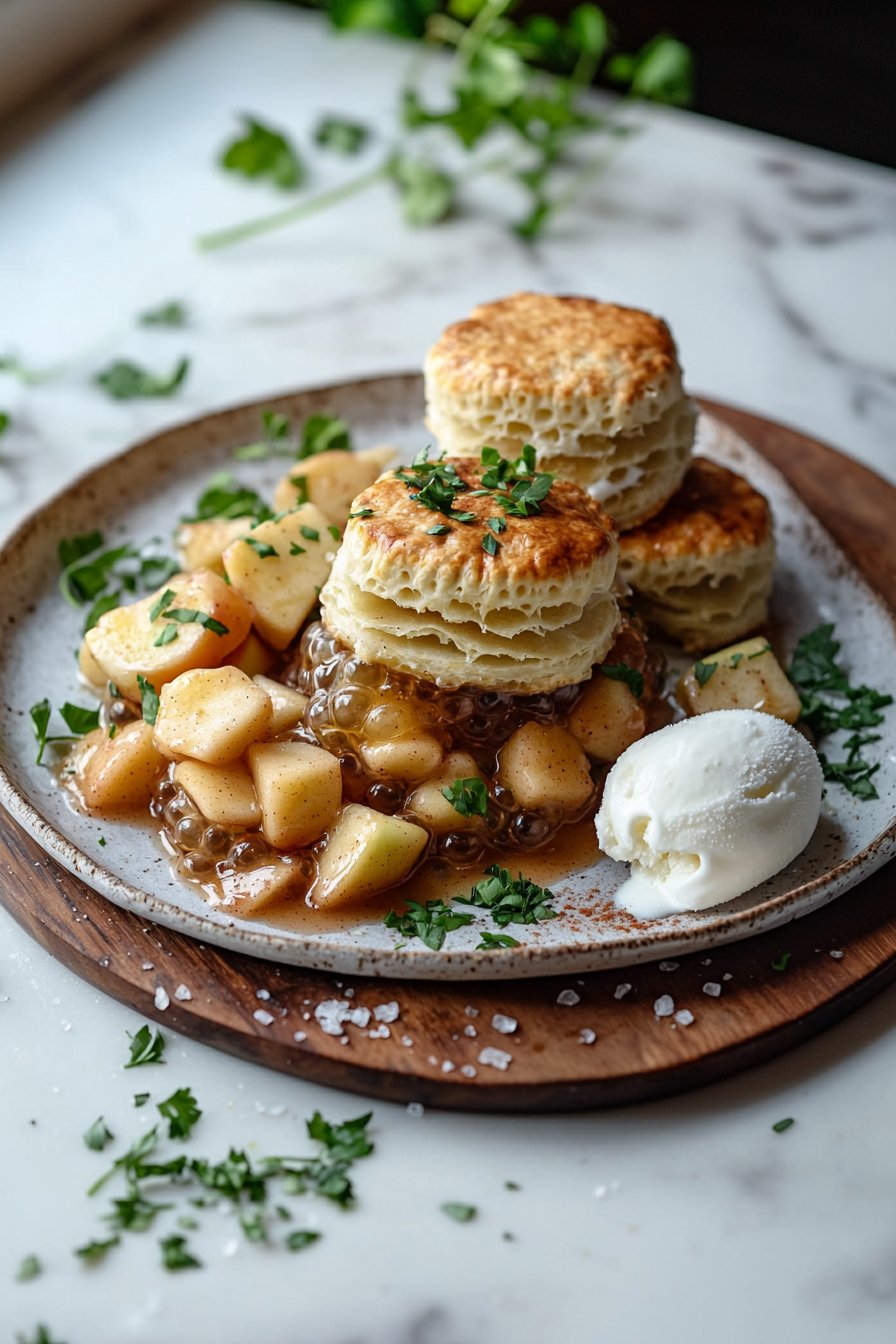
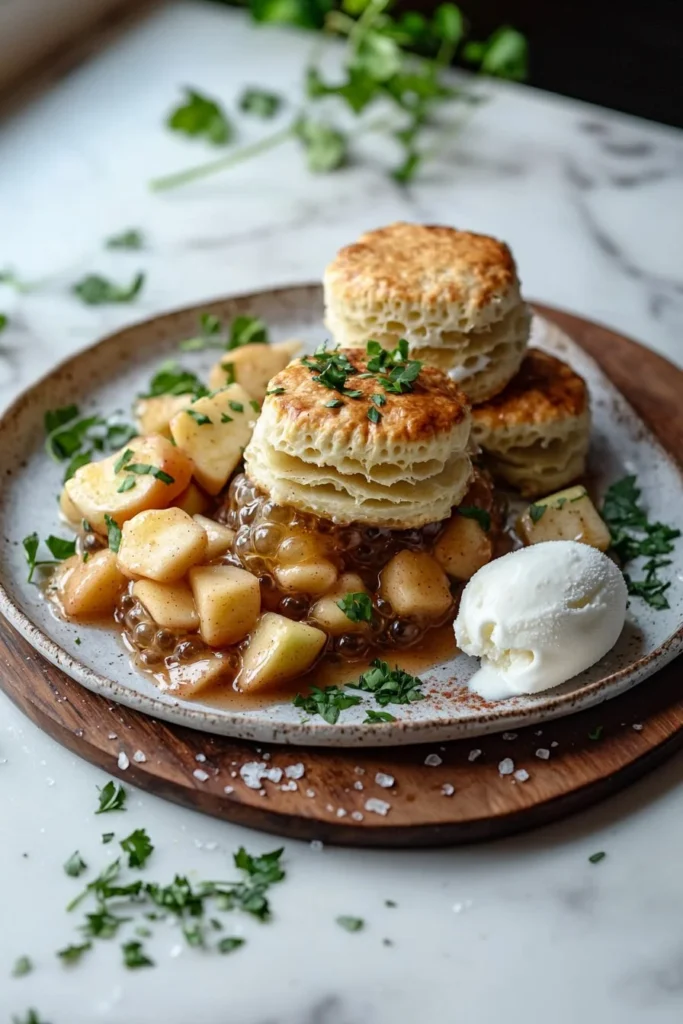
Finally, add your favorite toppings! The flavor combinations are endless. Drizzle some honey or add a scoop of vanilla ice cream for extra indulgence. It’s akin to enjoying a cozy apple crisp but with the delightful textures of a bubble-up dish. What are you waiting for? Gather your ingredients and let’s get baking!
How to Make Apple Pie Bubble Up
Quick Overview
Apple Pie Bubble Up is not just delicious; it’s also incredibly easy to whip up, making it the perfect comfort dessert for any occasion. The light, airy biscuit coupled with sweet, spiced apple filling offers an unforgettable sensory experience. With a prep time of about 15 minutes and a bake time of around 35 minutes, you’ll be enjoying this masterpiece in no time!
Ingredients
For this delectable Apple Pie Bubble Up, you will need:
- 2 cans of biscuits
- 2 cups of diced apples
- 1 cup of sugar
- 1 teaspoon of cinnamon
- 1 cup of apple pie filling
- 1/2 cup of butter, melted
- Vanilla ice cream (optional, for serving)
Make sure to choose Halal-friendly biscuits so everyone can enjoy this scrumptious dessert!
Step-by-Step Instructions
Follow these simple steps to create your own Apple Pie Bubble Up:
- Preheat the Oven: Begin by preheating your oven to 350°F (175°C). This step ensures even baking.
- Prepare the Biscuits: Open the cans of biscuits and cut each biscuit into quarters. This allows them to soak up the flavors of the other ingredients perfectly.
- Mix the Apples & Sugar: In a large mixing bowl, combine the diced apples, sugar, and cinnamon. Toss until the apples are well coated. This mixture will create that delicious filling we all crave!
- Combine with Pie Filling: Add the apple pie filling to the bowl and mix gently. This will amplify the apple flavor and give it a lovely depth.
- Mix in the Biscuits: Carefully fold the biscuit pieces into the apple mixture. Ensure they are well coated; you want every bite to be flavorful!
- Transfer to Baking Dish: Pour the mixture into a greased 9×13-inch baking dish and spread it out evenly.
- Drizzle with Butter: Pour the melted butter evenly over the top. This will help create that golden crust we all love.
- Bake: Place your baking dish in the preheated oven and bake for 35-40 minutes or until the top is golden brown and the biscuits are cooked through.
- Serve: Allow it to cool slightly, then scoop generous portions into bowls. Top with vanilla ice cream if desired, and enjoy!
Top Tips for Perfecting Apple Pie Bubble Up
To ensure your Apple Pie Bubble Up is a success, here are some pro-tips:
- Substitution Ideas: If you want to switch things up, consider using other fruits like pears or berries. Just ensure they’re cut into small pieces for even cooking.
- Timing: Keep an eye on the baking time. Every oven is different, so you may need to adjust accordingly. Check for that golden-brown finish to avoid overcooking.
- Avoid Common Mistakes: Be sure to properly coat the biscuit pieces with the apple mixture so they don’t dry out. Mixing with care is essential!
Storing and Reheating Tips
If you find yourself with leftovers (which is unlikely!), here’s how to store and reheat your Apple Pie Bubble Up to maintain its heavenly taste:
- Refrigeration: Store leftover portions in an airtight container in the fridge for up to 3 days.
- Freezing: For longer storage, you can freeze it for up to a month. Just ensure it’s properly sealed!
- Reheating: When you’re ready to indulge again, warm it in the oven at 350°F (175°C) for about 15–20 minutes or until heated through. This will keep the texture perfectly chewy!
Now that you’re all set to make Apple Pie Bubble Up, gather your ingredients, and let the baking adventure begin! You’ll create a comforting dessert that your family will cherish and remember fondly. Happy baking!
FAQ
- Can I use fresh apples instead of canned pie filling?
Yes! Fresh diced apples can make this dessert even tastier. Just add a bit more sugar if you like it sweeter. - What can I serve with Apple Pie Bubble Up?
Vanilla ice cream is a classic choice, but whipped cream or a drizzle of caramel sauce works wonderfully too! - Can I make this ahead of time?
Absolutely! You can prepare the mixture and keep it in the fridge before baking. Just remember to add a few extra minutes to the baking time if it’s starting from cold.
Now go out and make this delightful dessert a family staple!
Apple Pie Bubble Up
Ingredients
Method
- Preheat your oven to 350°F (175°C).
- Open the cans of biscuits and cut each biscuit into quarters.
- In a large mixing bowl, combine the diced apples, sugar, and cinnamon. Toss until the apples are well coated.
- Add the apple pie filling to the bowl and mix gently.
- Carefully fold the biscuit pieces into the apple mixture.
- Pour the mixture into a greased 9×13-inch baking dish and spread it out evenly.
- Pour the melted butter evenly over the top.
- Place your baking dish in the preheated oven and bake for 35-40 minutes or until the top is golden brown.
- Allow it to cool slightly, then scoop generous portions into bowls. Top with vanilla ice cream if desired.
Leave a Reply