
Crispy Homemade Garlic Rosemary Bread
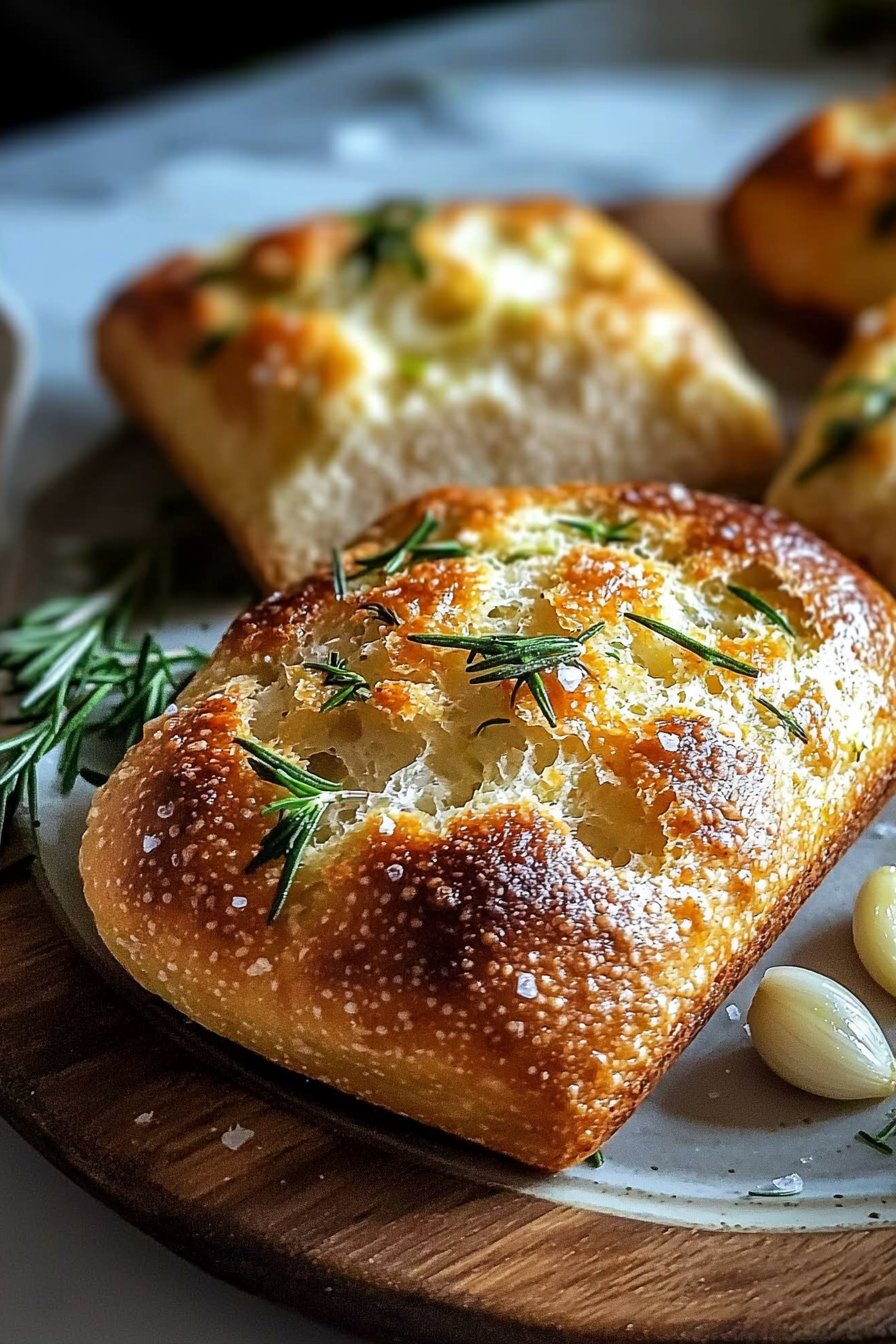
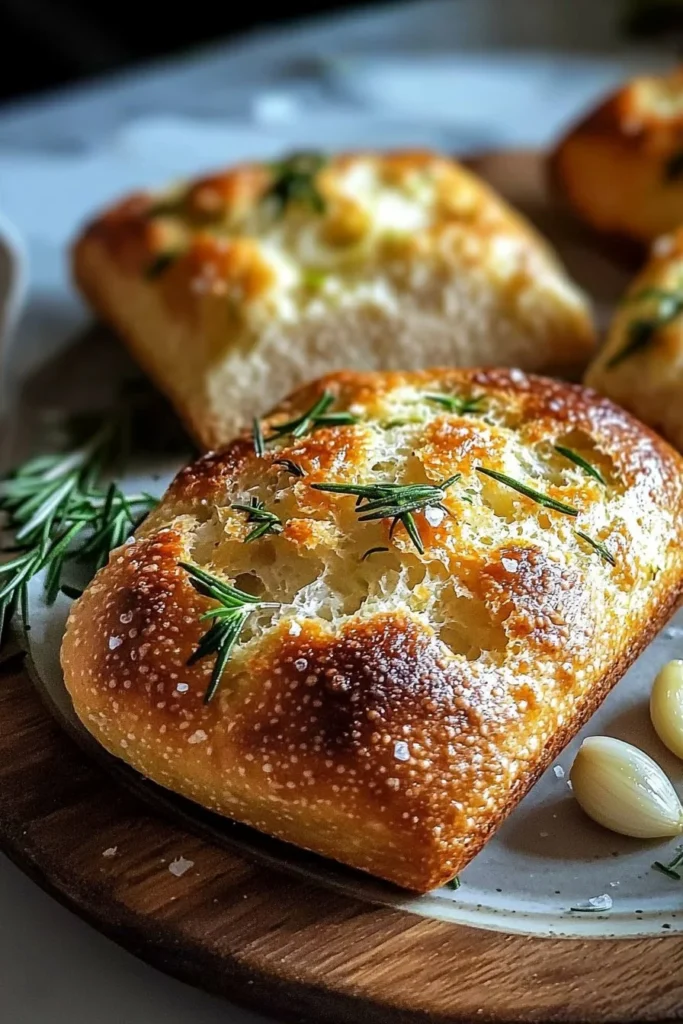
There’s something special about the aromas wafting through your kitchen when you’re baking bread. Picture this: a golden loaf that is crispy on the outside, soft and fluffy on the inside, infused with garlic and aromatic rosemary. Sounds heavenly, right? Crispy Homemade Garlic Rosemary Bread is not just a treat for your taste buds; it’s an experience that brings families together during cozy evenings. This recipe is simple enough for beginners, yet it yields such impressive results that it rivals those found in artisanal bakeries. In fact, if you’ve whipped up my popular Herb Focaccia before, you’ll feel right at home with this one.
Baking this bread is like a warm hug; it’s comforting, satisfying, and oh-so-delicious. Coat it with olive oil and take a bite—the texture and flavor will have you coming back for seconds!
What is Crispy Homemade Garlic Rosemary Bread?
So what’s the story behind this delightful bread? I like to think of it as a culinary love letter, where the rich aroma of garlic meets the lively sprightliness of rosemary. Ever wonder why we call it Garlic Rosemary Bread? It’s all in the name! And let’s be honest, who can resist the age-old saying, “the way to a man’s heart is through his stomach?” This bread is perfect for so many occasions, from casual family gatherings to more intimate dinners. I mean, who wouldn’t feel loved with a warm slice of this bread in hand? So grab your apron and let’s get baking!
Why You’ll Love This Crispy Homemade Garlic Rosemary Bread
Crispy Homemade Garlic Rosemary Bread shines when served as a side dish next to your favorite family recipes. Imagine it served warm alongside a hearty stew or a fresh salad, and you can already hear the compliments coming. It’s a cost-efficient dish, too—homemade bread often costs significantly less than store-bought options, plus you gain total control over the ingredients to ensure it’s just right for your family. Think about it: a warm loaf of this delightful bread on your dinner table sounds more enticing than plain old rolls, right? It’s perfect for slathering with herb-infused butter or dipping into a balsamic reduction and olive oil mix. So gather your loved ones and experience the joy of breaking bread together with this treat!
How to Make Crispy Homemade Garlic Rosemary Bread
Quick Overview
One of the best things about Crispy Homemade Garlic Rosemary Bread is that it’s easy to make—you won’t need to be a master baker to enjoy this deliciousness! The crispy crust, combined with the flavorful garlic and rosemary, makes this bread utterly irresistible. Preparation takes about 15 minutes, and the dough needs to rise for about an hour.
Ingredients for Crispy Homemade Garlic Rosemary Bread
- 3 cups all-purpose flour
- 1 packet (2 1/4 tsp) active dry yeast
- 1 cup warm water
- 2 tablespoons olive oil
- 1 teaspoon salt
- 4 cloves garlic, minced
- 1 tablespoon fresh rosemary, chopped
- 1 tablespoon sugar
Make sure to measure your ingredients correctly for the best results!
Step-by-Step Instructions
- Prepare the Yeast: In a small bowl, combine the warm water and sugar. Sprinkle the yeast on top and let it sit for about 5–10 minutes until foamy.
- Mix the Dough: In a large mixing bowl, combine the flour and salt. Once the yeast has foamed, pour it into the bowl along with the olive oil, minced garlic, and chopped rosemary.
- Knead the Dough: Mix everything together until it starts to come together, then turn it out onto a floured surface. Knead the dough for about 8–10 minutes until smooth and elastic.
- First Rise: Place the kneaded dough in a greased bowl, cover with a clean kitchen towel, and let it rise in a warm spot for about 1 hour or until it doubles in size.
- Shape the Bread: After the dough has risen, punch it down to release the air. Shape the dough into a loaf or small rounds, depending on your preference.
- Second Rise: Place the shaped dough on a greased baking sheet, cover it again with a towel, and let it rise for another 30–40 minutes.
- Preheat Oven: Preheat your oven to 375°F (190°C).
- Bake the Bread: Bake the bread in the preheated oven for about 25–30 minutes, or until golden brown and crispy. The internal temperature should be around 190°F (88°C).
- Cool and Serve: Once baked, remove the bread from the oven and let it cool slightly before slicing. Enjoy it warm!
Top Tips for Perfecting Crispy Homemade Garlic Rosemary Bread
- Substitutions: If you’re out of fresh rosemary, dried rosemary works just fine. Just use half the amount since dried herbs are more concentrated.
- Perfect Timing: Be mindful of not over-kneading the dough; a gentle knead is enough to develop gluten.
- Avoid Common Mistakes: If your bread doesn’t rise well, it could be due to old yeast. Always check the expiration date!
Storing and Reheating Tips
If you have any leftover Crispy Homemade Garlic Rosemary Bread (which is unlikely, but just in case!), store it in an airtight container at room temperature for up to 3 days. For longer storage, wrap it securely and freeze it for up to a month. When you’re ready to enjoy it again, simply pop it in a preheated oven at 350°F (175°C) for about 10 minutes, and you’ll restore that delightful crispy crust!
Now that you have this recipe at your fingertips, why not gather your loved ones for a cozy evening and enjoy this scrumptious Crispy Homemade Garlic Rosemary Bread together? You won’t regret it!
Crispy Homemade Garlic Rosemary Bread
Ingredients
Method
- In a small bowl, combine warm water and sugar. Sprinkle yeast on top and let it sit for 5-10 minutes until foamy.
- In a large mixing bowl, combine flour and salt. Pour in the foamed yeast, olive oil, minced garlic, and chopped rosemary.
- Mix until the dough comes together, then turn it out onto a floured surface and knead for 8-10 minutes until smooth and elastic.
- Place the kneaded dough in a greased bowl, cover with a towel, and let it rise in a warm spot for about 1 hour or until doubled in size.
- After rising, punch down the dough to release air and shape it into a loaf or small rounds.
- Place the shaped dough on a greased baking sheet, cover with a towel, and let it rise for another 30-40 minutes.
- Preheat your oven to 375°F (190°C).
- Bake the bread for 25-30 minutes or until golden brown and crispy, with an internal temperature of about 190°F (88°C).
- Remove from the oven and let it cool slightly before slicing. Serve warm.
Leave a Reply