
Indulge in the Creamy Delight of Chocolate Milkshake
When it comes to guilty pleasures, nothing hits quite like a Chocolate Milkshake. This decadent treat offers a creamy, velvety texture that dances on your taste buds with every sip. Imagine a blissful blend of rich chocolate ice cream and smooth milk, topped with a cloud of whipped cream—pure heaven! Did you know that milkshakes became popular in the 1920s and quickly became a staple in diners across America? It’s almost like a rite of passage for families to whip one up together, making it as special as the memories created over it.
This Chocolate Milkshake is extremely simple to make, and it’s perfect for family gatherings or cozy winter evenings. You might even say it’s a more enjoyable experience than diving into an elaborate dessert—just like my popular post on homemade brownies, which brings everyone to the table, but without the fuss! Let’s get to blending, shall we?
What is Chocolate Milkshake?
Ah, the Chocolate Milkshake! What a delightful name! Have you ever wondered why it’s called a “milkshake”? It does shake things up, doesn’t it? Just picture a milkshake as a magical potion that transforms simple ingredients into a creamy, chocolatey masterpiece that brings smiles to faces young and old. It’s like that saying, “the way to a man’s heart is through his stomach,” but we all know it holds true for everyone! So, gather your loved ones and create a fun milkshake bar—who could resist mixing and matching toppings to design their personalized creation? The best part? You’ll be saying goodbye to overpriced café drinks and hello to the joy of homemade goodness!
Why You’ll Love This Chocolate Milkshake
Let’s unpack the deliciousness of this Chocolate Milkshake. First, it’s the highlight of any festive gathering, instantly lifting spirits with its indulgent flavor. Second, it’s an affordable treat to whip up at home—perfect for those chilly winter evenings when you crave something sweet but want to keep your budget intact. Finally, the toppings! From whipped cream to chocolate shavings and sprinkles, the options are limitless, allowing each person to tailor their masterpiece. Compared to a delightful chocolate sundae, this milkshake offers a creamy, drinkable experience that’s just as satisfying. What are you waiting for? Grab your blender and let’s get started!
How to Make Chocolate Milkshake
Quick Overview
Making a Chocolate Milkshake is one of those culinary delights that’s as easy as it is satisfying. With just a few simple ingredients, you’ll have a thick, creamy beverage that’s perfect for cooling down or simply indulging in chocolatey goodness. Preparation time? Just about 10 minutes!
Ingredients
- 2 cups chocolate ice cream
- 1 cup milk (whole or low-fat for a lighter option)
- 1/4 cup chocolate syrup (optional for extra richness)
- Whipped cream (for topping)
- Chocolate shavings or sprinkles (optional)
Step-by-Step Instructions
- Retrieve Your Blender: Grab a blender (or an immersion blender if you’re cool like that). It’s the gadget that will transform your ingredients into a delightful milkshake!
- Add the Ice Cream: Scoop 2 cups of chocolate ice cream into the blender. This is the star of your show, bringing the thick, creamy texture to your shake.
- Pour in the Milk: Add 1 cup of milk to the blender. Adjust the amount based on how thick you want your milkshake—less milk equals a thicker shake, while more milk means a drinkable delight.
- Incorporate the Chocolate Syrup: If you’re feeling adventurous, drizzle in 1/4 cup of chocolate syrup—this adds an extra layer of chocolaty goodness.
- Blend Away: Secure the lid tightly and blend until smooth, typically around 30 seconds to 1 minute. Make sure the mixture is well combined and creamy!
- Taste and Adjust: Give your milkshake a taste! Feel free to add more chocolate syrup if you desire a sweeter flavor, then blend again briefly to mix.
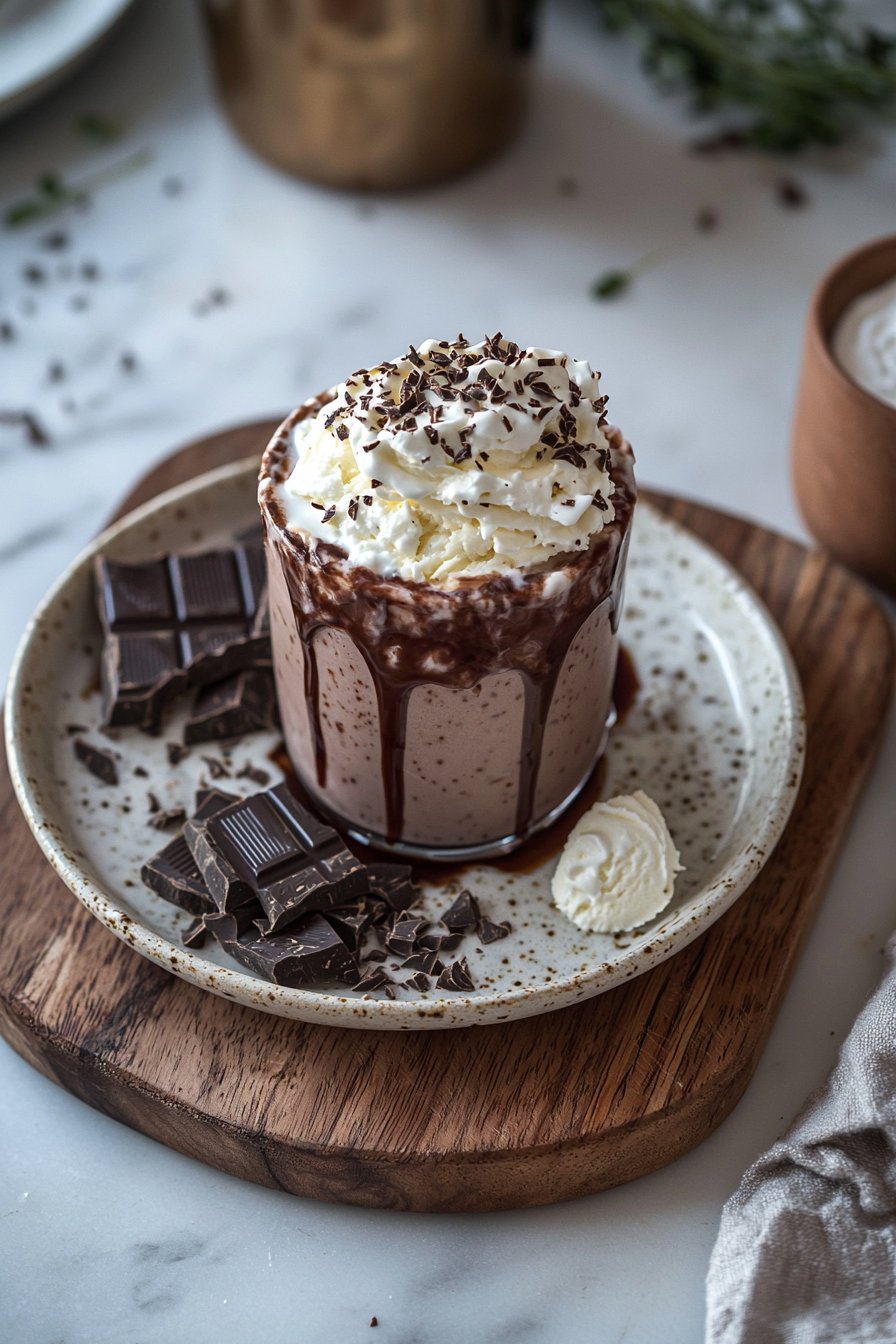
- Serve It Up: Pour your delicious creation into tall glasses and crown with a generous dollop of whipped cream. Finish it off with chocolate shavings or sprinkles if you’re in a festive mood!
Top Tips for Perfecting Chocolate Milkshake
- Ingredient Substitutions: If you want to make this a bit lighter, opt for low-fat chocolate ice cream or almond milk. You can also use dairy-free ice cream for a vegan version—works just as well!
- Timing Matters: For a richer and thicker shake, let your ice cream sit for a few minutes at room temperature before blending. This allows it to soften slightly, making blending easier.
- Avoiding Common Mistakes: Be cautious with the amount of milk; adding too much can turn your milkshake into chocolate milk. Remember, the goal is a creamy consistency!
Storing and Reheating Tips
While Chocolate Milkshakes are best enjoyed fresh, you can store any leftovers in an airtight container in the freezer for up to a week. When you’re ready to enjoy again, allow it to thaw for about 10-15 minutes before mixing it again to regain that creamy texture. Just remember, the sooner you drink it, the better!
Now you’ve got everything you need to make an unforgettable Chocolate Milkshake! Why not treat your family to this delightful drink tonight? They’ll be begging you for more!
Frequently Asked Questions
- Can I use a different flavor of ice cream?
- Absolutely! Vanilla or even mint chocolate chip can offer a fun twist.
- How can I make this healthy?
- Try using frozen bananas instead of ice cream, and almond milk for a lighter, healthier version.
- What are fun toppings I can use?
- Aside from whipped cream, think crushed cookies, fruit, or even nuts for a crunchy contrast.
- Can I make this ahead of time?
- It’s best when fresh, but if you’re in a crunch, you could blend and freeze it, then let it thaw a bit before serving.
Now grab your loved ones, blend away, and enjoy the rich, creamy joy that is the Chocolate Milkshake!
Chocolate Milkshake
Ingredients
Method
- Retrieve your blender.
- Add 2 cups of chocolate ice cream into the blender.
- Pour in 1 cup of milk.
- Incorporate 1/4 cup of chocolate syrup if desired.
- Blend until smooth, about 30 seconds to 1 minute.
- Taste and adjust by adding more chocolate syrup as needed.
- Pour into tall glasses and top with whipped cream and optional decorations.
Leave a Reply