
Chocolate Covered Cherry Brownie Bombs: A Decadent Delight
Are you ready to take your dessert game to the next level? Imagine biting into a soft, fudgy brownie that’s not only rich in chocolate flavor but also bursting with the sweet, tangy essence of cherries, all wrapped up in a luscious chocolate coating. That’s exactly what you get when you whip up these Chocolate Covered Cherry Brownie Bombs. They’re not just a treat; they’re an experience!
Fun fact: Did you know that cherries are often associated with good luck? Maybe that’s why these delightful little bombs seem to bring joy to every gathering! Perfect for a family evening or any celebratory occasion, these beauties are simple to make yet impressive enough to wow your guests. Plus, if you’ve enjoyed popular recipes like our Salted Caramel Brownie Bites, you know you can trust your taste buds here. These brownie bombs are destined to become a new family favorite!
What is Chocolate Covered Cherry Brownie Bombs?
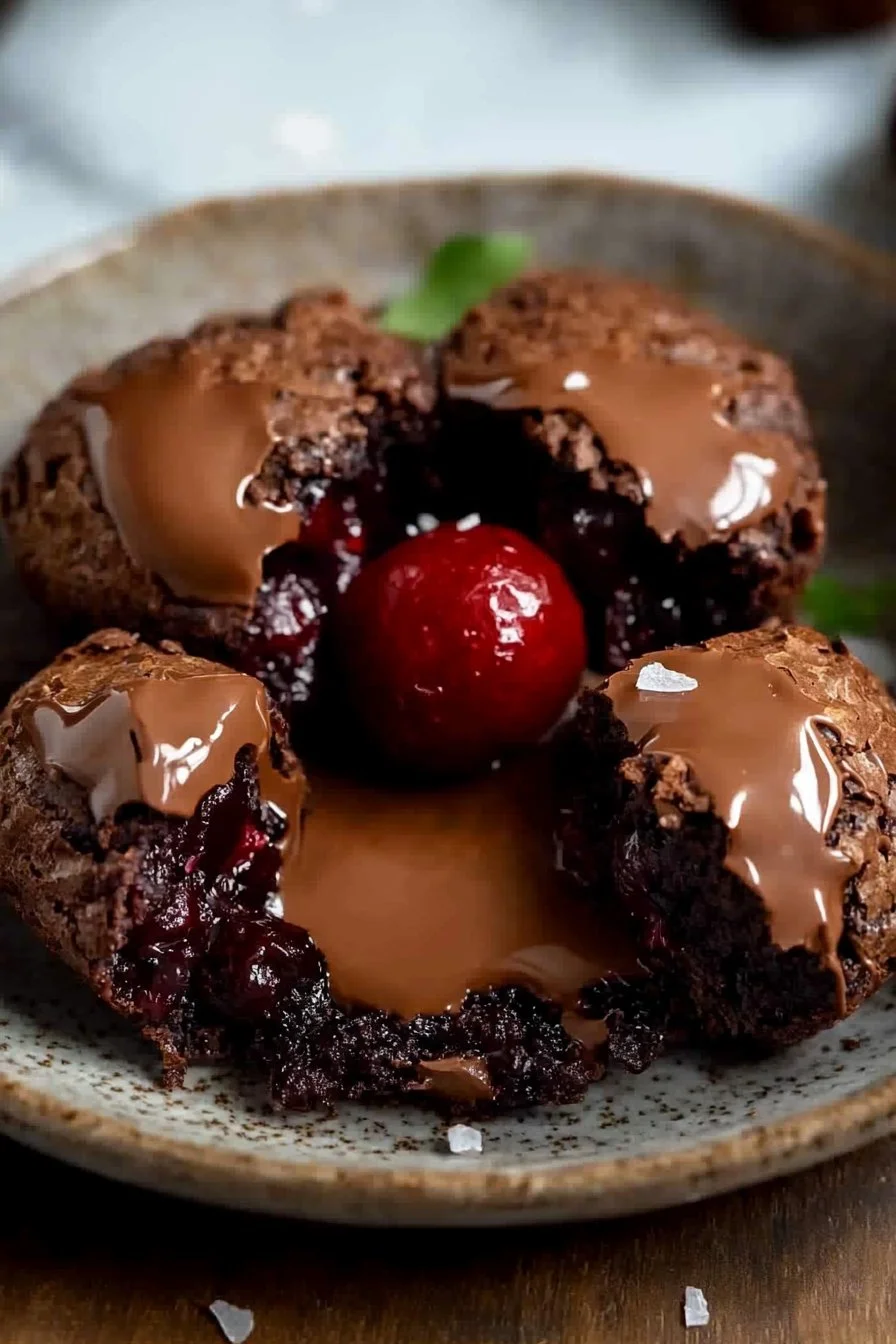
Great question! What exactly are Chocolate Covered Cherry Brownie Bombs? Picture this: the succulent blend of cherry filling nestled inside a moist brownie sphere, all enrobed in a silky chocolate coating. The name sounds fancy, doesn’t it? But honestly, they’re just like little chocolate truffles that scream joy. Who doesn’t love a good cherry and chocolate combo? And let’s be real—the way to a man’s heart is through his stomach, right? So why not impress them with these charming little delights? Get your apron on, and let’s dive into the magic of making these brownie bombs!
Why You’ll Love This Chocolate Covered Cherry Brownie Bombs
These Chocolate Covered Cherry Brownie Bombs shine as a showstopper dessert that will leave your taste buds tingling with joy. Not only do they steal the spotlight at any family gathering, but making them at home also saves you money compared to buying expensive restaurant desserts. With their rich chocolatey flavor and juicy cherry filling, they are guaranteed to satisfy your sweet tooth!
Imagine pairing these beauties with a scoop of vanilla ice cream—a classic combo that takes you back to childhood delights. If you love brownies or decadent chocolate desserts, do yourself a favor and try your hand at making these brownie bombs. You won’t regret it!
How to Make Chocolate Covered Cherry Brownie Bombs
Quick Overview
Making Chocolate Covered Cherry Brownie Bombs is as easy as pie—or rather, brownie! With only a handful of ingredients and a short preparation time, you’ll have these little gems ready to impress in no time. The mix of fudgy brownie texture with the rich chocolate coating is simply irresistible.
Preparation Time: 15 minutes
Cooking Time: 25 minutes
Total Time: 40 minutes
Ingredients
For your Chocolate Covered Cherry Brownie Bombs, you will need:
- 1 box brownie mix
- 1/3 cup vegetable oil
- 2 large eggs
- 1 cup cherry filling (or fresh cherries)
- 1 cup chocolate chips
- 1 cup chocolate melts or chocolate coating
Make sure to check that your chocolate melts are halal-compliant!
Step-by-Step Instructions
- Preheat your oven: Begin by preheating your oven to the temperature suggested on the brownie mix box.
- Prepare the brownie mix: In a large mixing bowl, combine the brownie mix, vegetable oil, and eggs. Stir until the mixture is smooth and well-combined.
- Bake the brownies: Pour the brownie mixture into a greased baking pan and spread it evenly. Bake according to the package’s instructions, usually about 25 minutes, or until a toothpick inserted in the center comes out clean. Allow the brownies to cool completely.
- Form the brownie bombs: Once cooled, crumble the brownies into a large bowl. Add the cherry filling or chopped fresh cherries and mix until well combined. Take small portions of the mixture and roll them into balls about the size of a tablespoon.
- Chill the brownie balls: Place the formed brownie balls on a baking sheet lined with parchment paper. Chill them in the refrigerator for about 30 minutes to firm up.
- Melt the chocolate: While the brownie balls are chilling, melt the chocolate chips or chocolate melts in a microwave-safe bowl, stirring every 30 seconds until smooth.
- Coat the brownie bombs: Remove the brownie balls from the fridge. Dip each ball in the melted chocolate, coating it completely, then return it to the baking sheet.
- Let them set: Allow the chocolate-coated brownie bombs to set at room temperature or in the refrigerator until the chocolate is firm.
Top Tips for Perfecting Chocolate Covered Cherry Brownie Bombs
- Add flavor: Consider adding a few drops of vanilla extract to the brownie mix for a richer flavor.
- Be patient: Allow brownies to cool completely to prevent melty messes when forming the bombs.
- Experiment with toppings: Try drizzling white chocolate or sprinkling crushed nuts on top for an extra touch.
Storing and Reheating Tips
These Chocolate Covered Cherry Brownie Bombs are best enjoyed fresh, but you can store them in an airtight container in the refrigerator for up to a week. If you need to keep them for a longer period, they can be frozen for up to three months. To reheat, simply allow them to come to room temperature and enjoy the rich flavors!
Whether you’re searching for a delectable dessert for family gatherings or simply craving a sweet treat, these Chocolate Covered Cherry Brownie Bombs are the perfect solution. So gather your ingredients and get ready to indulge in a chocolatey delight that will leave everyone asking for more!
Now that you have the inside scoop, what are you waiting for? Get those brownie bombs rolling!

Chocolate Covered Cherry Brownie Bombs
Ingredients
Method
- Preheat your oven to the temperature suggested on the brownie mix box.
- In a large mixing bowl, combine the brownie mix, vegetable oil, and eggs. Stir until the mixture is smooth and well-combined.
- Pour the brownie mixture into a greased baking pan and spread it evenly. Bake according to the package's instructions, usually about 25 minutes, or until a toothpick inserted in the center comes out clean. Allow the brownies to cool completely.
- Once cooled, crumble the brownies into a large bowl. Add the cherry filling or chopped fresh cherries and mix until well combined. Take small portions of the mixture and roll them into balls about the size of a tablespoon.
- Place the formed brownie balls on a baking sheet lined with parchment paper. Chill them in the refrigerator for about 30 minutes to firm up.
- While the brownie balls are chilling, melt the chocolate chips or chocolate melts in a microwave-safe bowl, stirring every 30 seconds until smooth.
- Remove the brownie balls from the fridge. Dip each ball in the melted chocolate, coating it completely, then return it to the baking sheet.
- Allow the chocolate-coated brownie bombs to set at room temperature or in the refrigerator until the chocolate is firm.
Leave a Reply