
Pie Cones: A Delectable Adventure in Every Bite
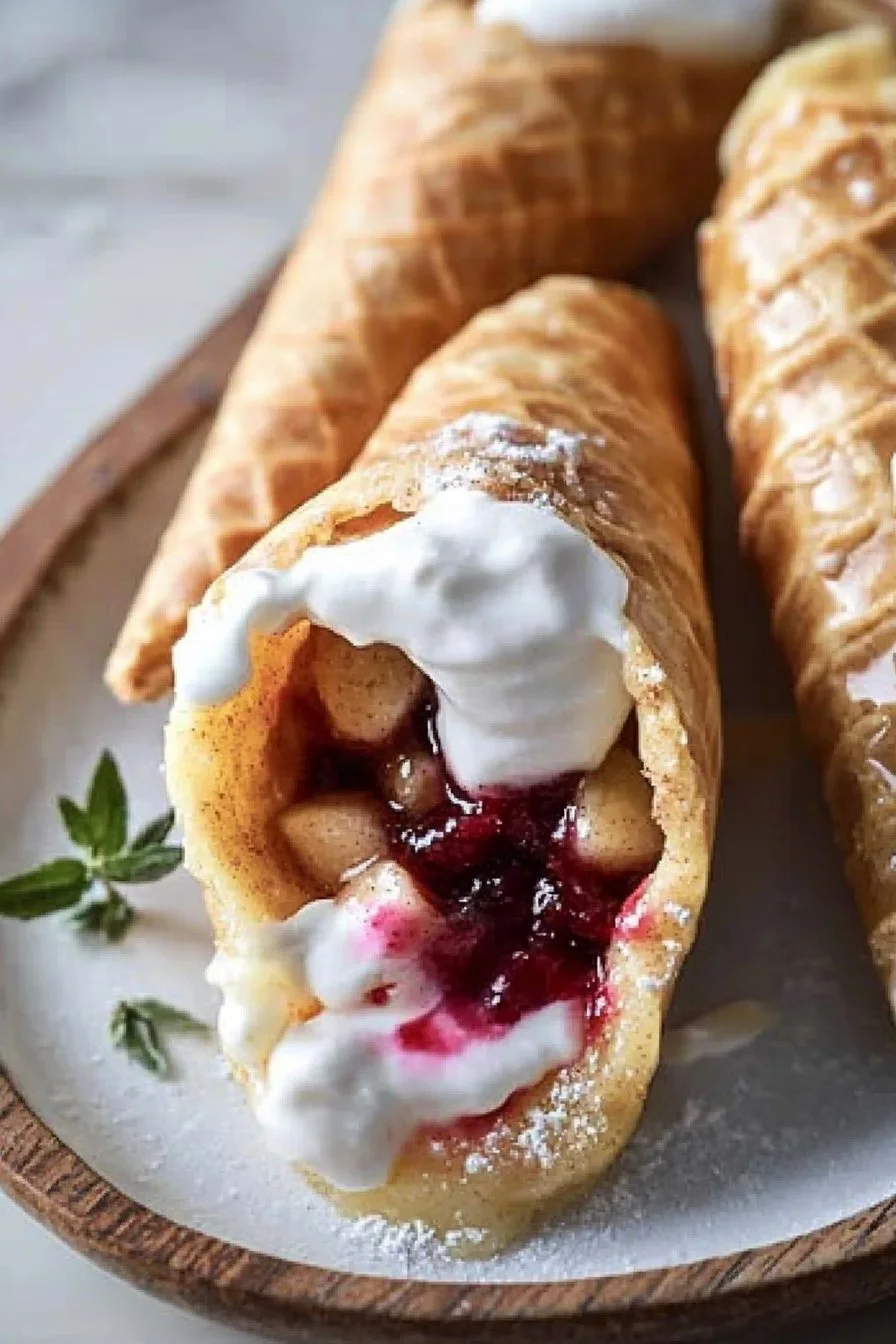
When was the last time you took a bite of something delicious and felt joy radiate from your taste buds? That’s exactly how you’ll feel when you dig into these Pie Cones! Imagine a crunchy, golden cone filled with a warm and gooey fruit filling, topped with a dollop of whipped cream or a scoop of ice cream. It’s the perfect combination of crispy and creamy, fruity and sweet—truly a treat for the senses!
Pie Cones have a special place in my heart because they embody the essence of family gatherings. I remember the delightful afternoons spent with my loved ones, crafting these little gems together. While similar to traditional pie, the cone shape makes them fun to eat and guilt-free to enjoy—just like the comforting chocolate chip cookies you whip up with the kids! These charming treats can brighten up any winter evening, making them not just a recipe but a cherished memory in the making. Are you ready to embark on this delightful culinary journey?
What is Pie Cones?
So, what exactly is a Pie Cone? Imagine taking a slice of delicious pie and transforming it into a portable treat! You might wonder about the name—are we talking about ice cream cones here? Is it a pie? A cone? The answer is both! Think of it as a fusion that invites pie lovers and dessert enthusiasts to join forces. After all, they say “the way to a man’s heart is through his stomach,” and nothing warms the soul quite like Pie Cones!
So, why not roll up your sleeves and start creating these delicious handheld wonders for your next family gathering?
Why You’ll Love This Pie Cones
Here’s why Pie Cones are a must-try! First off, this dish shines as a versatile main attraction—think of it as a sweet centerpiece that steals the show! Each bite brings forth an explosion of heavenly flavors—whether it’s tart cherries or luscious apples. The second benefit? By opting to make these tasty treats at home, you can save money while indulging in your favorite sweets. Who needs overpriced desserts when you can whip these up in your kitchen?
And let’s not forget the fun part: the toppings! From a sprinkle of cinnamon to a scoop of ice cream, your options for flavor are endless. They’re like a twist on classic fruit pies but in a convenient, fun-sized cone. So why not gather your loved ones and make some today? You won’t regret it!
How to Make Pie Cones
Quick Overview
Making Pie Cones is an easy and satisfying experience! You’ll love the crispy, flaky bite that complements the luscious fruit filling. In no time, you’ll be enjoying these cones fresh out of the oven. The entire preparation process takes around 20 minutes, making it perfect for a quick dessert fix after dinner.
Ingredients for Pie Cones
- 1 pack of ready-made pie crusts
- 2 cups of fruit filling (apples, cherries, or mixed berries)
- 1 tsp cinnamon
- 2 tbsp sugar (adjust based on fruit sweetness)
- Whipped cream or ice cream for topping (optional)
Step-by-Step Instructions
- Preheat Your Oven: Begin by preheating your oven to 400°F (200°C). This will ensure that our Pie Cones get a nice golden brown color.
- Prepare the Pie Crust: Unroll the ready-made pie crusts on a flat surface. Use a round cutter (or a glass) to cut out circles about 4-5 inches in diameter.
- Form the Cones: Take each circle and roll it into a cone shape, ensuring you pinch the bottom so that the filling won’t leak out. Secure with a dab of water if necessary.
- Add the Filling: In a bowl, mix your fruit filling with cinnamon and sugar. Fill each cone with 1-2 tablespoons of the mixture, leaving enough room at the top to seal the cone.
- Seal the Cones: Take the edges of the crust over the filling and pinch them to seal. You can use a fork to ensure they are tightly closed.
- Bake: Place the cones upright on a baking tray lined with parchment paper. Bake for 15-20 minutes or until they are golden brown and crispy.
- Cool and Top: Allow the cones to cool for a few minutes before topping them with whipped cream or a scoop of ice cream. Dig in and enjoy!
Top Tips for Perfecting Pie Cones
- Substitutions: If you’re looking to make it even healthier, consider using whole wheat pie crusts or even puff pastry for a flakier texture.
- Timing: Keep an eye on your cones while baking; ovens can vary, and you want that perfect golden hue!
- Avoid Mistakes: Don’t overfill the cones with fruit; it’ll spill during baking! A spoonful or two is just right.
Storing and Reheating Tips
If you have leftover Pie Cones (which is a rarity, I assure you!), store them in the refrigerator for up to three days. For longer storage, you can freeze them, wrapped in plastic wrap, for up to a month. When you’re ready to enjoy them again, simply pop them in the oven at 350°F (175°C) for 10-15 minutes to warm them up without losing that delightful crunchy texture.
Now that you know how to make the best Pie Cones you’ve ever tasted, gather your ingredients and get started! Trust me, your family and friends will fall in love with these delightful treats. Happy baking!
FAQ
- Can I use my own pie crust recipe?
Absolutely! Homemade pie crusts can add a personal touch to your Pie Cones. - What fruit fillings work best?
Apples, cherries, and mixed berries are traditional favorites, but feel free to get creative with peaches or even sweetened pumpkin! - Do I have to bake them immediately?
You can prepare the cones ahead of time and refrigerate them. Just bake them when you’re ready to serve! - Can these be made vegan?
Yes! Use plant-based butter for the crust, and choose a fruit filling that suits your dietary needs.
Get ready to impress with these flavorful Pie Cones. Enjoy the process, and most importantly, enjoy sharing them with your loved ones!

Pie Cones
Ingredients
Method
- Preheat your oven to 400°F (200°C).
- Unroll the ready-made pie crusts on a flat surface and cut out circles about 4-5 inches in diameter using a round cutter or glass.
- Roll each circle into a cone shape, pinching the bottom to prevent leaking and secure with a dab of water if necessary.
- In a bowl, mix fruit filling with cinnamon and sugar, then fill each cone with 1-2 tablespoons of the mixture.
- Pinch the edges of the crust over the filling to seal, using a fork for a tighter closure.
- Place the cones upright on a baking tray lined with parchment paper and bake for 15-20 minutes until golden brown and crispy.
- Allow cones to cool for a few minutes before topping with whipped cream or ice cream.
Leave a Reply