
There’s something incredibly delightful about Homemade Danish Butter Cookies that will have your taste buds dancing with joy! With their crispy, melt-in-your-mouth texture and rich buttery flavor, these cookies are the perfect treat for family gatherings or cozy winter evenings. Did you know that these cookies have a long-standing tradition in Danish culture, often making their appearance as a sweet gesture when friends and family come together? It’s true! Much like my popular Chocolate Chip Cookie recipe, which offers a gooey and comforting bite, these butter cookies provide a different yet equally satisfying experience with their delicate crispiness and simplicity.
But what makes these cookies special? It’s the ease of preparation and the ability to personalize them with your choice of toppings—perfect for family baking days! As you bake these, the beautiful aroma wafting through your kitchen will make your home feel like a warm, welcoming oasis. Let’s dive into this simple yet scrumptious recipe that is sure to become a family favorite.
What is Homemade Danish Butter Cookies?
You might be wondering why they’re called “Danish” butter cookies! Are they made in Denmark, or is there a fun story behind the name? In fact, these cookies have roots in Danish pastry-making traditions, which prioritize quality, simplicity, and good ingredients. But here’s a playful little fact: the way to a man’s heart is through his stomach, and nothing does this better than a batch of freshly baked Homemade Danish Butter Cookies! Picture this: after a long day, you crack open a tin of these delightful cookies, and each bite elicits a satisfied smile. If that doesn’t sound tempting, I don’t know what does!
So why not gather your loved ones, roll up your sleeves, and join me in making this sweet treat? Trust me, your family will appreciate the love and effort poured into each buttery bite!
Why You’ll Love This Homemade Danish Butter Cookies
Let’s talk about the highlights of making Homemade Danish Butter Cookies! First off, they are an indulgent treat that stands out with their buttery flavor and crisp texture, making them a perfect accompaniment for your afternoon tea or coffee. Unlike store-bought options, these cookies are made with love and quality ingredients, which makes all the difference in taste.
But that’s not all! Baking at home is a budget-friendly way to enjoy delicious snacks while saving money. You can make a large batch without breaking the bank! Plus, there’s nothing more satisfying than creating something from scratch.
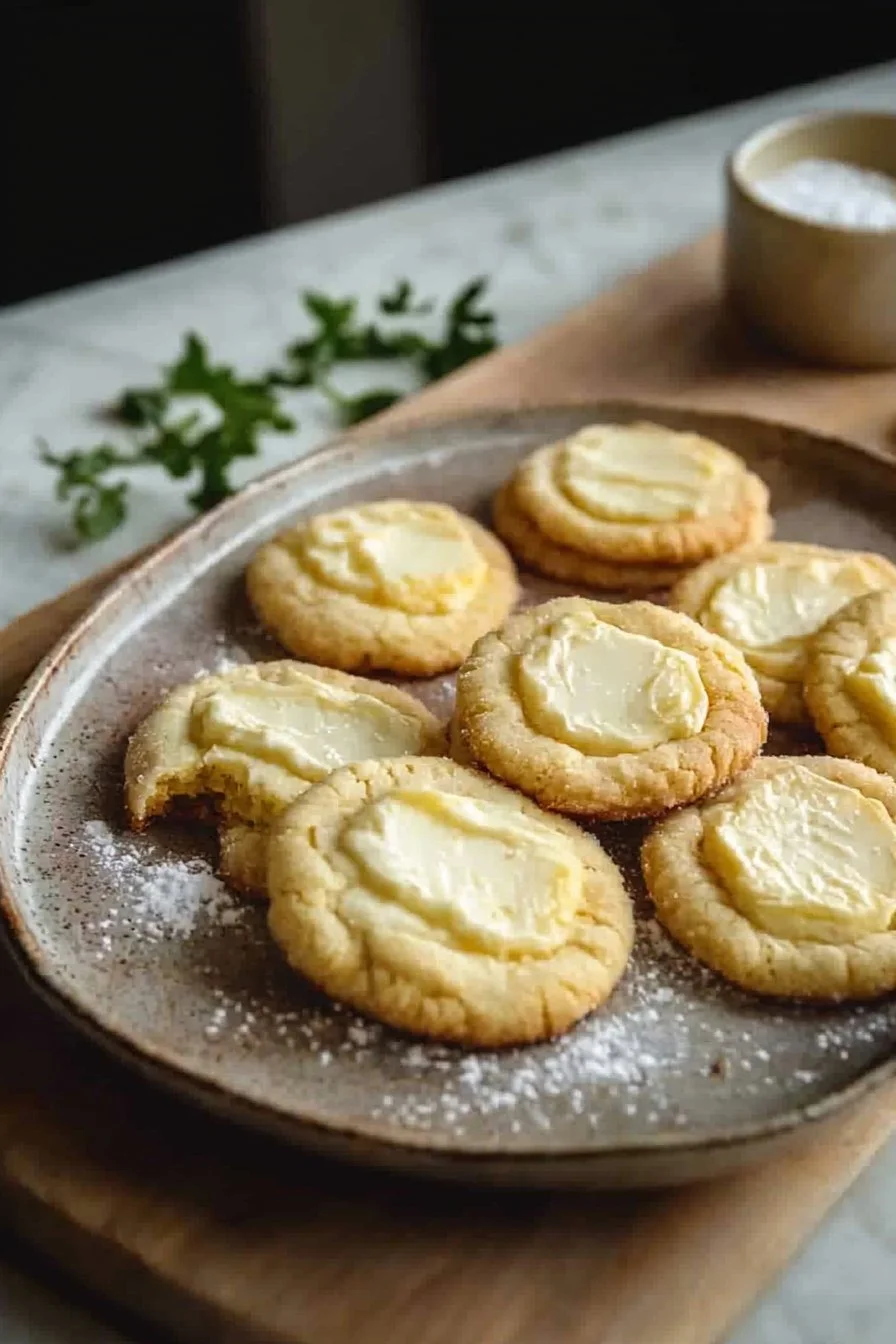
When serving these cookies, you can elevate them with flavorful toppings, such as a dusting of powdered sugar or even a sprinkle of your favorite nuts for added crunch. It’s like their own little party on a plate! So gather your ingredients and let’s start creating these scrumptious cookies together. You won’t regret it!
How to Make Homemade Danish Butter Cookies
Quick Overview
Making Homemade Danish Butter Cookies is a straightforward process that is deeply satisfying. The key highlights here are their rich, buttery flavor and their uniquely crispy texture, which makes them irresistible. With just about 15 minutes of preparation time, you’ll have these golden delights baking in your oven in no time—just enough to keep you on your toes and give you the delightful anticipation of that fresh cookie aroma filling the air!
Ingredients
- 1 cup unsalted butter, softened
- 3/4 cup granulated sugar
- 1 teaspoon vanilla extract
- 2 cups all-purpose flour
- 1/4 teaspoon salt
- 1/2 cup powdered sugar (for dusting, optional)
Step-by-Step Instructions
- Preheat the Oven: Start by preheating your oven to 350°F (175°C). This temperature will ensure that your cookies bake evenly.
- Mix the Butter and Sugar: In a large mixing bowl, combine the softened unsalted butter and granulated sugar. Use a hand mixer or stand mixer to beat them together on medium speed until the mixture turns creamy and smooth.
- Add Vanilla and Flour: Once the butter and sugar are well blended, add the vanilla extract. Gradually sift in the all-purpose flour and salt. Mix until a soft dough forms—you want it to be smooth but not sticky.
- Shape the Cookies: Scoop the dough using a spoon or cookie scoop and roll it into small balls. Place them on a baking sheet lined with parchment paper, leaving some space between each cookie as they will spread while baking.
- Bake the Cookies: Bake the cookies in your preheated oven for about 12-15 minutes or until the edges turn golden. Keep an eye on them to avoid overbaking!
- Cool and Dust: Once baked, remove the cookies from the oven and let them cool on the baking sheet for a few minutes before transferring them to a wire rack. If desired, dust with powdered sugar for an extra touch of sweetness!
Top Tips for Perfecting Homemade Danish Butter Cookies
- Butter Temperature: Make sure your unsalted butter is at room temperature for easy mixing.
- Flour Measurement: Be cautious when measuring flour. Too much flour can lead to dry cookies. Use a spoon to fluff it up before scooping!
- Flavor Variations: Feel free to represent your personal taste! You can add in some finely chopped nuts or even chocolate chips if you want to deviate from the traditional recipe.
Storing and Reheating Tips
To maximize the shelf life of your Homemade Danish Butter Cookies, store them in an airtight container at room temperature. They can last for up to a week. If you want to enjoy them even longer, consider freezing them! Just place them in a freezer-safe container with parchment paper between layers. They will stay good for up to three months.
If you decide to reheat your cookies, simply place them on a baking sheet and warm them in the oven at 300°F (150°C) for about 5-10 minutes. This will help restore their delightful crisp texture while warming up their buttery flavor once again.
Now that you have this easy and delicious recipe for Homemade Danish Butter Cookies, it’s time to gather your ingredients and share this delightful experience with your loved ones. Enjoy baking, and happy eating!

Danish Butter Cookies
Ingredients
Method
- Preheat your oven to 350°F (175°C).
- In a large mixing bowl, combine the softened unsalted butter and granulated sugar. Beat on medium speed until creamy and smooth.
- Add the vanilla extract. Gradually sift in the all-purpose flour and salt, mixing until a soft dough forms.
- Scoop the dough using a spoon or cookie scoop and roll it into small balls. Place them on a baking sheet lined with parchment paper, leaving some space between each.
- Bake the cookies for about 12-15 minutes or until the edges turn golden.
- Once baked, cool on the baking sheet for a few minutes before transferring them to a wire rack.
- If desired, dust with powdered sugar for an extra touch of sweetness!
Leave a Reply