
If you’re looking for a cookie that boasts delightful textures and a sweet burst of flavor, you’ve just stumbled upon the perfect recipe: Classic Thumbprint Cookies! With a soft, buttery base and a luscious fruit jam center, these cookies are pure comfort in every bite. Picture this: a winter evening, the aroma of fresh cookies wafting through your home, and family gathered around, sharing laughter and stories. It’s a scene reminiscent of childhood, isn’t it? In fact, did you know that these cookies got their name because bakers would press their thumbs into the dough to create the signature wells? A little quirky, but it’s all about adding that personal touch!
What makes this recipe special is its simplicity and the joy it brings to family gatherings, much like our popular chewy chocolate chip cookies. So, roll up your sleeves, and let’s dive into the delicious world of Classic Thumbprint Cookies!
What is Classic Thumbprint Cookies?
You might think, “Thumbprint cookies? How did they get such a quirky name?” Well, the answer is simple and sweet! These charming treats are quite literally imprinted with a thumbprint before baking, making them as fun to make as they are to eat. Imagine the delight when your kids get to press their thumbs into the dough—pure creativity!
Remember that saying, “the way to a man’s heart is through his stomach”? That couldn’t be truer for these cookies. They combine simplicity and flavor in a way that melts hearts (and mouths) alike. So, why not invite your friends over and whip up a batch of these delightful cookies? Trust me; they’ll be asking for seconds!
Why You’ll Love This Classic Thumbprint Cookies
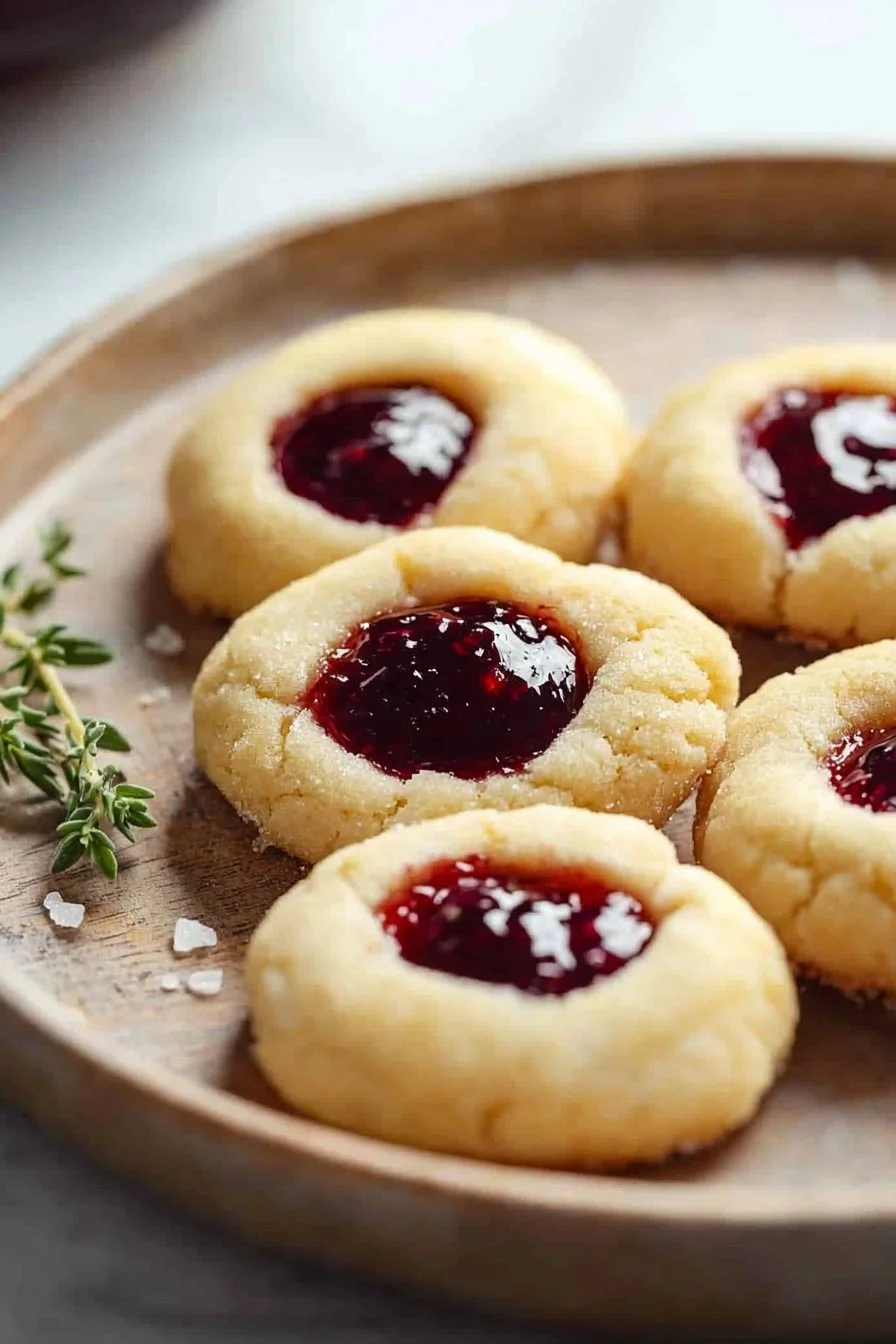
There are three outstanding reasons to absolutely adore Classic Thumbprint Cookies. First off, the buttery cookie base is perfectly chewy, creating a wonderful contrast to the sticky, sweet fruit jam you nestle right in the center. Secondly, preparing these treats at home is incredibly budget-friendly. Why pay for store-bought cookies when you can create these delightful morsels for a fraction of the cost?
Finally, you can customize with different flavors of jam, from raspberry to apricot, or even try a unique twist with chocolate or Nutella! Imagine biting into this delightful cookie with a rich, fruity center. Are you ready to make these your go-to cookie recipe for your next family gathering? Let’s get to it!
How to Make Classic Thumbprint Cookies
Quick Overview
Making Classic Thumbprint Cookies is not only easy, but it also yields cookies that are irresistibly satisfying. With a soft texture and a flavor that dances on the palate, these cookies are a welcome addition to any dessert table. The preparation time is about 15 minutes, while the baking time takes 15-20 minutes, giving you freshly baked cookies in no time!
Ingredients for Classic Thumbprint Cookies
- 1 cup unsalted butter, softened
- 2/3 cup granulated sugar
- 1/2 teaspoon vanilla extract
- 2 cups all-purpose flour
- 1/4 teaspoon salt
- 1/2 cup jam or preserves (e.g., raspberry, apricot)
These ingredients are not only easy to find but are staples in any baker’s kitchen, making them perfect for spontaneous baking sessions!
Step-by-Step Instructions
- Preheat Oven: Begin by preheating your oven to 350°F (175°C). Line a baking sheet with parchment paper to prevent sticking.
- Cream Butter and Sugar: In a large mixing bowl, cream the softened butter and granulated sugar together until light and fluffy. This usually takes about 2-3 minutes with a hand mixer.
- Add Vanilla: Mix in the vanilla extract, incorporating it well into the butter-sugar mixture.
- Combine Dry Ingredients: In a separate bowl, whisk together the all-purpose flour and salt. Gradually add this dry mixture to the creamed butter and sugar, mixing until just combined.
- Form Cookies: Scoop tablespoon-sized portions of dough and roll them into balls. Place them on your prepared baking sheet, leaving some space in between.
- Make Thumbprints: Use your thumb (or the back of a spoon) to gently press into the center of each dough ball, creating a well.
- Fill with Jam: Carefully fill each thumbprint with your chosen jam or preserve.
- Bake: Bake in the preheated oven for 15-20 minutes or until the edges are lightly golden.
- Cool: Allow the cookies to cool on the baking sheet for a few minutes before transferring them to a wire rack to cool completely.
And there you have it—golden, delicious Classic Thumbprint Cookies ready to be devoured!
Top Tips for Perfecting Classic Thumbprint Cookies
- Substitutions: If you’re looking for a Halal-friendly twist, try using coconut cream in place of butter or experimenting with different types of fruit preserves.
- Timing: Be mindful not to over-bake your cookies; they should be lightly golden at the edges.
- Common Mistakes: Avoid skipping the chilling of the dough if you find it too soft to handle. A quick chill in the fridge helps maintain its shape during baking.
Storing and Reheating Tips
To keep your Classic Thumbprint Cookies fresh, store them in an airtight container at room temperature for up to 5 days. If you’d like to keep them for longer, they can be frozen for 3 months. To reheat, simply place the cookies in a warm oven for a few minutes to revive their soft texture. Enjoy the same delightful flavors as the day you made them!
Frequently Asked Questions
- Can I use different flavors of jam? Absolutely! Feel free to get creative and experiment with your favorite jams or even chocolate spreads.
- Are these cookies suitable for kids to make? Yes! This recipe is easy enough for kids to participate in, from rolling the dough to making thumbprints.
- Can I make these vegan? Yes! Substitute the butter with a plant-based spread and use a flaxseed mixture as an egg replacement if needed.
Creating Classic Thumbprint Cookies is a delightful way to fill your home with love and joy. So gather your ingredients, invite loved ones over, and get baking. You won’t regret it!

Classic Thumbprint Cookies
Ingredients
Method
- Preheat your oven to 350°F (175°C) and line a baking sheet with parchment paper.
- In a large mixing bowl, cream the softened butter and granulated sugar together until light and fluffy, about 2-3 minutes.
- Mix in the vanilla extract until well combined.
- In a separate bowl, whisk together the all-purpose flour and salt, then gradually add to the butter-sugar mixture, mixing until just combined.
- Scoop tablespoon-sized portions of dough, roll them into balls, and place them on the prepared baking sheet with space in between.
- Use your thumb to create a well in the center of each dough ball.
- Fill each thumbprint with your chosen jam or preserve.
- Bake in the preheated oven for 15-20 minutes or until the edges are lightly golden.
- Allow the cookies to cool on the baking sheet for a few minutes before transferring to a wire rack.
Leave a Reply