
Banana pudding evokes memories of family gatherings, where laughter fills the air and sweet treats grace the table. Now, Not Your Mother’s Banana Pudding takes this classic dessert up a notch with a creamy, delightful twist that you won’t be able to resist. The layers of sliced bananas, velvety vanilla pudding, and crispy vanilla wafers create a delightful texture that dances on your taste buds. Fun fact: Did you know that banana pudding has roots tracing back to the 19th century? It’s no wonder this dish has been a staple in many American households since then! If you loved our Classic Chocolate Chip Cookie Recipe, you’re sure to adore this family-friendly treat just as much – perfect for winter evenings or simple get-togethers.
What is Not Your Mother’s Banana Pudding?
So, why Not Your Mother’s Banana Pudding, you ask? Was there a scandalous vanilla pudding incident that forced this dessert into its rebellious name? Probably not, but this whimsical title does hint at its upgraded flavor profile that strays from the traditional. Packaged puddings may have their charm, but nothing beats the excitement of creamy layers mingling together to create a symphony of taste. You know what they say – the way to a man’s heart is through his stomach, and this delightful dish will surely charm friends and family alike. Ready to bring a new spin to the table? Let’s dive in and discover how to make this must-try dessert!
Why You’ll Love This Not Your Mother’s Banana Pudding
What makes Not Your Mother’s Banana Pudding so special? For starters, it features a creamy, indulgent filling that will remind you of the comfort of home yet excite your palate in a way that doesn’t break the bank. Making this dish at home is not only cost-effective, but you’ll be wowing everyone with your culinary skills in no time! Picture the sweet bananas complemented by rich vanilla pudding all tucked between layers of crunchy vanilla wafers. If you’re a fan of other creamy desserts like Tiramisu, this is your next best match. So go ahead, grab your apron, and let’s create a dessert that will leave everyone asking for seconds!
How to Make Not Your Mother’s Banana Pudding
Quick Overview
Creating Not Your Mother’s Banana Pudding is a delightful endeavor that you can complete in just 20 minutes of prep time. It’s an easy yet satisfying dessert that’s perfect for busy evenings or family gatherings. The combination of sweet bananas and creamy pudding comes together effortlessly, creating a dessert that’s simply scrumptious!
Ingredients
To whip up your batch of Not Your Mother’s Banana Pudding, you’ll need:
- 1 box of instant vanilla pudding
- 2 cups of milk
- 1 can of sweetened condensed milk
- 1 container of whipped topping
- Bananas (sliced, adjust to your preference)
- Vanilla wafers (adjust to your preference)
Step-by-Step Instructions
- Prepare the Pudding: In a mixing bowl, combine the box of instant vanilla pudding with 2 cups of milk. Whisk together until the pudding begins to thicken, about 2 minutes.
- Mix in Sweetened Condensed Milk: After the pudding thickens, gently fold in the sweetened condensed milk until well incorporated. This adds an extra layer of richness to your dessert.
- Add Whipped Topping: Carefully fold in the entire container of whipped topping to create a light and airy texture.
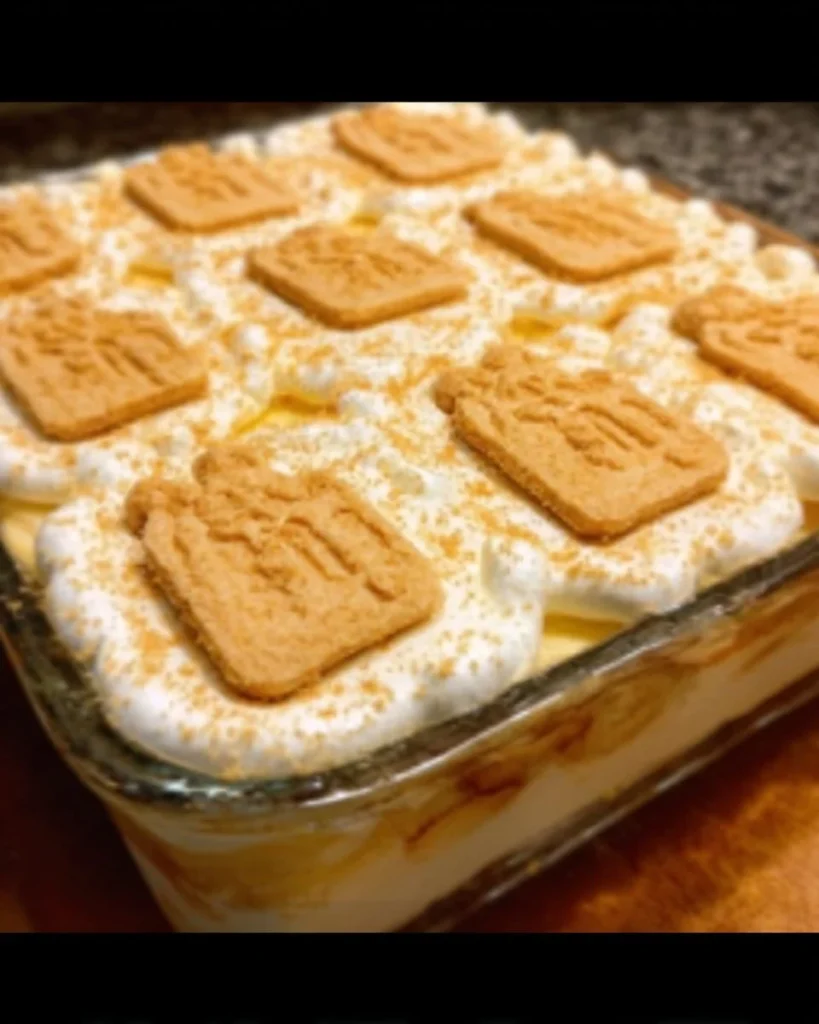
- Layer the Dish: In a glass dish or a large bowl, start layering with a thin layer of the pudding mix. Then add a layer of sliced bananas followed by a layer of vanilla wafers. Repeat these layers until all ingredients are used, ending with a topping of whipped mix on top.
- Chill: Cover the dish and refrigerate for at least 2 hours to allow the flavors to meld together and the wafers to soften for an improved texture.
- Serve: Before serving, you can garnish with extra banana slices or crushed vanilla wafers for added crunch.
Top Tips for Perfecting Not Your Mother’s Banana Pudding
- Substitutions: If you’re looking for a healthier alternative, you can substitute regular whipped topping with lighter versions or even Greek yogurt for a tangy twist.
- Timing: For the best flavor, let the dessert chill for 4-6 hours. This gives the vanilla wafers ample time to absorb the pudding and soften beautifully.
- Avoid Common Mistakes: To ensure your layers don’t get mushy too quickly, wait until just before serving to add extra banana slices and wafers as a garnish. This keeps that lovely crunch!
Storing and Reheating Tips
To store your Not Your Mother’s Banana Pudding, cover it tightly with plastic wrap or a lid to keep it fresh. It can be kept in the refrigerator for up to 3 days. For best results, we recommend consuming it within the first day or two to maintain that delightful texture. It’s best not to freeze this dessert, as the creaminess may separate upon thawing. If you do find yourself needing to reheat it (though we don’t recommend heating it), always do so in short bursts in the microwave. Otherwise, enjoy this delicious creation straight from the fridge!

Now that you’ve got all the details, it’s time to make Not Your Mother’s Banana Pudding! This creamy, comforting dessert will surely leave your guests pleased and smiling with every blissful bite. Gather your ingredients, channel your inner chef, and enjoy the simple joy that comes from creating a special dish for loved ones. Bon appétit!
Not Your Mother's Banana Pudding
Ingredients
Method
- In a mixing bowl, combine the box of instant vanilla pudding with 2 cups of milk. Whisk together until the pudding begins to thicken, about 2 minutes.
- After the pudding thickens, gently fold in the sweetened condensed milk until well incorporated.
- Carefully fold in the entire container of whipped topping.
- In a glass dish or a large bowl, start layering with a thin layer of the pudding mix, followed by a layer of sliced bananas, and then a layer of vanilla wafers. Repeat these layers until all ingredients are used.
- End with a topping of whipped mix on top.
- Cover the dish and refrigerate for at least 2 hours.
- Before serving, optionally garnish with extra banana slices or crushed vanilla wafers.
Leave a Reply