
Sometimes life calls for a quick and delicious dessert that satisfies your sweet tooth without needing a lot of fuss. Enter the Quick Magic Peanut Butter Mug Cake! This delightful treat combines the rich, creamy flavors of peanut butter with a fluffy texture that feels indulgent yet is incredibly simple to prepare. Imagine diving into a warm, gooey mug of peanut buttery goodness – it’s heaven! One evening, during a cozy family gathering, I discovered that this recipe could turn any ordinary night into a mini celebration. With just a few ingredients and a little time, you can whip up this delightful dessert in minutes.
If you’ve ever tried my popular Dulce de Leche Brownies, you’ll find the same level of satisfaction in this mug cake, but with a unique nutty twist. It’s perfect for busy evenings when the craving strikes, making it a household favorite!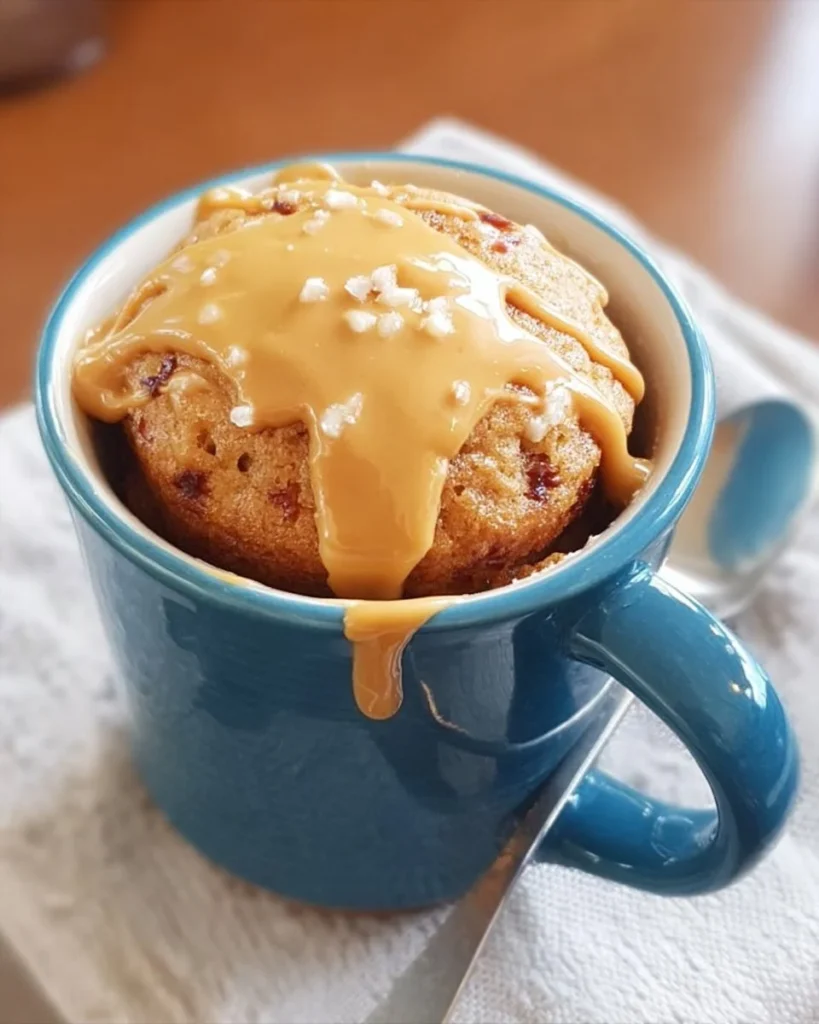
What is Quick Magic Peanut Butter Mug Cake?
Ah, the Quick Magic Peanut Butter Mug Cake! Sounds intriguing, doesn’t it? One could wonder about the origin of that “magic” in the name. Did a sorcerer create it in a microwave? Or maybe a hungry chef accidentally discovered it while trying to concoct a potion? Whatever its origin, one thing is clear: this cake is incredibly simple and can be made in mere moments! They say the way to a man’s heart is through his stomach, and trust me, this mug cake will win over anyone in the family. So why wait? Let’s make some magic happen!
Why You’ll Love This Quick Magic Peanut Butter Mug Cake
What’s not to love about the Quick Magic Peanut Butter Mug Cake? First off, this dish shines as a delightful dessert that captures all the comforts of your favorite peanut butter treats. Secondly, it’s budget-friendly – cooking at home saves money compared to store-bought desserts, which can rack up quickly. And let’s not forget those flavorful toppings! Drizzle a bit of honey or sprinkle some chocolate chips, and you’ve transformed this simple mug cake into a unique dessert experience. Compared to classic brownies, this mug cake not only offers a nutty twist but also requires less time and effort. So, grab a mug and let’s dive into this deliciousness!
How to Make Quick Magic Peanut Butter Mug Cake
Quick Overview
Making the Quick Magic Peanut Butter Mug Cake is as easy as pie – or should I say, cake? In just about 5 minutes, you can go from craving something sweet to enjoying a bite of this delightful treat. The key highlights are the silky smooth peanut butter flavor paired with a cake-like texture that creates a satisfying experience in every spoonful.
Preparation Time
Total time: 5 minutes (1 minute of preparation + 1 minute in the microwave)
Key Ingredients for Quick Magic Peanut Butter Mug Cake
- 4 tablespoons all-purpose flour
- 2 tablespoons sugar
- 1/2 teaspoon baking powder
- 1/8 teaspoon salt
- 3 tablespoons milk (or a non-dairy alternative)
- 2 tablespoons peanut butter
- 1 tablespoon vegetable oil (or melted coconut oil)
- 1/4 teaspoon vanilla extract
Step-by-Step Instructions
- Get Your Mug Ready: Start by selecting a microwave-safe mug. Make sure it’s of generous size to accommodate the expanding cake – around a 12-ounce or larger mug works best.
- Mix the Dry Ingredients: In your mug, add 4 tablespoons of all-purpose flour, 2 tablespoons of sugar, 1/2 teaspoon of baking powder, and a pinch of salt. Use a fork to mix these dry ingredients thoroughly until well combined.
- Add the Wet Ingredients: To your dry mix, pour in 3 tablespoons of milk, 2 tablespoons of peanut butter, and 1 tablespoon of vegetable oil along with 1/4 teaspoon of vanilla extract. Stir well until you achieve a smooth batter without lumps.
- Microwave: Place your mug in the microwave and cook on high for about 1 minute. Keep a close watch; microwaves can vary in power! You want the cake to rise and set but still be soft.
- Let It Cool: After microwaving, carefully remove the mug (it will be hot) and let the mug cake cool for a minute. This will also help enhance the flavor.
- Serve and Enjoy: Optionally, top your cake with a drizzle of honey, a sprinkle of chocolate chips, or a dollop of whipped cream (Halal-friendly, of course) for an added touch of decadence!
Top Tips for Perfecting Quick Magic Peanut Butter Mug Cake
- Substitutions: If you’re looking for a healthier alternative, you can use whole wheat flour instead of all-purpose flour or substitute natural sweeteners for sugar.
- Timing Is Key: Over-microwaving can lead to a chewy texture rather than the fluffy perfection we all desire. Start with 1 minute, and add additional increments of 10 seconds if needed.
- Avoiding Mistakes: Make sure not to overmix the batter. Mixing just until combined helps achieve a light and airy cake.
Storing and Reheating Tips
To store leftovers of your Quick Magic Peanut Butter Mug Cake, let it cool completely before transferring it to an airtight container. You can refrigerate it for about 2-3 days. If you want to keep it longer, consider freezing it for up to one month. When you’re ready to enjoy it again, simply reheat it in the microwave for about 15-20 seconds. This will help bring back the original warm, melty texture – perfect for an instant sweet fix!
Now that you’re equipped with all the tips and tricks, there’s just one thing left to do: make your very own Quick Magic Peanut Butter Mug Cake and indulge in the comforting flavors it has to offer! Whether it’s for a cozy evening treat or a last-minute family snack, this mug cake is sure to become a go-to recipe in your home. Happy baking!
Quick Magic Peanut Butter Mug Cake
Ingredients
Method
- Get your mug ready: select a microwave-safe mug around a 12-ounce or larger.
- Mix the dry ingredients: add flour, sugar, baking powder, and salt in the mug. Mix thoroughly with a fork.
- Add the wet ingredients: pour in milk, peanut butter, vegetable oil, and vanilla extract. Stir until smooth.
- Microwave: cook on high for about 1 minute, watching closely until the cake rises and sets.
- Let it cool: carefully remove the mug and let the cake cool for a minute.
- Serve and enjoy: top with honey, chocolate chips, or whipped cream if desired.
Leave a Reply