
Nana’s Holiday Cookies: A Cherished Delight!
The holiday season is a time of warmth, joy, and, of course, delicious treats! If you’re looking for the perfect sweet to share with loved ones or to indulge in yourself, look no further than Nana’s Holiday Cookies. These delightful little bites bring together rich flavors and a comforting nostalgia that will make your heart sing. With their crumbly texture and delightful aromas, they’re sure to fill your home with the spirit of the season. Did you know that the tradition of baking cookies during holidays dates back centuries, symbolizing love and togetherness? These cookies are special not just for their taste, but for the memories they create. They’re incredibly easy to whip up, making them perfect for holiday gatherings or cozy nights at home. Just like our popular Chocolate Chip Cookies, Nana’s Holiday Cookies hold a special place in the hearts of many. So let’s get baking and make some unforgettable memories this holiday season!

What is Nana’s Holiday Cookies?
So, what’s in a name? Nana’s Holiday Cookies certainly sounds inviting, right? You might be thinking, “Who is this mysterious Nana, and why are her cookies so special?” Well, the name pays homage to grandmothers everywhere, known for their incredible baking skills and love. It’s said, “the way to a man’s heart is through his stomach,” and let me tell you, Nana’s cookies are no exception! Originating from family recipes passed down through generations, every bite is a taste of pure nostalgia. It’s a classic reminder that the best recipes come from the heart. So why not channel your inner Nana and give these cookies a try? You just might serve up a batch that becomes a new family favorite!
Why You’ll Love This Nana’s Holiday Cookies:
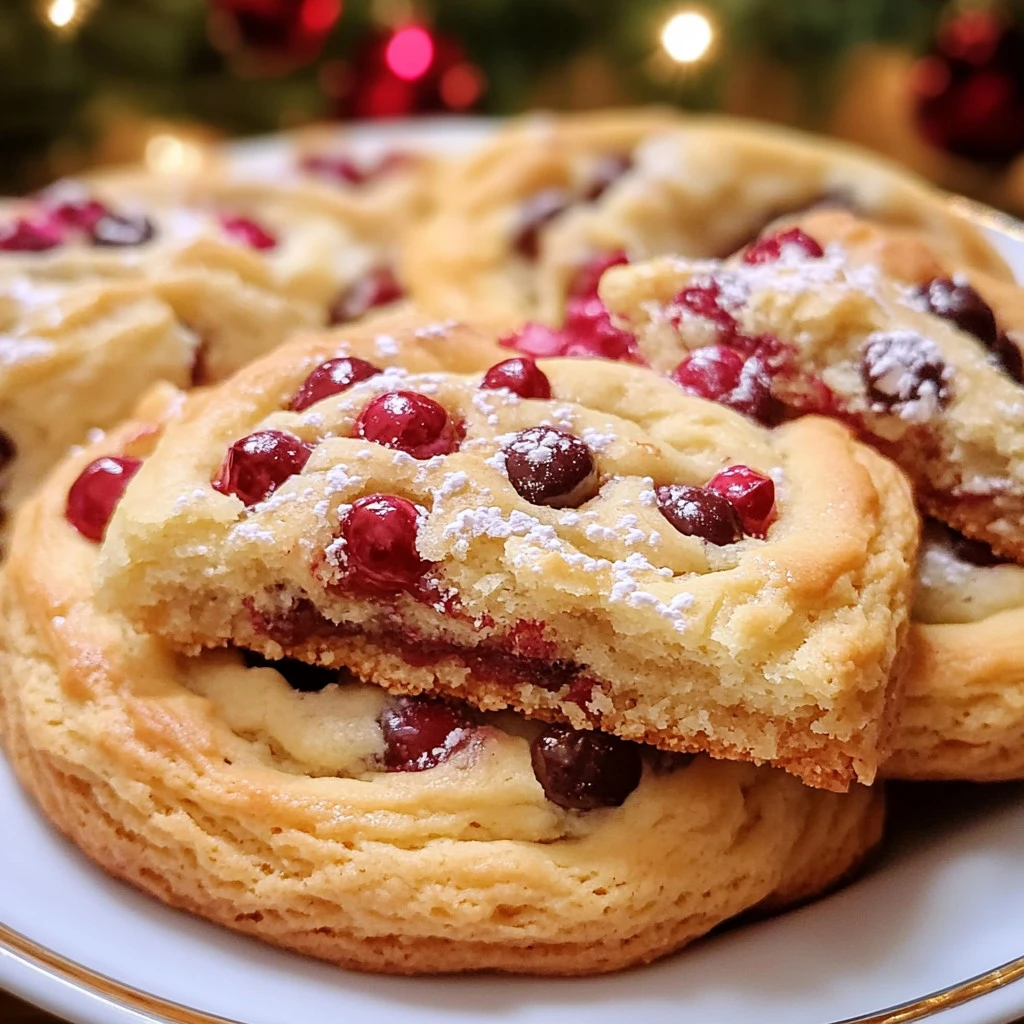
Nana’s Holiday Cookies stand out for several wonderful reasons. First, their main highlight is without a doubt the rich, buttery flavor combined with a touch of sweetness and the crunch of festive add-ins such as nuts and chocolate chips. Secondly, by making them at home, you save money while creating a beloved treat that beats store-bought goodies any day! Plus, you can personalize them with your favorite toppings—think colorful sprinkles or creamy chocolate drizzle!
If you’ve enjoyed our Gingerbread Cookies, you’ll love the familiar comfort and delightful flavors of these cookies! Both recipes embody the spirit of home-baked warmth. So roll up your sleeves, gather your ingredients, and let’s create a batch of joy!
How to Make Nana’s Holiday Cookies:
Quick Overview
Making Nana’s Holiday Cookies is a breeze! These cookies are not only delicious but also simple to prepare. With just a handful of ingredients and around 30 minutes of prep time, you’ll be on your way to enjoying a sweet treat that captures the essence of the holidays.
Key Ingredients for Nana’s Holiday Cookies:
- 2 cups all-purpose flour
- 1 cup unsalted butter, softened
- 1 cup granulated sugar
- 1 cup brown sugar, packed
- 2 large eggs
- 1 teaspoon vanilla extract
- 1 teaspoon baking soda
- ½ teaspoon salt
- 1 cup chocolate chips (or your favorite mix-ins)
- ½ cup chopped nuts (walnuts or pecans work great!)
Step-by-Step Instructions:
- Preheat Your Oven: Start by preheating your oven to 350°F (175°C). This ensures that your cookies bake evenly and turn out perfectly golden.
- Cream the Butter and Sugars: In a large bowl, combine the softened butter, granulated sugar, and brown sugar. Beat them together until light and fluffy, about 2-3 minutes.
- Add Eggs and Vanilla: Next, add in the eggs one at a time, mixing well after each addition. Stir in the vanilla extract until well combined.
- Combine Dry Ingredients: In another bowl, whisk together the flour, baking soda, and salt. Gradually add this mixture to the wet ingredients, stirring until just combined.
- Fold in the Goodies: Gently fold in your chocolate chips and nuts. Feel free to get creative here! You could even add dried fruits or oatmeal for an extra twist.
- Scoop and Bake: Drop spoonfuls of dough onto a parchment-lined baking sheet, spacing them about two inches apart. Bake for 10-12 minutes or until the edges are lightly golden.
- Cool and Enjoy: Once baked, remove the cookies from the oven and let them cool on the baking sheet for a few minutes before transferring them to a wire rack. Enjoy fresh or store for later!
What to Serve Nana’s Holiday Cookies With:
Nana’s Holiday Cookies are fantastic on their own, but why not elevate your experience? Pair them with a warm cup of holiday-spiced tea or a glass of cold milk for the ultimate treat. You could even serve them alongside a scoop of vanilla ice cream—yum! If you’re hosting a gathering, consider serving them on a platter with other seasonal sweets like Peppermint Bark or Sugar Cookies for a delightful dessert table.
Top Tips for Perfecting Nana’s Holiday Cookies:
- Ingredient Freshness: Always use fresh ingredients to ensure the best flavor. Old baking soda or flour can lead to lackluster cookies!
- Don’t Overmix: When combining the dry and wet ingredients, mix just until combined to keep your cookies tender.
- Chill the Dough: If you prefer a thicker cookie, chill the dough for 30 minutes before baking.
- Experiment with Mix-ins: Feel free to swap chocolate chips for butterscotch chips, toffee bits, or even fun festive sprinkles to add a personal touch!
Storing and Reheating Tips:
To keep your cookies fresh, store them in an airtight container at room temperature for up to one week. If you want to enjoy them later, consider freezing them! Simply layer them in a freezer-safe bag or container with parchment paper between layers, and they’ll last for up to three months. When you’re ready to enjoy, simply thaw at room temperature or pop them in the microwave for a few seconds to bring back that freshly baked goodness.
Now that you have everything you need, why not dive in and make Nana’s Holiday Cookies? Your family (and taste buds) will thank you for creating these delightful treats! Happy baking!
Nana's Holiday Cookies: A Cherished Delight!
Ingredients
Method
- Preheat Your Oven: Start by preheating your oven to 350°F (175°C). This ensures that your cookies bake evenly and turn out perfectly golden.
- Cream the Butter and Sugars: In a large bowl, combine the softened butter, granulated sugar, and brown sugar. Beat them together until light and fluffy, about 2-3 minutes.
- Add Eggs and Vanilla: Next, add in the eggs one at a time, mixing well after each addition. Stir in the vanilla extract until well combined.
- Combine Dry Ingredients: In another bowl, whisk together the flour, baking soda, and salt. Gradually add this mixture to the wet ingredients, stirring until just combined.
- Fold in the Goodies: Gently fold in your chocolate chips and nuts. Feel free to get creative here! You could even add dried fruits or oatmeal for an extra twist.
- Scoop and Bake: Drop spoonfuls of dough onto a parchment-lined baking sheet, spacing them about two inches apart. Bake for 10-12 minutes or until the edges are lightly golden.
- Cool and Enjoy: Once baked, remove the cookies from the oven and let them cool on the baking sheet for a few minutes before transferring them to a wire rack. Enjoy fresh or store for later!
Leave a Reply