
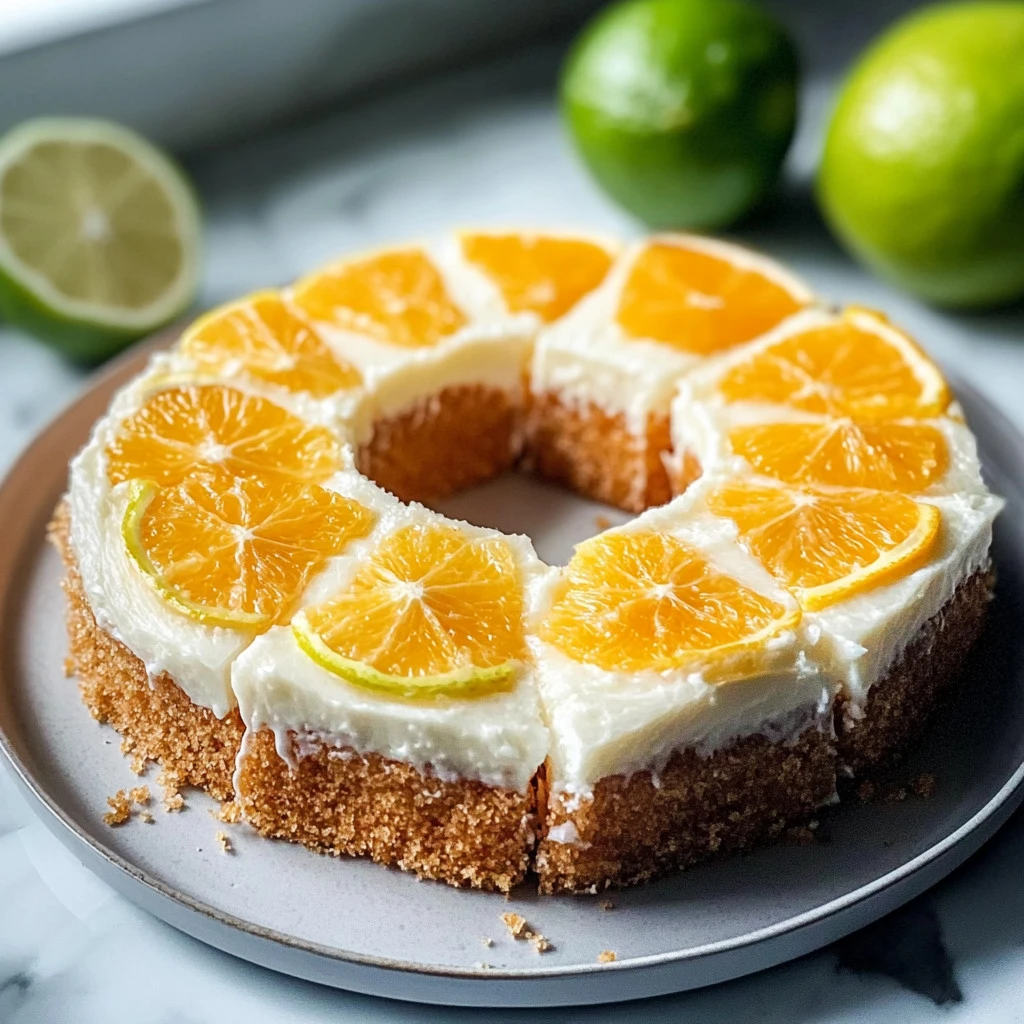
Brighten Your Day with Sunshine Slice!
Welcome to my latest recipe highlight: Sunshine Slice! This delightful dessert is sure to bring a burst of flavor and a splash of sunshine to your day. Imagine sinking your teeth into a luscious slice that is not only visually tempting but also incredibly easy to prepare. The vibrant colors of this dish make it perfect for summer gatherings, picnics, or simply a cheerful pick-me-up at home. A fun fact about Sunshine Slice is its origins; it’s often enjoyed on warm sunny days, which makes sense given its bright disposition!
What makes Sunshine Slice special is its simplicity and quick preparation time, which allows you to whip it up with minimal effort. Unlike many complicated desserts, every step here is user-friendly and family-approved—perfect for getting the kids involved! If you loved our refreshing Lemon Tart, you’re going to adore Sunshine Slice as it brings a delightful twist while keeping the citrusy goodness intact. So grab your mixing bowl and let’s dive into this sun-kissed treat!

What is Sunshine Slice?
So, what’s in a name? Sunshine Slice sounds like it could be your favorite summer vacation spot, doesn’t it? But really, it’s all about that radiant flavor and the warm feelings it evokes. Can it really be that delicious? You bet! This sweet treat gets its cheerful name from its bright, fruity essence—much like how a sunny day can lift our spirits. Legend has it that a wise person once said, “The way to a man’s heart is through his stomach,” and this recipe surely embodies that notion! So why not try your hand at making Sunshine Slice? Your taste buds—and maybe your friends—will thank you!
Why You’ll Love This Sunshine Slice:
Let’s dive into the tasty goodness that is Sunshine Slice. First and foremost, the highlight of this dish is its vibrant, citrusy flavor that dances on your palate like sunbeams on a summer morning. Secondly, by creating it at home, you can save money while still impressing your guests, making it a smart choice for budget-conscious bakers. And lastly, let’s talk toppings! With a sprinkle of zesty lemon zest or a dollop of whipped cream, your Sunshine Slice will transform into an irresistible dessert that will have everyone begging for seconds. If you’re a fan of our popular Fruit Salad Cake, you’ll find this recipe a delightful addition to your baking repertoire! So, why wait? It’s time to put on your apron and bask in the bliss of homemade Sunshine Slice!
How to Make Sunshine Slice:
Quick Overview
Making Sunshine Slice is as easy as pie—well, technically, easier! With a prep time of just 15 minutes and an additional baking time of 25 minutes, you’ll be enjoying this treat in no time. What’s even better is how versatile it is; whether you’re hosting a brunch or looking for a sweet snack, this slice fits perfectly into any occasion. Let’s break down the ingredients and get started!
Key Ingredients for Sunshine Slice:
- 1 cup all-purpose flour
- 1/2 cup granulated sugar
- 1/2 cup unsalted butter, melted
- 2 large eggs
- 1/4 cup freshly squeezed lemon juice
- 1 tablespoon lemon zest
- 1 teaspoon baking powder
- A pinch of salt
Step-by-Step Instructions:
- Preheat the Oven: Start by preheating your oven to 350°F (175°C). This step is crucial for a perfect bake!
- Mix Dry Ingredients: In a large bowl, whisk together the flour, sugar, baking powder, and salt. Set aside.
- Whisk Wet Ingredients: In another bowl, combine the melted butter, eggs, lemon juice, and lemon zest. Whisk them together until they’re well blended.
- Combine Mixtures: Gradually pour the wet mixture into the dry ingredients, stirring gently until just combined. Be careful not to overmix—lumpy batter is okay!
- Pour and Bake: Pour the batter into a greased baking pan and smooth the top. Bake in your preheated oven for 25-30 minutes or until a toothpick inserted into the center comes out clean.
- Cool and Serve: Allow the Sunshine Slice to cool in the pan for about 10 minutes before transferring it to a wire rack. Once cooled, slice into pieces and enjoy!
What to Serve Sunshine Slice With:
To elevate your Sunshine Slice experience, consider serving it alongside fresh fruits such as berries or a scoop of vanilla ice cream. A glass of fresh lemonade pairs beautifully too, enhancing the citrusy notes of the dessert. For a heartier meal, try it with a light salad or grilled chicken to balance out the sweetness. The delightful contrast of flavors will leave your guests satisfied and asking for more!
Top Tips for Perfecting Sunshine Slice:
- Ingredient Swap: If you’re out of lemons, you can easily substitute with lime for a zesty twist!
- Baking Time: Keep an eye on your slice as baking times can vary. If the edges are browning too quickly, cover it with foil for the remainder of the baking time.
- Storage: Cover extra slices tightly with plastic wrap or store them in an airtight container to keep them fresh for days.
Storing and Reheating Tips:
Leftover Sunshine Slice can be stored in an airtight container in the refrigerator for up to a week. For longer storage, you can freeze it—just make sure to wrap it tightly in foil or freezer-safe bags to prevent freezer burn. When you’re ready to enjoy it again, simply thaw it overnight in the fridge or pop it in the microwave for a quick heating option.
Now that you know all about Sunshine Slice, what are you waiting for? Get in the kitchen, gather your ingredients, and brightened your day with this easy and delicious treat! Enjoy every bite of this sunny delight!
Brighten Your Day with Sunshine Slice!
Ingredients
Method
- Preheat the Oven: Start by preheating your oven to 350°F (175°C). This step is crucial for a perfect bake!
- Mix Dry Ingredients: In a large bowl, whisk together the flour, sugar, baking powder, and salt. Set aside.
- Whisk Wet Ingredients: In another bowl, combine the melted butter, eggs, lemon juice, and lemon zest. Whisk them together until they’re well blended.
- Combine Mixtures: Gradually pour the wet mixture into the dry ingredients, stirring gently until just combined. Be careful not to overmix—lumpy batter is okay!
- Pour and Bake: Pour the batter into a greased baking pan and smooth the top. Bake in your preheated oven for 25-30 minutes or until a toothpick inserted into the center comes out clean.
- Cool and Serve: Allow the Sunshine Slice to cool in the pan for about 10 minutes before transferring it to a wire rack. Once cooled, slice into pieces and enjoy!
Leave a Reply