
There’s nothing quite like biting into a Strawberry Shortcake Icebox Cake as the luscious layers of whipped cream, fluffy cake, and fresh strawberries dance on your palate. This delightful dessert isn’t just a feast for the taste buds — it’s a visual masterpiece that graces any family gathering or cozy winter evening. One summer evening, as I was searching for a treat to make with the fresh strawberries from our garden, I stumbled upon the idea of an icebox cake. The simplicity of this recipe married with the burst of strawberry sweetness felt like a fragrant whisper of summer, no matter the season. If you enjoy the delightful texture of my popular no-bake cheesecake, you’re in for a treat with this one! It’s a cake that even the busiest of home cooks can whip up, making it a joyous addition to any table.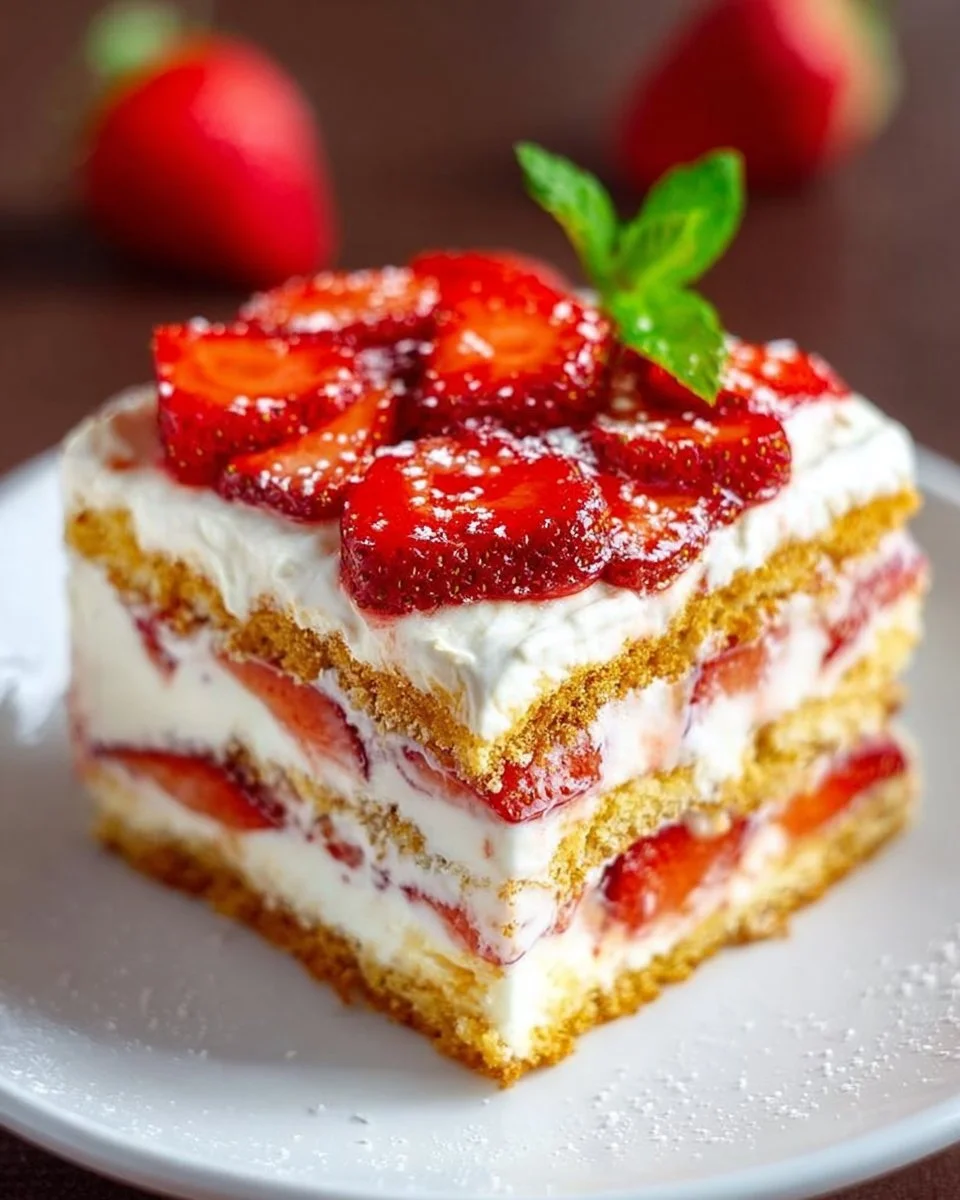
What is Strawberry Shortcake Icebox Cake?
So, what exactly is a Strawberry Shortcake Icebox Cake? It’s a delightful concoction that layers fresh strawberries, fluffy whipped cream, and delicate cake, all softened together in the fridge. But why the name “icebox cake”? Could it be that it’s meant to keep cool, or perhaps it’s named for the way it charmingly fits into the refrigerator? Let’s settle on both — an ingenious dessert that seems to scream, “The way to a man’s heart is through his stomach!” This sweet treat is as perfect for casual get-togethers as it is for cozy nights at home. Feel inspired yet? Grab those strawberries and let’s get baking!
Why You’ll Love This Strawberry Shortcake Icebox Cake
You’re going to fall head over heels for this Strawberry Shortcake Icebox Cake for so many reasons! First, it’s the star of every dessert table, allowing the strawberries to shine with their juicy sweetness enveloped in creamy goodness. Secondly, making this cake at home is a budget-friendly alternative to store-bought desserts that can sometimes surprise you at checkout! Lastly, you can top it with an array of delicious toppings — think crushed nuts, extra strawberries, or a drizzle of chocolate sauce. The flavor combinations are endless, and the only limit is your imagination! Whether you’re reminiscing about traditional strawberry shortcake or preparing to wow friends with a creative spin on a classic, this recipe is all about delicious simplicity. So, are you ready to experience dessert at its finest?
How to Make Strawberry Shortcake Icebox Cake
Quick Overview
The beauty of this Strawberry Shortcake Icebox Cake lies in its simplicity and the joyful outcome. With a fluffy texture from the whipped cream and the natural sweetness of strawberries, it’s a harmonious blend that will leave your taste buds singing. The best part? It requires just 20 minutes of hands-on prep time and then a little patience while it relaxes in the fridge.
Key Ingredients for Strawberry Shortcake Icebox Cake
Here’s what you’ll need to create this delightful masterpiece:
- 2 cups fresh strawberries (sliced)
- 2 teaspoons sugar (this helps to draw out berry juices)
- 1 cup heavy whipping cream
- 1/4 cup powdered sugar
- 1 teaspoon vanilla extract (make sure it’s alcohol-free)
- 8 ounces of sponge cake (store-bought or homemade, your choice!)
- Optional toppings: crushed nuts, extra strawberries, or chocolate shavings.
Step-by-Step Instructions
- Prepare the Strawberries: In a medium bowl, combine the sliced strawberries with the 2 teaspoons of sugar. Allow them to sit for about 15 minutes to release their juices, creating a delicious syrup.
- Make the Whipped Cream: In a large mixing bowl, pour in the heavy whipping cream. Using an electric mixer, whip until soft peaks form. Gradually add the powdered sugar and vanilla extract, continuing to whip until you achieve stiff peaks.
- Layer the Cake: Begin assembling your cake in a 9×9-inch pan or a similar dish. Start with a base layer of sponge cake, followed by a generous amount of whipped cream. Top with half of the strawberries and their juices. Repeat the process with another layer of sponge cake, whipped cream, and the remaining strawberries.
- Chill: Cover the dish with plastic wrap and place it in the refrigerator for at least 4 hours, or ideally overnight. This allows the flavors to marry beautifully and the layers to soften.
- Serve: When ready to serve, remove the plastic wrap and cut into squares. Feel free to garnish with additional whipped cream or strawberries if desired!
Top Tips for Perfecting Strawberry Shortcake Icebox Cake
- Substitutions: If you don’t have heavy whipping cream, you can use coconut cream for a dairy-free alternative that maintains the delicious texture.
- Timing: The longer you let it sit in the fridge, the softer the cake will be. Aim for at least 8 hours for the best results!
- Avoiding Mistakes: Don’t skip the sugar on the strawberries! This crucial step enhances their flavor and provides that sweet syrup we love.
Storing and Reheating Tips
If you have leftovers (though that’s rare with this crowd-pleaser), you can store the Strawberry Shortcake Icebox Cake in the refrigerator for up to 3 days. Just cover it to prevent drying out. However, avoid frozen storage as it doesn’t hold up well and can alter the texture of the whipped cream and cake. For best flavor, enjoy it fresh and within the first few days!
This Strawberry Shortcake Icebox Cake presents not just a dessert, but a joyous experience — one that brings loved ones together over sweet bites and warm smiles. So, grab those strawberries and make this simple, delicious treat your new go-to recipe!
Strawberry Shortcake Icebox Cake
Ingredients
Method
- In a medium bowl, combine the sliced strawberries with the 2 teaspoons of sugar. Allow them to sit for about 15 minutes to release their juices.
- In a large mixing bowl, pour in the heavy whipping cream and whip until soft peaks form. Gradually add the powdered sugar and vanilla extract, continuing to whip until stiff peaks form.
- Begin assembling the cake in a 9×9-inch pan. Start with a base layer of sponge cake, followed by a generous layer of whipped cream, and top with half the strawberries and their juices.
- Repeat with another layer of sponge cake, whipped cream, and the remaining strawberries.
- Cover the dish with plastic wrap and refrigerate for at least 4 hours, or ideally overnight.
- Remove the plastic wrap and cut into squares. Garnish with additional whipped cream or strawberries if desired.
Leave a Reply