
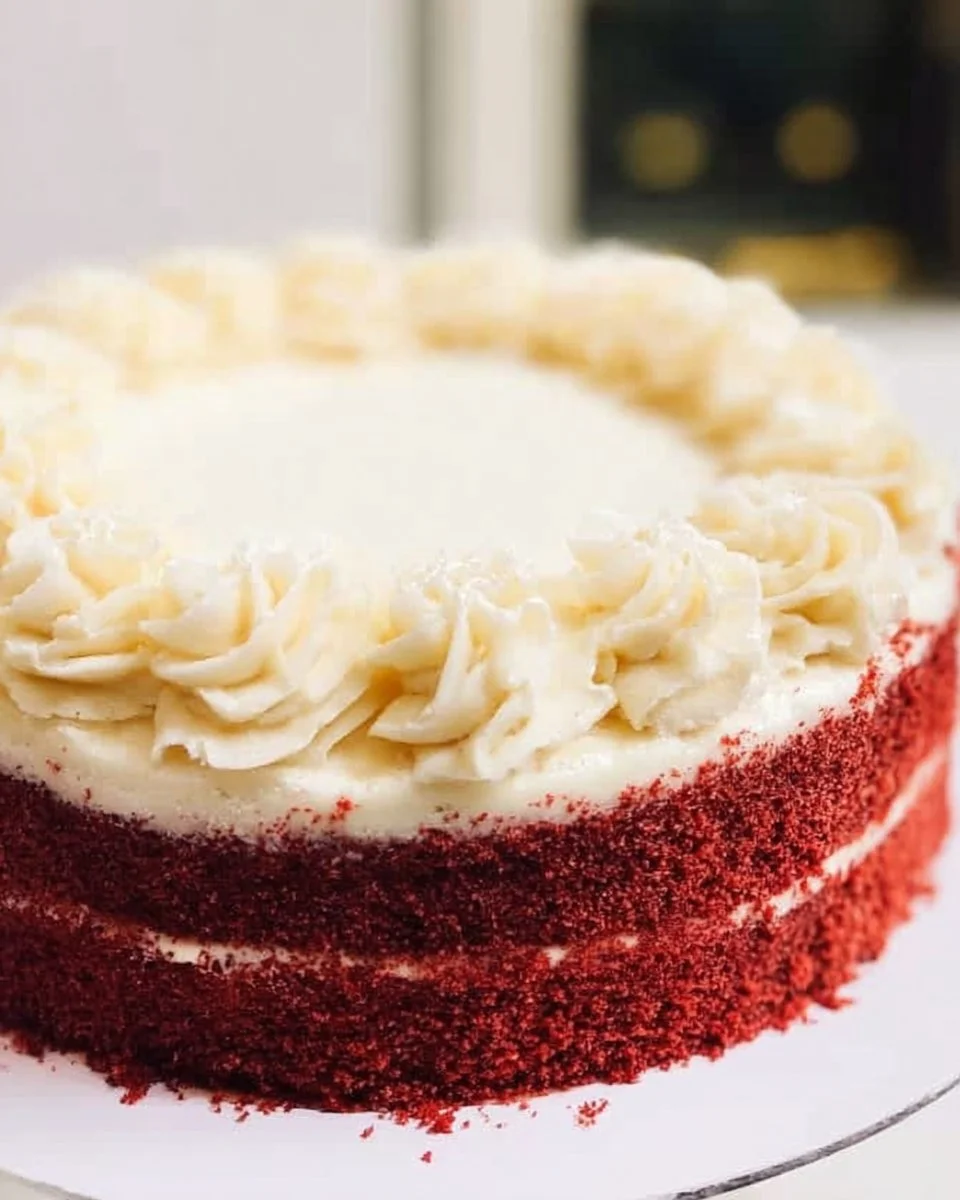
Once you experience the delightful decadence of a Red Velvet Cake, you’ll understand why it’s a dessert that steals the spotlight at every gathering. With its striking crimson color and silky smooth cream cheese frosting, it’s not just a feast for the eyes but also a treat for the taste buds. The velvety texture and subtle hint of cocoa create a flavor explosion that will leave you craving more. Fun fact: Red velvet cake actually originated as a “velvet” cake in the 1920s, but the vibrant red hue didn’t come into play until later. This cake’s simplicity and family-friendly appeal make it a beloved choice, much like my classic chocolate chip cookie recipe – both satisfying, and guaranteed to put a smile on your face.
So, if you want a dessert that encourages smiles and camaraderie among loved ones during those cozy winter evenings, look no further than this Red Velvet Cake. Let’s bring some culinary magic to your table!
What is Red Velvet Cake?
You might wonder, what exactly is in a Red Velvet Cake? Well, think of it as a whimsical fusion of chocolate cake and a traditional vanilla cake, all dressed up in a stunning red hue! Its name raises a lot of curious eyebrows – why red? And does it really have historical ties to red velvet fabric? The answers are just as delightful as the cake itself! As the saying goes, “the way to a man’s heart is through his stomach,” and this luscious cake might just do the trick. Why not impress your family with a slice, or two? Dive right into the joy of this lovely dessert and try making it at home!
Why You’ll Love This Red Velvet Cake
What truly sets this Red Velvet Cake apart is its unique flavor profile and texture. It’s rich yet light, making it the perfect showstopper for any family gathering! Plus, cooking at home not only saves you money but couples that satisfaction of a homemade creation with the joy of family bonding. Imagine those tastebuds coming alive with each velvety bite, complemented by slight tang from the cream cheese frosting. If you love desserts like carrot cake or traditional vanilla cakes, this recipe will undoubtedly win over your heart. Ready to add an incredible dessert to your repertoire? Let’s get baking!
How to Make Red Velvet Cake
Quick Overview
This Red Velvet Cake is extraordinarily easy to whip up and will reward you with a fluffy, moist cake experience. The preparation time is approximately 20 minutes, and the baking time comes in at 30 minutes. It’s a straightforward recipe that anyone can master, even beginners!
Ingredients for Red Velvet Cake
- 2 ½ cups all-purpose flour
- 1 ½ cups granulated sugar
- 1 teaspoon baking soda
- 1 teaspoon salt
- 1 teaspoon cocoa powder
- 1 ½ cups vegetable oil
- 1 cup buttermilk, room temperature
- 2 large eggs, room temperature
- 2 tablespoons red food coloring
- 1 teaspoon vanilla extract
- 1 teaspoon white vinegar
Each ingredient plays a crucial role in creating that signature texture and flavor, ensuring that your Red Velvet Cake will be nothing short of perfection!
Step-by-Step Instructions
- Preheat the Oven: Preheat your oven to 350°F (175°C). Greasing and flouring your cake pans can ensure a perfect release once baked.
- Mix Dry Ingredients: In a large mixing bowl, sift together the flour, baking soda, salt, cocoa powder, and granulated sugar. This combination is foundational to the soft and fluffy texture.
- Combine Wet Ingredients: In another bowl, whisk together the vegetable oil, buttermilk, eggs, red food coloring, vanilla extract, and white vinegar until well blended. The vinegar’s reaction will help with the leavening process.
- Mix it Together: Gradually add the dry ingredients into the wet mixture, stirring until just combined. Be careful not to overmix; a few lumps are perfectly fine!
- Bake: Divide the batter evenly between your prepared cake pans. Bake for about 30-35 minutes, or until a toothpick inserted in the center comes out clean.
- Cool: Let the cakes cool in the pans for about 10 minutes before transferring them to wire racks to cool completely.
- Frost: Once the cakes are cooled, frost between layers and on top with your favorite cream cheese frosting or a simple whipped cream.
Top Tips for Perfecting Red Velvet Cake
- Ingredient Substitutions: If you don’t have buttermilk, you can easily make your own by adding one tablespoon of vinegar or lemon juice to milk and letting it sit for five minutes.
- Timing is Key: Ensure your eggs and buttermilk are at room temperature for better emulsification. This will ultimately lead to a lighter cake.
- Avoid Overbaking: Keep an eye on your cakes while they bake – every oven heats a bit differently. Overbaking can lead to a dry cake, so check for doneness a few minutes before the timer goes off.
- Chill Your Frosting: This makes spreading it on the cake much easier, especially if you are going for a clean finish!
Storing and Reheating Tips
To store your delicious Red Velvet Cake, cover it tightly with plastic wrap or place it in an airtight container to maintain freshness. It can stay at room temperature for up to 3 days or can be refrigerated for a week. For longer storage, you can freeze the cake for up to three months. To reheat, simply let it come to room temperature or microwave it for a few seconds to regain a soft and flavorful texture.
In Conclusion
There you have it! A glorious recipe for creating your own Red Velvet Cake that’s sure to impress at your next gathering. Whether you’re celebrating a special occasion or just indulging in some family time over dinner, this cake will be the perfect centerpiece. So gather your ingredients and let’s bake something delightful together!

Red Velvet Cake
Ingredients
Method
- Preheat your oven to 350°F (175°C). Grease and flour your cake pans.
- In a large mixing bowl, sift together the flour, baking soda, salt, cocoa powder, and granulated sugar.
- In another bowl, whisk together the vegetable oil, buttermilk, eggs, red food coloring, vanilla extract, and white vinegar until well blended.
- Gradually add the dry ingredients into the wet mixture, stirring until just combined.
- Divide the batter evenly between your prepared cake pans.
- Bake for about 30-35 minutes, or until a toothpick inserted in the center comes out clean.
- Let the cakes cool in the pans for about 10 minutes before transferring them to wire racks to cool completely.
- Once the cakes are cooled, frost between layers and on top with your favorite cream cheese frosting or a simple whipped cream.
Leave a Reply