
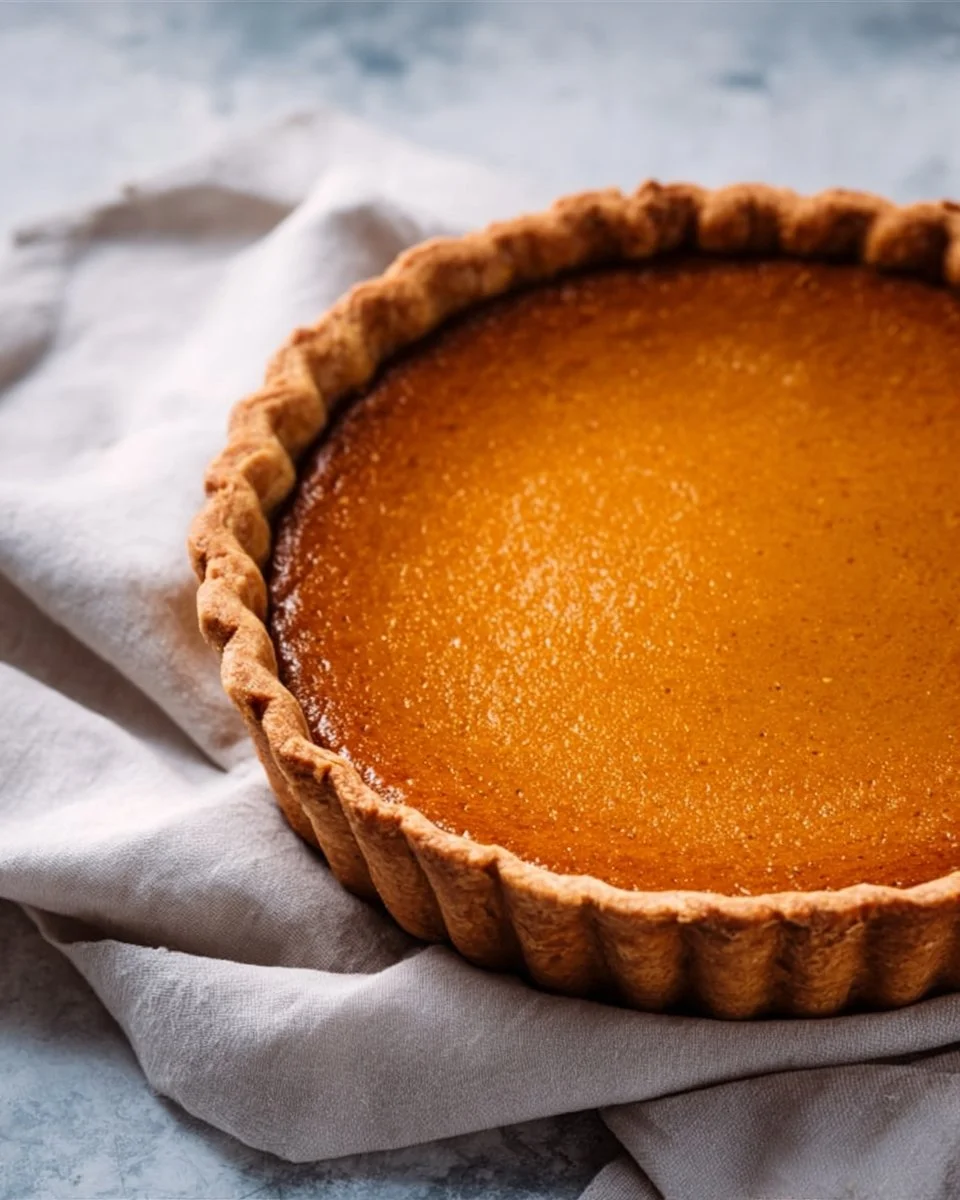
Ah, pumpkin pie! That silky-smooth, aromatic dessert that brings warmth to our hearts and homes during family gatherings. Picture this: a flaky, golden crust cradling a creamy filling that’s bursting with the rich flavors of cinnamon, nutmeg, and just the right hint of sweetness. It’s a heavenly experience with every bite!
Did you know that pumpkin pie dates back to the early days of American settlers? They would often use early varieties of pumpkin in pies, making it a staple in the New World cuisine. In fact, it’s hard to resist the tempting fragrance wafting from the oven—your home will smell divine, welcoming everyone to gather and indulge.
What makes this Pumpkin Pie extra special is its simplicity. With just a few wholesome ingredients and a little love, you can create a dessert that rivals any gourmet bakery’s offering. If you enjoyed our popular apple pie recipe, you’re sure to fall in love with this inviting dessert as well!
What is Pumpkin Pie?
So, what exactly is pumpkin pie, and why does it hold a special place in our culinary hearts? Good question! You might argue that the term “pie” is a tad misleading. After all, do we really need a specific shape to define something delicious? Honestly, when you think of the phrase, “the way to a man’s heart is through his stomach,” how could you not envision him savoring a slice of this decadent treat?
Imagine hosting a cozy winter evening filled with laughter and love, and the centerpiece is this glorious pumpkin pie, right? Each slice is an experience, celebrating the delightful holiday spirit, or simply a joyful family gathering. Now that’s an invitation to indulge!
Why You’ll Love This Pumpkin Pie
This Pumpkin Pie is the perfect dessert for any occasion! First of all, its main highlight is that velvety texture combined with the warm, comforting spices that tickle your taste buds. Whether it’s a casual get-together or a family feast, this pie is the icing on the cake—or should I say, the filling in the crust?
Additionally, preparing your own pumpkin pie at home can save you a pretty penny compared to store-bought options. Plus, you can adjust the sweetness and spices to suit your family’s preferences, making it truly your own. Imagine spooning the creamy filling onto a crispy crust and adding whipped cream or a sprinkle of cinnamon on top!
If you’re a fan of sweet potato pie, you’ll adore this pumpkin version. The two desserts share a similar nutty sweetness, yet pumpkin pie offers a unique and nostalgic flavor profile that can transport you back to simpler times. So let your baking adventures begin with this delectable recipe!
How to Make Pumpkin Pie
Quick Overview
Making Pumpkin Pie is surprisingly easy and wholly satisfying! The exquisite combination of the creamy filling and flaky crust is truly something special. You’ll want to set aside about 15 minutes for preparation and another 50 to 60 minutes for baking, resulting in a delightful end product that’s well worth the wait.
Ingredients for Pumpkin Pie
- 1 (9-inch) unbaked pie crust
- 2 cups pumpkin puree
- 1 cup heavy cream
- 3/4 cup sugar
- 1/2 teaspoon salt
- 1 teaspoon ground cinnamon
- 1/2 teaspoon ground ginger
- 1/4 teaspoon ground nutmeg
- 3 large eggs
- 1 teaspoon vanilla extract
Make sure you have all the ingredients on hand, and don’t rush through this part—it’s the foundation for your delicious pie!
Step-by-Step Instructions
- Preheat Your Oven: Set your oven to 425°F (220°C) so it’s super-hot and ready for the pie.
- Prepare the Filling: In a large mixing bowl, whisk together the pumpkin puree, heavy cream, sugar, salt, cinnamon, ginger, nutmeg, and vanilla extract until you have a smooth, lump-free mixture.
- Add the Eggs: Crack the eggs into the bowl and whisk them in until everything is well combined. This will ensure a rich and custardy filling.
- Pour into the Pie Crust: Carefully pour the pumpkin mixture into your unbaked pie crust, filling it about 3/4 full to allow for expansion while baking.
- Bake: Place the pie in the preheated oven. Bake at 425°F (220°C) for the first 15 minutes, then reduce the temperature to 350°F (175°C) and continue baking for an additional 40-45 minutes, or until the filling is set.
- Cool and Serve: Allow the pie to cool for at least 2 hours before slicing. This allows the filling to firm up nicely, making perfect slices!
Top Tips for Perfecting Pumpkin Pie
- Substitutions Matter: If you need to make this pie more accommodating to your taste, try substituting the heavy cream with evaporated milk for a lighter option.
- Timing is Key: If you notice the crust browning too quickly, lightly cover the edges with aluminum foil to prevent burning while the filling finishes cooking.
- Avoid Common Mistakes: Make sure to combine the ingredients thoroughly to avoid any lumps in your pie filling. No one wants an unexpected clump of spices ruining their slice!
Storing and Reheating Tips
To keep your Pumpkin Pie fresh, cover it with plastic wrap and store it in the refrigerator for up to 3-4 days. If you have leftovers (which is unlikely!), you can also freeze the pie for longer storage—just wrap it tightly in foil or plastic wrap, and it can last up to a month.
When you’re ready to enjoy it again, remove it from the freezer and let it thaw in the fridge overnight. To reheat, simply warm the pie in a preheated oven at 350°F (175°C) for about 15-20 minutes and enjoy that comforting aroma all over again.
Now you’re all set to create a delicious, homemade Pumpkin Pie that your whole family will adore. Happy baking!

Pumpkin Pie
Ingredients
Method
- Preheat your oven to 425°F (220°C).
- In a large mixing bowl, whisk together the pumpkin puree, heavy cream, sugar, salt, cinnamon, ginger, nutmeg, and vanilla extract until smooth.
- Add the eggs and whisk until well combined.
- Pour the pumpkin mixture into the unbaked pie crust, filling it about 3/4 full.
- Bake in the preheated oven at 425°F (220°C) for 15 minutes.
- Reduce the temperature to 350°F (175°C) and continue to bake for 40-45 minutes, or until the filling is set.
- Allow the pie to cool for at least 2 hours before slicing.
Leave a Reply