
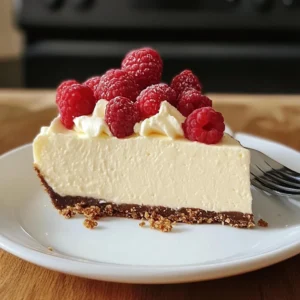
No-Bake Cheesecake Bliss: A Creamy Dream Come True!
If you’re searching for a dessert that’s effortlessly delightful, look no further than this No-Bake Cheesecake Bliss! Imagine a creamy, velvety cheesecake that practically melts in your mouth, all without needing to turn on the oven. Say goodbye to lengthy baking times and hello to a treat that’s not only easy to whip up but also sure to impress family and friends. Fun fact: no-bake cheesecakes have gained immense popularity because of their simplicity and convenience—perfect for hot summer days when you want something sweet but don’t want to sweat it out in the kitchen.
This No-Bake Cheesecake is not only a fantastic alternative to traditional baked cheesecakes but also offers a light and airy texture that feels indulgent without being overly heavy. You might have tried a classic cheesecake recipe before, but this one stands out for its easy preparation and family-friendly appeal. So what are you waiting for? Grab your ingredients and get ready to dive into this creamy dessert that will have everyone clamoring for seconds!
What is No-Bake Cheesecake Bliss?
So, what exactly is this No-Bake Cheesecake Bliss we’ve been raving about? Well, it’s that magical dessert that combines the classic flavors of cheesecake with the convenience of no-bake preparation! With a name that rolls off the tongue, you can’t help but wonder where it came from. Perhaps it’s called “Bliss” because once you take that first bite, your taste buds will send you straight to dessert heaven. Or maybe it originates from the sheer joy of realizing that a delectable cheesecake requires no baking! As they say, “the way to a man’s heart is through his stomach”—and this cheesecake most definitely wins hearts. So why not give it a try and see for yourself where this blissful creation gets its name?
Why You’ll Love This No-Bake Cheesecake Bliss
This No-Bake Cheesecake Bliss is special for several reasons that will leave your taste buds singing! First and foremost, the creamy texture that just slides down your throat is heavenly. Each bite brings a flavor explosion that combines the tanginess of cream cheese with the sweetness of sugar, making it a decadent indulgence without being overpowering.
Moreover, making this dessert at home is a huge cost-saver compared to purchasing store-bought cheesecakes. You can enjoy the luxurious flavors of a restaurant-style dessert without breaking the bank. And let’s not forget about the customizable toppings! Whether you prefer fresh fruits, chocolate drizzles, or a sprinkle of nuts, this cheesecake provides the perfect base for expressing your culinary creativity. If you love this recipe, you might also want to explore our classic Chocolate Mousse, which tantalizes the palate with its rich texture and deep chocolate flavor.
So why wait? Gather your ingredients and treat yourself and your family to something amazing!
How to Make No-Bake Cheesecake Bliss
Quick Overview
Making this No-Bake Cheesecake Bliss is a breeze! With a creamy filling and a crunchy crust, this dessert is incredibly simple to prepare and requires minimal kitchen time. The best part? It takes only about 15 minutes of prep time plus chilling time in the refrigerator—perfect for those unexpected guests or a last-minute gathering!
Key Ingredients for No-Bake Cheesecake Bliss
Before we get into the nitty-gritty of making this delightful dessert, here are the essential ingredients you’ll need:
- For the crust:
- 1 ½ cups graham cracker crumbs
- ½ cup unsalted butter, melted
- ¼ cup granulated sugar
- For the cheesecake filling:
- 16 oz cream cheese, softened
- 1 cup powdered sugar
- 1 tsp vanilla extract
- 1 cup heavy whipping cream
Step-by-Step Instructions
- Prepare the crust: In a medium bowl, combine graham cracker crumbs, melted butter, and granulated sugar. Mix until well combined. Press this mixture firmly into the bottom of a 9-inch springform pan. Work to create an even layer. Refrigerate while you prepare the filling.
- Make the cheesecake filling: In a large mixing bowl, beat the softened cream cheese until smooth. Gradually add the powdered sugar and vanilla extract, mixing until combined and creamy.
- Whip the cream: In a separate bowl, whip the heavy cream until stiff peaks form. Be careful not to overmix!
- Combine: Gently fold the whipped cream into the cheesecake mixture until fully incorporated, taking care not to deflate the whipped cream.
- Assemble: Pour the cheesecake filling into the prepared crust, smoothing the top with a spatula.
- Chill: Cover the cheesecake with plastic wrap and chill in the refrigerator for at least 4 hours or overnight for the best results.
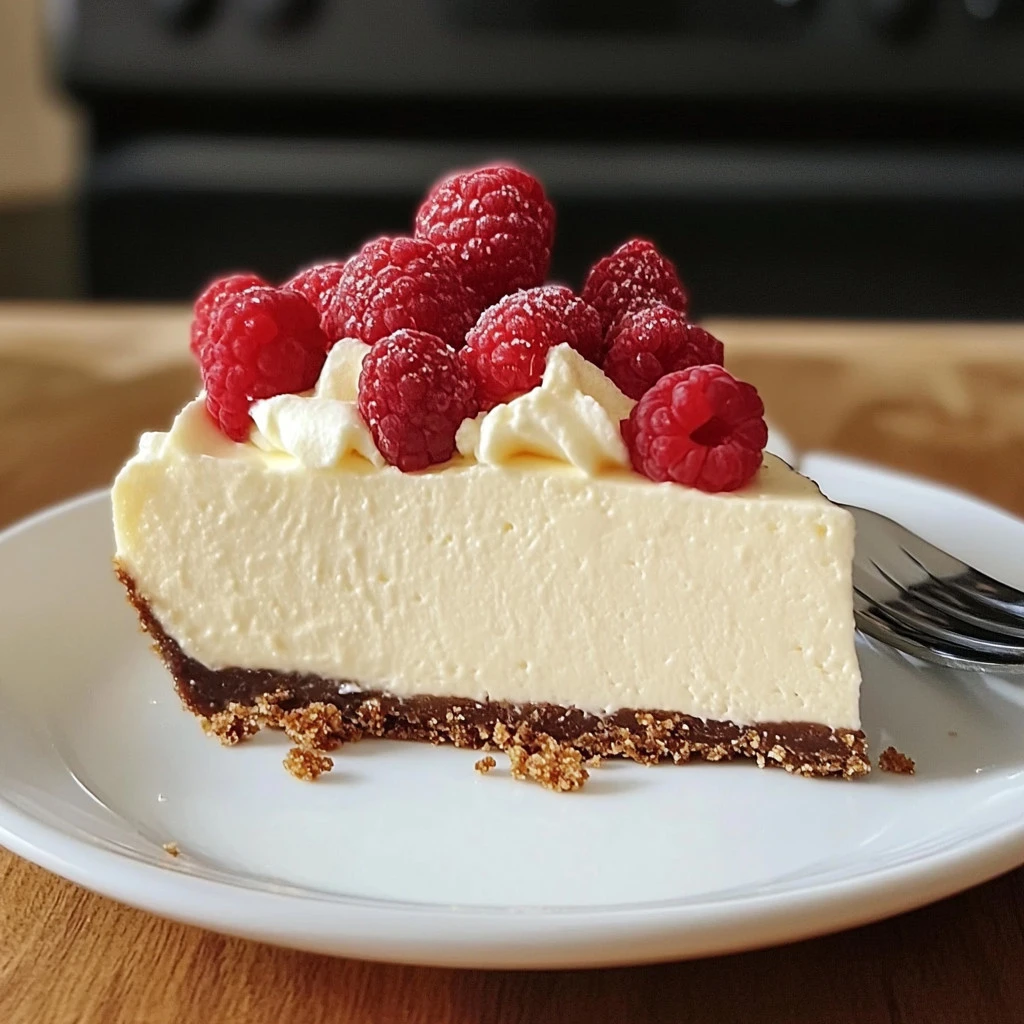
- Serve: Once set, remove the cheesecake from the springform pan. Slice and serve with your choice of toppings!
What to Serve No-Bake Cheesecake Bliss With
This No-Bake Cheesecake Bliss pairs perfectly with a variety of delightful accompaniments. Consider serving it alongside a fresh fruit salad to add some refreshing sweetness, or drizzle it with homemade chocolate sauce for an indulgent touch. A scoop of vanilla ice cream or a dollop of whipped cream can also elevate your dessert experience. Don’t forget refreshing beverages, like iced tea or sparkling lemonade, which complement the creamy richness of the cheesecake beautifully!
Top Tips for Perfecting No-Bake Cheesecake Bliss
To make your No-Bake Cheesecake Bliss even more delightful, here are some handy tips! First, ensure your cream cheese is at room temperature; this helps avoid lumps in the filling. If you want to add a flavor twist, consider mixing in some lemon zest or other extracts, like almond or coconut, into the filling.
Additionally, don’t rush the chilling process—letting the cheesecake sit overnight results in a firmer texture for slicing. Finally, if you’re looking to reduce sugar, feel free to substitute with a sweetener of your choice. Just remember to taste-test as you go!
Storing and Reheating Tips
Storing your No-Bake Cheesecake Bliss is easy! Simply cover it tightly with plastic wrap and keep it in the refrigerator for up to 5 days. If you want to make it ahead of time, you can freeze individual slices for up to 2 months. Just ensure they are well wrapped to avoid freezer burn. When ready to enjoy, allow the cheesecake to thaw in the refrigerator overnight instead of warming it up. This will maintain the creamy, melt-in-your-mouth texture we all love!
There you have it—your ultimate guide to crafting the most luscious No-Bake Cheesecake Bliss. With its simplicity, delicious flavor, and versatile toppings, there’s no reason not to try this dessert today! Happy baking (or rather, chilling)!
No-Bake Cheesecake Bliss: A Creamy Dream Come True!
Ingredients
Method
- Prepare the crust: In a medium bowl, combine graham cracker crumbs, melted butter, and granulated sugar. Mix until well combined. Press this mixture firmly into the bottom of a 9-inch springform pan. Work to create an even layer. Refrigerate while you prepare the filling.
- Make the cheesecake filling: In a large mixing bowl, beat the softened cream cheese until smooth. Gradually add the powdered sugar and vanilla extract, mixing until combined and creamy.
- Whip the cream: In a separate bowl, whip the heavy cream until stiff peaks form. Be careful not to overmix!
- Combine: Gently fold the whipped cream into the cheesecake mixture until fully incorporated, taking care not to deflate the whipped cream.
- Assemble: Pour the cheesecake filling into the prepared crust, smoothing the top with a spatula.
- Chill: Cover the cheesecake with plastic wrap and chill in the refrigerator for at least 4 hours or overnight for the best results.
- Serve: Once set, remove the cheesecake from the springform pan. Slice and serve with your choice of toppings!
Leave a Reply