
When it comes to quick and delicious snacks, nothing hits the spot quite like Mini Quesadilla Triangles. These bite-sized delights boast a crispy exterior that gives way to a warm, savory filling—a perfect combination that dances on your taste buds! I still remember the first time I made these for my family during a cozy evening in; my kids couldn’t get enough of them. Each triangle seemed to disappear in a flash, and suddenly I was on the hunt for more tortilla wraps in the kitchen! These quesadilla triangles are not just another recipe; they offer simplicity and fun for family gatherings, reminiscent of crispy nachos, but way easier to make! If you love recipes that bring people together, you’ll definitely want to stick around.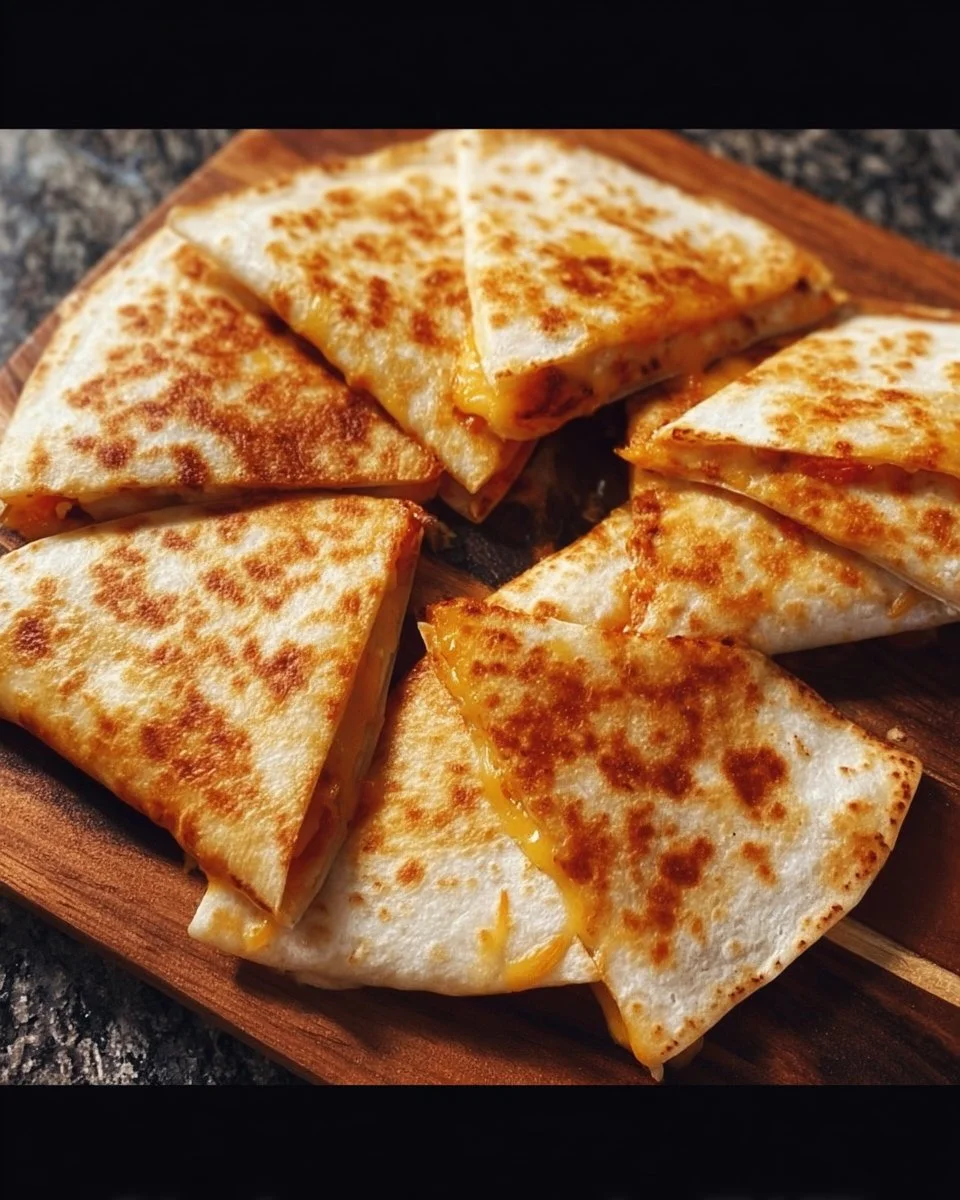
What are Mini Quesadilla Triangles?
So, what exactly are Mini Quesadilla Triangles? Imagine delightful little pockets of melted cheese and your favorite fillings, all crisped to golden perfection! But why ‘triangles,’ you ask? Well, aren’t triangles just more fun to eat? Plus, who doesn’t love a good cheesy story? They say that the way to a man’s heart is through his stomach—so why not serve him these charming, cheesy treats? Let’s whip up something that will put a smile on everyone’s faces.
Why You’ll Love This Mini Quesadilla Triangles
There are so many reasons to love Mini Quesadilla Triangles! First off, they make a fantastic main dish that is not only flavorful but also makes it easy to customize according to your tastes—the possibilities are endless! You could fill them with sautéed vegetables, beans, or even tender chicken, all tied together with gooey, melted cheese. Plus, cooking at home is a great way to save money, and you get to impress your family with your culinary prowess! And let’s not forget about toppings like salsa or guacamole, which elevate these triangles to another level of yum. If you’ve tried a traditional quesadilla, you’ll understand how this fun twist adds an even more sumptuous experience to your meals. So grab those tortillas and let’s dive in!
How to Make Mini Quesadilla Triangles
Quick Overview
Making Mini Quesadilla Triangles is a breeze! With a preparation time of just 15 minutes, these triangles will have you flipping and sizzling in no time. The crunch of the tortillas coupled with the melting cheese creates a satisfying texture that will keep your family coming back for more. Let’s get started!
Key Ingredients for Mini Quesadilla Triangles
- Tortillas (8 small or 4 large)
- Shredded cheese (1 cup – Cheddar, Monterey Jack, or a Halal-certified blend)
- Cooked chicken (1 cup, shredded, optional for added protein)
- Bell peppers (½ cup, diced)
- Onion (¼ cup, diced)
- Olive oil (2 tablespoons)
- Cilantro (¼ cup, chopped, optional)
- Seasoning (1 teaspoon of your favorite taco seasoning or salt and pepper)
Step-by-Step Instructions
- Prepare Your Ingredients: Begin by gathering all your ingredients. Dice the bell peppers and onion, and shred any cooked chicken if using.
- Heat the Oil: In a non-stick skillet, add the olive oil and heat over medium heat.
- Sauté the Vegetables: Once hot, add the diced onions and bell peppers to the skillet. Sauté for about 3-4 minutes or until they become tender.
- Add Chicken (optional): If using shredded chicken, add it to the skillet with the sautéed vegetables. Sprinkle taco seasoning or salt and pepper for flavor, mixing everything for about 2 minutes.
- Assemble the Quesadillas: On one half of each tortilla, layer a generous amount of shredded cheese, the sautéed mixture, and a sprinkle of cilantro if desired. Fold the tortilla over to form a triangle.
- Cook the Quesadillas: Place the folded quesadilla in the hot skillet, cooking for 2-3 minutes on each side until golden brown and the cheese has melted. Remove and let cool for a minute before cutting into triangles.
- Serve & Enjoy: Serve them warm with optional toppings like salsa or guacamole, and enjoy your delicious homemade Mini Quesadilla Triangles!
Top Tips for Perfecting Mini Quesadilla Triangles
- Cheese Choices: Experiment with different cheeses for unique flavors. Mozzarella or a Halal cheese blend adds creaminess, while cheddar brings sharpness!
- Timing: Keep an eye on your quesadillas while they cook. If they start browning too quickly, turn the heat down to avoid burning the tortillas.
- Toppings Galore: Have fun with your toppings! Try adding sliced jalapeños, sour cream, or even a tasty avocado spread to elevate your quesadilla experience.
- Avoiding Soggy Bottoms: To prevent soggy quesadillas, ensure your fillings are not too wet; pat the ingredients dry if necessary before adding them to your tortilla.
Storing and Reheating Tips
Leftover Mini Quesadilla Triangles can easily be stored in the refrigerator for up to 3 days. To keep them fresh, place them in an airtight container. If you want to freeze leftovers, ensure they are wrapped tightly in plastic wrap and placed in a freezer-safe bag, where they can last up to a month. When you’re ready to reheat, pop them in the oven at 350°F for about 10-15 minutes to maintain that delectable crunch!
In conclusion, Mini Quesadilla Triangles are not just easy to make; they also bring joy and deliciousness to any family gathering. Perfectly crispy and fully customizable, they’re a meal best shared together. So gather your loved ones and get cooking—trust me, these triangles will become a cherished favorite in your household!

Mini Quesadilla Triangles
Ingredients
Method
- Gather all your ingredients. Dice the bell peppers and onion, and shred any cooked chicken if using.
- In a non-stick skillet, add the olive oil and heat over medium heat.
- Once hot, add the diced onions and bell peppers to the skillet. Sauté for about 3-4 minutes or until they become tender.
- If using shredded chicken, add it to the skillet with the sautéed vegetables. Sprinkle taco seasoning or salt and pepper for flavor, mixing everything for about 2 minutes.
- On one half of each tortilla, layer a generous amount of shredded cheese, the sautéed mixture, and a sprinkle of cilantro if desired. Fold the tortilla over to form a triangle.
- Place the folded quesadilla in the hot skillet, cooking for 2-3 minutes on each side until golden brown and the cheese has melted. Remove and let cool for a minute before cutting into triangles.
- Serve warm with optional toppings like salsa or guacamole.
Leave a Reply