
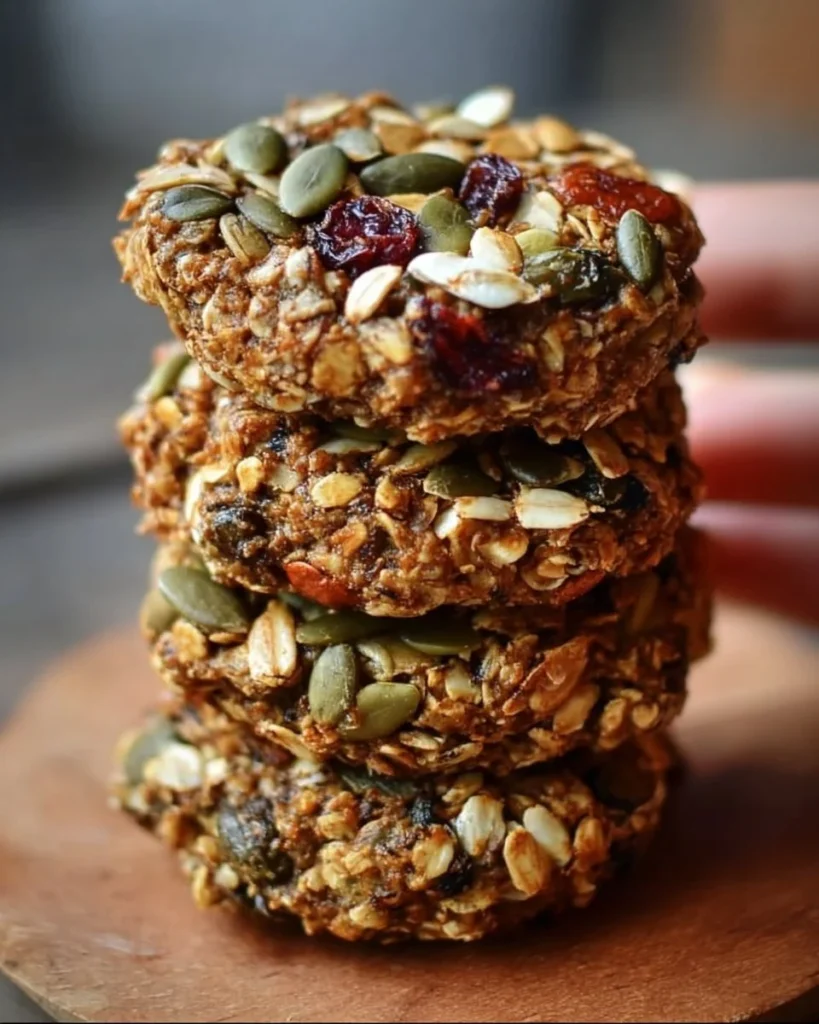
When you’re looking for a guilt-free treat that doesn’t skimp on flavor, these Healthy Nut & Seed Energy Cookies are your go-to solution. With a delightful crunch and a warm, nutty aroma, these cookies are a perfect pairing for cozy family gatherings on winter evenings. Picture biting into a cookie that both satisfies your sweet tooth and keeps your energy levels in check—now that’s a win-win! Did you know that you can easily whip up a batch in less than 30 minutes? That’s right! These cookies are not just a health-centric delight; they also offer simplicity and appeal across all ages. While they pack a punch similar to the beloved oatmeal chocolate chip cookies, they trade indulgence for wholesome goodness without compromising on flavor. Ready to impress your loved ones?
What are Healthy Nut & Seed Energy Cookies?
So, what exactly are these Healthy Nut & Seed Energy Cookies, you may ask? Well, the name says it all, really! Imagine a cookie that combines the goodness of nuts and seeds into a flavorful bundle. But let’s be honest—who doesn’t love cookies? And have you ever noticed how the way to a man’s heart is through his stomach? You might find that even your picky eaters can’t resist these little bundles of joy! These cookies not only satisfy cravings, but also fit seamlessly into a healthy lifestyle. Why not give them a try and see how quickly they disappear? You just might find yourself baking them every week!
Why You’ll Love These Healthy Nut & Seed Energy Cookies
There’s no denying that these Healthy Nut & Seed Energy Cookies are more than just a treat—they’re a wholesome snack that packs a nutritional punch. First, they are easily customizable to suit your family’s taste buds. Mix and match your favorite nuts and seeds for a truly personal touch! Second, remember that cooking at home can save you tons of money compared to store-bought snacks. Imagine all the funds you’d retain while enjoying delicious home-baked cookies instead! United with some chocolate drizzling or perhaps a sprinkle of your favorite seeds on top, these cookies become an ultra-tasty treat on a budget. So why not roll up your sleeves and bake a batch for your next family gathering?
How to Make Healthy Nut & Seed Energy Cookies
You’ll be thrilled to know that making Healthy Nut & Seed Energy Cookies is as simple as it is satisfying. With a delightful crunchy texture and a nutty flavor that sings, these cookies require only a little preparation time—less than 30 minutes! Whether you’re baking for a family get-together or simply craving something wholesome, you’ll find this recipe to be a refreshing treat.
Preparation Time: 10 minutes
Baking Time: 15 minutes
Total Time: 25 minutes
Key Ingredients for Healthy Nut & Seed Energy Cookies
To whip up these Healthy Nut & Seed Energy Cookies, you will need the following ingredients:
- 1 cup rolled oats
- 1/2 cup almonds, chopped
- 1/2 cup walnuts, chopped
- 1/4 cup pumpkin seeds
- 1/4 cup sunflower seeds
- 1/3 cup honey or maple syrup (for a vegan option)
- 1/4 cup coconut oil, melted
- 1/2 teaspoon vanilla extract
- 1/2 teaspoon cinnamon
- Pinch of salt
Make sure all your ingredients are Halal-friendly, and feel free to mix and match as per your preference!
Step-by-Step Instructions
Follow these simple steps to make your Healthy Nut & Seed Energy Cookies:
- Preheat the oven to 350°F (175°C). Line a baking sheet with parchment paper to prevent sticking.
- In a mixing bowl, combine the rolled oats, chopped almonds, walnuts, pumpkin seeds, sunflower seeds, cinnamon, and salt. Mix them together until evenly distributed.
- In a separate bowl, whisk together the melted coconut oil, honey (or maple syrup), and vanilla extract until well combined.
- Pour the wet mixture into the dry ingredients and stir until everything is thoroughly combined. The mixture should be sticky but thick enough to form into cookies.
- Using your hands or a spoon, scoop a tablespoon of the mixture and shape it into a cookie on the prepared baking sheet. Flatten it slightly to ensure even baking.
- Repeat until all the mixture is used, leaving some space between each cookie.
- Bake in the preheated oven for 12-15 minutes or until the edges start to turn golden. Keep an eye on them as they can quickly become overcooked!
- Allow the cookies to cool on the baking sheet for 5 minutes before transferring them to a wire rack to cool completely.
Top Tips for Perfecting Healthy Nut & Seed Energy Cookies
- Substitutions: Swap almonds for pecans or add chia seeds for an extra nutritional boost.
- Timing: Keep an eye on the oven, as even a minute can make a difference in texture—golden brown is good, dark brown is not!
- Common Mistakes: Don’t skip lining the baking sheet. It saves you from an unnecessary cleanup!
Storing and Reheating Tips
These Healthy Nut & Seed Energy Cookies can be stored in an airtight container at room temperature for up to one week. For longer storage, consider freezing them; they will last up to three months in the freezer. To reheat, simply pop them back into a warm oven for about 5 minutes, or microwave them for 10-15 seconds for a delightful, fresh-out-of-the-oven feel.
Enjoy your baking adventure, and may you and your family savor every bite of these delightful Healthy Nut & Seed Energy Cookies! Don’t forget to share your baking stories and successes in the comments below! Happy baking!
Healthy Nut & Seed Energy Cookies
Ingredients
Method
- Preheat the oven to 350°F (175°C). Line a baking sheet with parchment paper.
- In a mixing bowl, combine the rolled oats, chopped almonds, walnuts, pumpkin seeds, sunflower seeds, cinnamon, and salt.
- In a separate bowl, whisk together the melted coconut oil, honey (or maple syrup), and vanilla extract.
- Pour the wet mixture into the dry ingredients and stir until thoroughly combined.
- Scoop a tablespoon of the mixture and shape it into a cookie on the prepared baking sheet.
- Flatten it slightly and repeat with the remaining mixture, leaving space between each cookie.
- Bake for 12-15 minutes or until edges turn golden.
- Allow cookies to cool on the baking sheet for 5 minutes before transferring to a wire rack.
Leave a Reply