
When it comes to baking cookies that exemplify a perfect blend of rich flavors and enticing textures, Chewy Black Forest Cookies are a standout. These cookies boast a delightful chewiness, coupled with the indulgent flavors of chocolate and cherries, making each bite an experience to savor. Imagine the warm, gooey chocolate melting in your mouth, complemented by the sweet-tart burst of cherries—pure bliss! Chewy Black Forest Cookies are ideal for family gatherings, cozy winter evenings, or any occasion that calls for a delicious sweet treat. My kids often beg for them, and I can’t blame them; they’re reminiscent of the ever-popular chocolate chip cookie but with a fruity twist that sets them apart. If you love our classic chewy chocolate chip cookies, this recipe brings a fresh, delectable mystery to the table!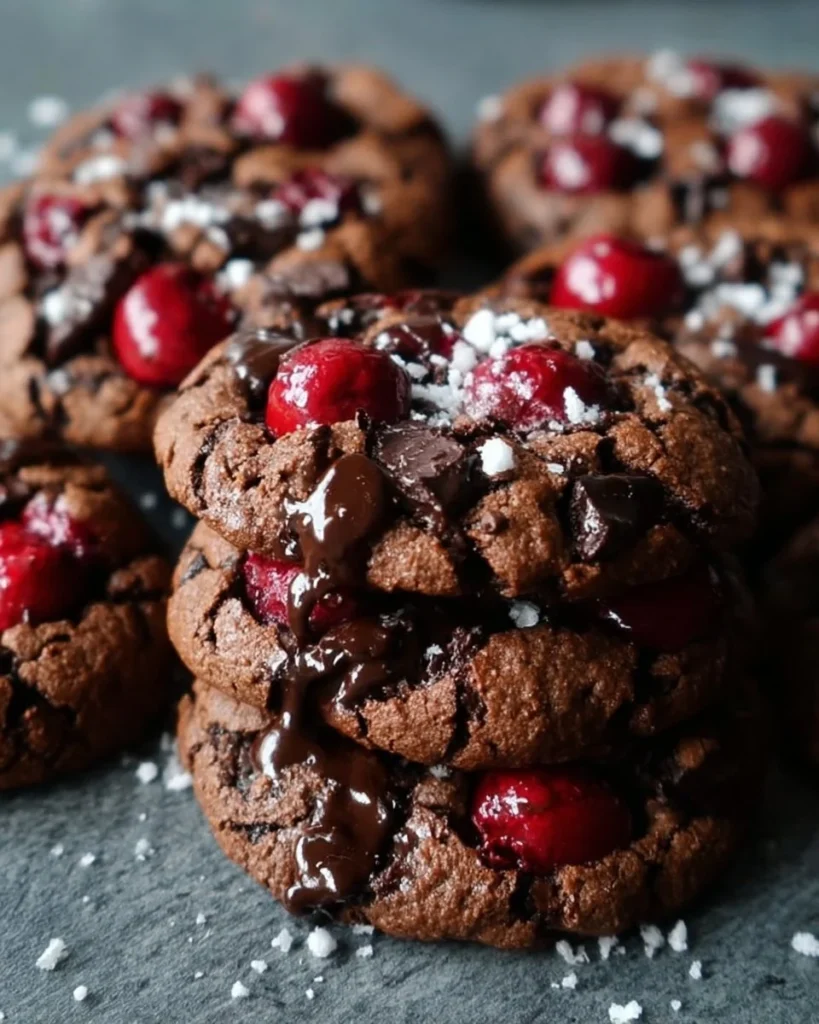
What is Chewy Black Forest Cookies?
So, what’s the fuss about Chewy Black Forest Cookies? Well, first off, have you ever wondered why they’re named after the Black Forest? Spoiler alert: It has nothing to do with a forest of black trees! Instead, these cookies are inspired by the famous Black Forest cake, known for its luscious layers of chocolate, cream, and cherries. You know the saying, “the way to a man’s heart is through his stomach”? Well, these cookies are guaranteed to win over anyone around your kitchen table! So grab your apron, and let’s dive into this delightful baking adventure together!
Why You’ll Love This Chewy Black Forest Cookies
Chewy Black Forest Cookies shine as the star of any dessert spread. Packed with chunks of rich dark chocolate and decadent cherries, each cookie delivers an unforgettable flavor that can only come from home-baked goodness. Cooking at home doesn’t just save money; it allows you to create treats that are tailored to your family’s tastes, with no mystery ingredients. Plus, who doesn’t love the rich aroma of freshly baked cookies wafting through the air? If you’ve ever enjoyed a slice of Black Forest cake, you already know how delightful these flavors can be! Indulge yourself with this easy recipe and experience the magic of Chewy Black Forest Cookies today!
How to Make Chewy Black Forest Cookies
Quick Overview
Creating Chewy Black Forest Cookies is not only easy but incredibly satisfying! With a perfect blend of textures— chewy on the outside and slightly soft in the center, these cookies are a delight to both make and eat. You’ll have these cookies mixed and ready to bake in no time, with a preparation time of just 15-20 minutes. Let’s get started on this delicious endeavor!
Key Ingredients for Chewy Black Forest Cookies
Here’s what you’ll need to create these mouthwatering Chewy Black Forest Cookies:
- 1 cup all-purpose flour
- 1/3 cup unsweetened cocoa powder
- 1/2 teaspoon baking soda
- 1/4 teaspoon salt
- 1/2 cup unsalted butter, softened
- 1 cup brown sugar, packed
- 1 large egg
- 1 teaspoon vanilla extract
- 1/2 cup dark chocolate chips
- 1/2 cup dried cherries (or fresh cherries, pitted and chopped)
- Optional: powdered sugar for dusting
Step-by-Step Instructions
Step 1: Prepare the Dough
- Preheat your oven to 350°F (175°C) and line a baking sheet with parchment paper.
- In a medium-sized bowl, whisk together the all-purpose flour, cocoa powder, baking soda, and salt. Set aside.
- In a large mixing bowl, cream the softened butter and brown sugar together until the mixture is light and fluffy. This should take about 2-3 minutes.
- Add the egg and vanilla extract to the creamed mixture, mixing well until combined.
Step 2: Combine the Mixtures
- Gradually add the dry ingredients to the wet mixture, stirring until no flour is visible. Avoid overmixing.
- Gently fold in the dark chocolate chips and dried cherries. Ensure they are evenly distributed throughout the dough.
Step 3: Form and Bake
- Using a cookie scoop or a tablespoon, drop the dough onto the prepared baking sheet, spacing them about 2 inches apart.
- Bake for 10-12 minutes, or until the edges appear set but the centers are still soft.
- Remove from the oven and allow the cookies to cool on the baking sheet for 5 minutes before transferring them to a wire rack to cool completely.
Top Tips for Perfecting Chewy Black Forest Cookies
- Substitutions: Feel free to use any other dried fruits, like cranberries or blueberries, if cherries aren’t your thing. Ensure that your chocolates are halal-friendly.
- Timing: To achieve the best chewy texture, do not overbake! The cookies will continue to cook once pulled from the oven due to residual heat.
- Common Mistakes: Skip chilling the dough unless specified; it can lead to flatter cookies. Make sure your butter is at room temperature for easier mixing.
Storing and Reheating Tips
To keep your Chewy Black Forest Cookies fresh, store them in an airtight container at room temperature for up to one week. If you’d like to keep them longer, they can also be frozen for up to three months. When you’re ready to enjoy them again, simply let them thaw at room temperature or warm them in the microwave for about 10-15 seconds. You’ll be treated to that soft, gooey texture all over again!
When you whip up a batch of Chewy Black Forest Cookies, not only do you create a delicious treat but you also foster precious moments around the kitchen table. So gather your ingredients, roll up your sleeves, and get baking! You’re in for a deliciously chewy adventure!
Chewy Black Forest Cookies
Ingredients
Method
- Preheat your oven to 350°F (175°C) and line a baking sheet with parchment paper.
- In a medium-sized bowl, whisk together the all-purpose flour, cocoa powder, baking soda, and salt. Set aside.
- In a large mixing bowl, cream the softened butter and brown sugar together until the mixture is light and fluffy (about 2-3 minutes).
- Add the egg and vanilla extract to the creamed mixture, mixing well until combined.
- Gradually add the dry ingredients to the wet mixture, stirring until no flour is visible. Avoid overmixing.
- Gently fold in the dark chocolate chips and dried cherries, ensuring they are evenly distributed throughout the dough.
- Using a cookie scoop or a tablespoon, drop the dough onto the prepared baking sheet, spacing them about 2 inches apart.
- Bake for 10-12 minutes, or until the edges appear set but the centers are still soft.
- Remove from the oven and allow the cookies to cool on the baking sheet for 5 minutes before transferring them to a wire rack to cool completely.
Leave a Reply