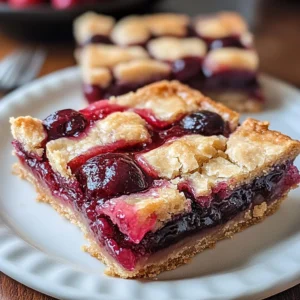
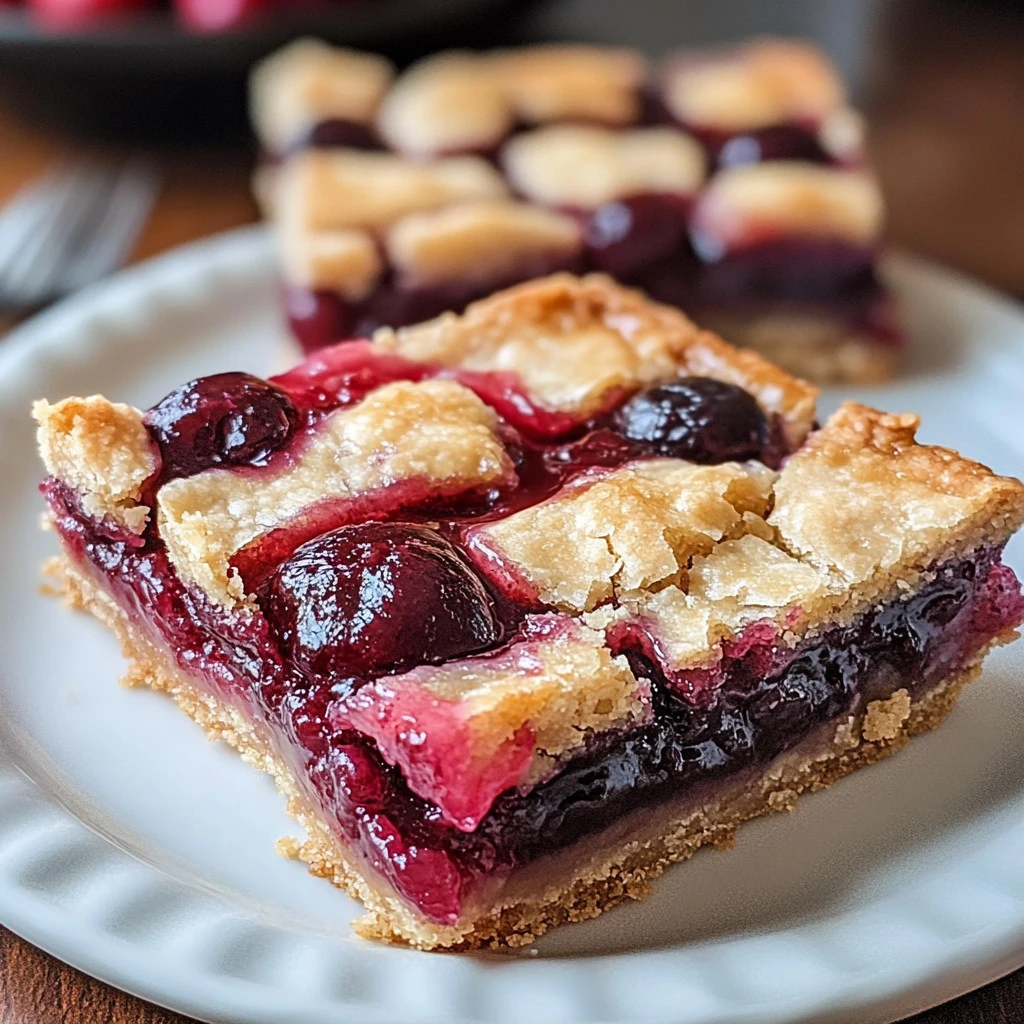
Cherry Pie Bars: A Sweet Slice of Heaven!
There’s nothing quite like the sweet, tangy taste of cherries, especially when they’re baked into a warm, gooey dessert like Cherry Pie Bars! These delightful treats capture all the classic flavors of a traditional cherry pie, but in an easy, portable bar form that’s perfect for picnics, potlucks, or a cozy night at home. Imagine biting into a warm bar, the luscious cherry filling spilling out, and crumbly crust melting in your mouth—absolute bliss, right? Plus, they come together in no time, making them a fantastic dessert solution for busy families or unexpected guests!
As an added bonus, these Cherry Pie Bars are not just a solo star; they’re a great way to introduce your friends and family to baking if they’re not super experienced yet. They’re similar to the ever-popular blueberry crumble bars found on our blog, but with a more vibrant cherry flavor and a unique twist. So, whether you’re a seasoned baker or just starting out, this recipe is a must-try that is sure to impress!

What are Cherry Pie Bars?
Have you ever wondered how a dessert could be both a pie and a bar at the same time? Well, welcome to the world of Cherry Pie Bars! It’s like the universe conspired to give us all the benefits of a pie wrapped into an easy-to-handle shape. The name just sounds fun, doesn’t it? It’s hard not to giggle when you think about serving “bars” of pie! Makes you wonder if a pie ever decided, “I want to be more portable today!” But, hey, as the saying goes, “the way to a man’s heart is through his stomach,” and I bet these bars have captured many a heart! So, dig in and give this delicious recipe a whirl—you’ll be in for a cherry-flavored surprise!
Why You’ll Love These Cherry Pie Bars
Cherry Pie Bars are not just your average dessert; they pack a punch in flavor, are budget-friendly, and can be jazzed up with all sorts of toppings. First off, the highlight of this dish is the star ingredient—sweet, juicy cherries that burst with natural flavor. Making these bars at home saves you money compared to buying treats from a bakery, and the satisfaction of creating something from scratch can’t be beaten. And let’s not forget about the ultimate customization options! Top them with a scoop of vanilla ice cream, a dollop of whipped cream, or even a sprinkle of nuts for an extra crunch. If you enjoyed the easy-to-make Peach Cobbler Bars from our blog, you’re going to love these Cherry Pie Bars just as much! Trust me; your taste buds will thank you for this cherry adventure!
How to Make Cherry Pie Bars
Quick Overview
Making Cherry Pie Bars is a breeze! With just a handful of ingredients and under an hour of your time, you can whip up these luscious treats. Whether you’re meeting friends for coffee or simply satisfying your sweet tooth, these bars offer a delightful combination of sweetness, tartness, and a buttery crust. So let’s get started on this cherry-filled journey!
Key Ingredients for Cherry Pie Bars
- 2 cups all-purpose flour
- 1/2 cup granulated sugar
- 1/4 teaspoon baking soda
- 1/8 teaspoon salt
- 3/4 cup unsalted butter, softened
- 1 (21-ounce) can cherry pie filling
- 1 tablespoon lemon juice
- 1 teaspoon vanilla extract
- 1/2 teaspoon almond extract (optional)
- Powdered sugar (for dusting, optional)
Step-by-Step Instructions:
- Preheat your oven to 350°F (175°C): This ensures that your bars bake evenly and turn out perfectly golden brown.
- Prepare the crust: In a mixing bowl, combine flour, sugar, baking soda, and salt. Gradually add in the softened butter until crumbly. Reserve half of this mixture for topping and press the remaining half into the bottom of a greased 9×13 inch pan to form the crust.
- Mix the cherry filling: In another bowl, mix the cherry pie filling with lemon juice, vanilla extract, and almond extract (if using). Spread this mixture evenly over the prepared crust.
- Add the topping: Crumble the remaining dough over the cherry filling evenly (don’t worry if it’s not perfect; the rustic look is part of the charm!).
- Bake the bars: Place the pan in the oven and bake for about 30-35 minutes or until the top is golden and the filling is bubbly.
- Cool and serve: Allow the bars to cool completely before slicing them into squares. Dust with powdered sugar if desired, and enjoy your scrumptious Cherry Pie Bars!
What to Serve Cherry Pie Bars With
Cherry Pie Bars are deliciously versatile and can be paired with a number of complementary items. A scoop of vanilla ice cream is an eternal classic and adds a creamy contrast to the tart cherry filling. For those warm summer evenings, a fresh fruit salad also adds a refreshing balance. Feeling adventurous? Try serving them with a drizzle of chocolate sauce or a dollop of whipped cream to elevate the dessert experience. Trust me, you won’t regret any of these pairings!
Top Tips for Perfecting Cherry Pie Bars
To ensure your Cherry Pie Bars turn out perfectly every time, keep these essential tips in mind:
- Use fresh or frozen cherries: If you have fresh cherries, you can pit and slice them up as a wonderful alternative to canned pie filling.
- Don’t rush the cooling process: Allow the bars to cool completely before cutting; this helps them hold their shape better.
- Experiment with spices: A sprinkle of cinnamon in the crust or filling can add an unexpected warmth.
- Pay attention to the crust: It should be golden—it adds flavor and visual appeal!
Storing and Reheating Tips
If by some miracle you have leftovers, you can store these Cherry Pie Bars in an airtight container at room temperature for 2-3 days. For longer storage, refrigerate them for up to a week or freeze them for up to 2 months. When you’re ready to enjoy them again, simply thaw in the refrigerator overnight and reheat in the microwave for about 20-30 seconds or in a preheated oven at 350°F (175°C) for about 10 minutes.
Now you’re ready to bake up something scrumptious! Take the plunge and create these Cherry Pie Bars; your taste buds and loved ones will thank you for it! Happy baking!

Cherry Pie Bars: A Sweet Slice of Heaven!
Ingredients
Method
- Preheat your oven to 350°F (175°C): This ensures that your bars bake evenly and turn out perfectly golden brown.
- Prepare the crust: In a mixing bowl, combine flour, sugar, baking soda, and salt. Gradually add in the softened butter until crumbly. Reserve half of this mixture for topping and press the remaining half into the bottom of a greased 9x13 inch pan to form the crust.
- Mix the cherry filling: In another bowl, mix the cherry pie filling with lemon juice, vanilla extract, and almond extract (if using). Spread this mixture evenly over the prepared crust.
- Add the topping: Crumble the remaining dough over the cherry filling evenly (don’t worry if it’s not perfect; the rustic look is part of the charm!).
- Bake the bars: Place the pan in the oven and bake for about 30-35 minutes or until the top is golden and the filling is bubbly.
- Cool and serve: Allow the bars to cool completely before slicing them into squares. Dust with powdered sugar if desired, and enjoy your scrumptious Cherry Pie Bars!

Leave a Reply