
Blackstone Loaded Nachos
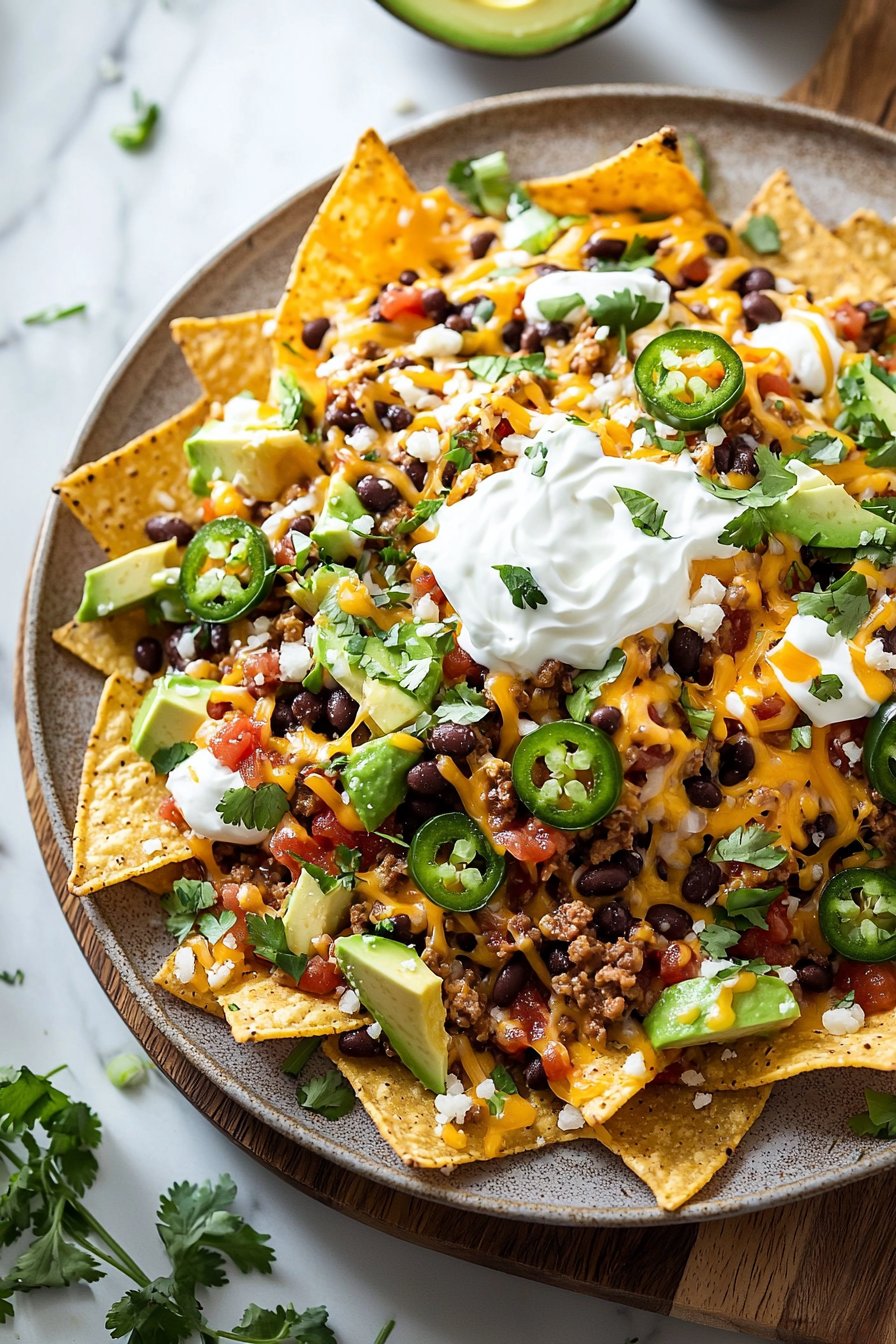
When it comes to indulging in a savory snack that tantalizes your taste buds, Blackstone Loaded Nachos are the ultimate solution! Picture a crispy base topped with layers of gooey cheese, seasoned beef or chicken, and an assortment of zesty toppings that bring together a delightful medley of flavors and textures. Whether you’re enjoying a cozy family gathering or a lively get-together with friends, these nachos will steal the spotlight on your table.
Did you know that nachos have an interesting origin? They were created in the 1940s in Mexico, serving as a quick dish for diners in search of something delicious. The juxtaposition of crispy tortilla chips and warm toppings makes Blackstone Loaded Nachos truly memorable! In fact, if you love my Easy Sheet Pan Fajitas, you’ll absolutely enjoy this recipe! It’s simple, flavorful, and sure to bring smiles to every face around the table.
What is Blackstone Loaded Nachos?
So, what’s in a name? Blackstone Loaded Nachos may sound fancy, but they’re simply a combination of crispy tortilla chips slathered with all sorts of mouthwatering toppings! Have you ever considered why they’re called ‘loaded’? Perhaps it’s because you can pile on whatever your heart desires! If you’re like me, you know that the way to a man’s heart is through his stomach, so why not whip these up as a crowd-pleaser? Gather your friends, and let’s get nacho-making!
Why You’ll Love This Blackstone Loaded Nachos
There’s so much to love about Blackstone Loaded Nachos! First off, they make for an excellent main dish that’s bursting with flavor, allowing everyone to customize their plates just the way they like. Who could resist crispy chips, melty cheese, and perfectly spiced beef or chicken? The best part is that you’ll save money by cooking at home while creating an irresistible snack that rivals any restaurant dish!
Add in all of your favorite toppings—think zesty jalapeños, creamy avocado, and fresh green onions—and I promise your taste buds will be dancing with joy. With the versatility of nachos, you can easily experiment with flavors, making it a delightful alternative to other families’ go-to meals, like pizzas or burgers. Ready to impress your guests? Let’s dive into the recipe!
How to Make Blackstone Loaded Nachos
Quick Overview
Preparing Blackstone Loaded Nachos is a breeze! The beautiful combination of warm, cheesy goodness and satisfying crunch makes this dish a must-try. The best part? You can have it ready in just about 30 minutes, which means more time for fun and family!
Ingredients
To make Blackstone Loaded Nachos, you will need:
- Tortilla Chips – 1 bag (about 12 oz)
- Shredded Cheese – 2 cups (cheddar, Monterey Jack, or a blend)
- Ground Beef or Chicken – 1 pound (seasoned with spices of your choice)
- Black Beans – 1 can (15 oz, drained and rinsed)
- Jalapeños – 1/2 cup (sliced, fresh or pickled)
- Avocado – 1, diced
- Sour Cream – 1 cup
- Salsa – 1 cup
- Green Onions – 1/4 cup (sliced)
Step-by-Step Instructions
- Prepare the Blackstone Griddle: Preheat your Blackstone griddle to medium-high heat. Allow it to warm up for a few minutes.
- Cook Your Protein: In a large bowl, season the ground beef or chicken with your favorite spices—think chili powder, cumin, garlic powder, and salt. Once the griddle is hot, add the meat and cook until browned and fully cooked, approximately 6-8 minutes. Stir occasionally to prevent sticking.
- Assemble the Nachos: Once the meat is cooked, reduce the heat to medium. Lay out the tortilla chips evenly across the surface of the griddle.
- Add Toppings: Sprinkle the cooked meat over the chips, then layer on the black beans and shredded cheese. If you like your nachos extra cheesy, feel free to add more cheese!
- Melt the Cheese: Cover your nachos with a large lid (or a baking sheet) to trap the heat. Let them cook for about 5 minutes or until the cheese is fully melted and bubbly.
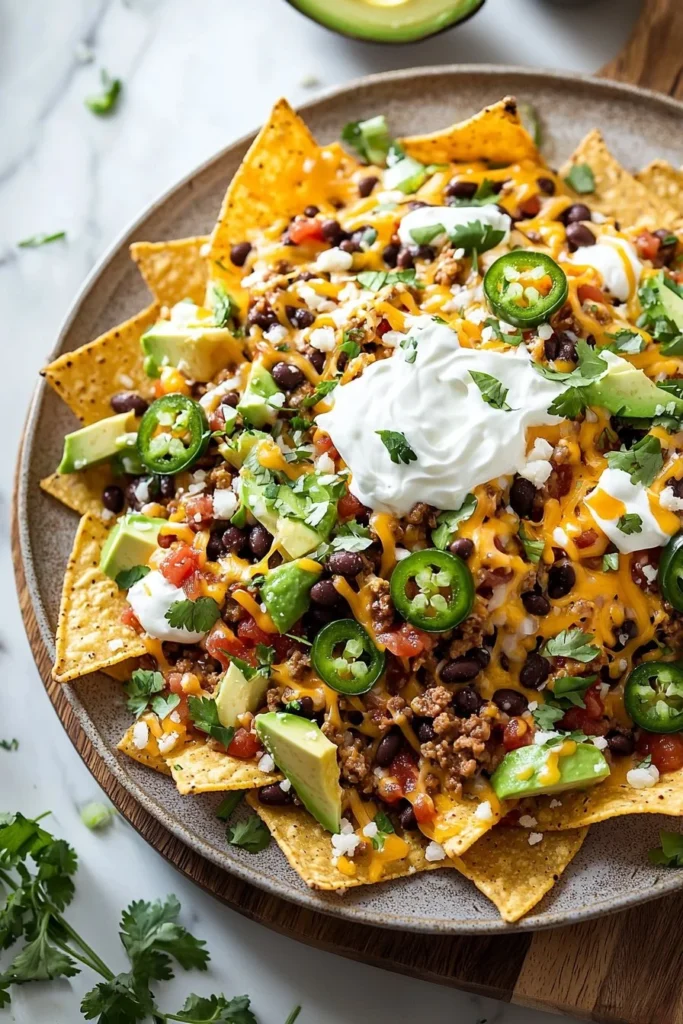
- Finish It Off: Carefully remove the nachos from the griddle using a spatula. Top with sliced jalapeños, diced avocado, sour cream, salsa, and green onions. Serve immediately while they’re warm and gooey!
Top Tips for Perfecting Blackstone Loaded Nachos
- Substitutions: You can easily make this dish vegetarian by replacing the meat with grilled vegetables or tempeh. Use vegan cheese for a plant-based option.
- Timing: Keep an eye on the nachos while they cook. Just a couple of minutes can make the difference between perfectly melted cheese and burnt edges.
- Avoiding Common Mistakes: Make sure to distribute the toppings evenly to prevent sogginess and ensure every chip is fully loaded for that perfect bite!
Storing and Reheating Tips
If you have leftovers (which is rare!), store them in an airtight container in the refrigerator for up to 3 days. When it’s time to reheat, place the nachos in an oven-safe dish and warm them in the oven at 350°F (175°C) for about 10 minutes. This method helps restore that delightful crunch. While it may not be as good as fresh, you’ll still savor the comforting flavors!
Now that your taste buds are tingling, it’s time to gather your family and friends and indulge in some Blackstone Loaded Nachos! Trust me, once you make these, they will become a staple in your home. Enjoy every delicious bite!
Blackstone Loaded Nachos
Ingredients
Method
- Preheat your Blackstone griddle to medium-high heat. Allow it to warm up for a few minutes.
- In a large bowl, season the ground beef or chicken with your favorite spices including chili powder, cumin, garlic powder, and salt. Once the griddle is hot, add the meat and cook until browned and fully cooked, about 6-8 minutes.
- Lay out the tortilla chips evenly across the surface of the griddle.
- Sprinkle the cooked meat over the chips, then layer on the black beans and shredded cheese. Add more cheese if desired.
- Cover the nachos with a large lid (or a baking sheet) to trap the heat. Let them cook for about 5 minutes or until the cheese is fully melted and bubbly.
- Carefully remove the nachos from the griddle using a spatula. Top with sliced jalapeños, diced avocado, sour cream, salsa, and green onions. Serve immediately while they’re warm and gooey.
Leave a Reply