
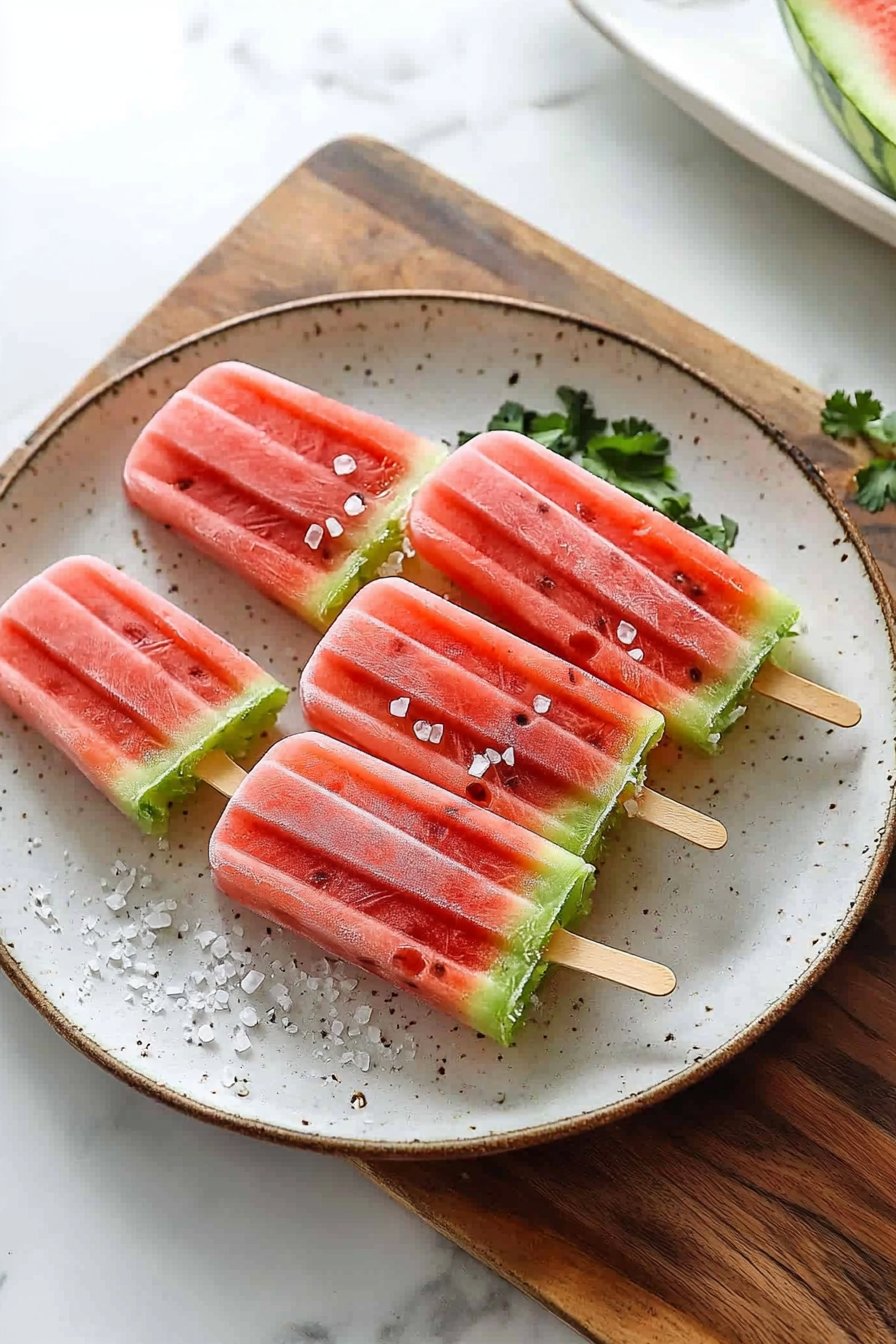
Watermelon Popsicles: A Refreshing Summer Treat
There’s nothing quite like the sweet, juicy crunch of a watermelon on a hot summer day, is there? And when that delightful fruit transforms into vibrant, ice-cold popsicles, it’s an experience that will tickle your taste buds and cool you down in an instant! Watermelon popsicles are not only refreshing but also incredibly easy to make. They’re a delightful treat the whole family can enjoy, no matter the occasion—whether it’s a family gathering on a warm day or simply a cozy evening on the porch.
Did you know that watermelon is made up of about 92% water? That means these popsicles are not just delicious but also super hydrating! If you’ve loved classic recipes like homemade fruit sorbet, then you’ll adore these watermelon popsicles. Both are bright, delicious, and remind you of sunny days filled with laughter. Let’s dive into how to create this fun and tasty treat!
What is Watermelon Popsicles?
So, what exactly are watermelon popsicles? Imagine taking the most succulent slice of the best watermelon you’ve ever had, freezing it, and then enjoying it on a stick! That’s essentially what watermelon popsicles are. They’re your childhood summer memories wrapped in a frozen treat. But why do we call them popsicles? Is it because they “pop” with flavor? Or perhaps because they’ll “pop” right out of the mold? Either way, one thing is certain: the way to a man’s heart is through his stomach, and these popsicles are sure to capture everyone’s heart—including the little ones!
So, gather your family and let’s get creative in the kitchen with these refreshing watermelon pops!
Why You’ll Love This Watermelon Popsicles
Watermelon popsicles are not just another frozen dessert; they are the star of your hot summers. First off, these popsicles highlight the sweet, juicy goodness that watermelon is known for. The burst of flavor with every bite is a masterpiece of nature! Secondly, making popsicles at home is perfect for your wallet. You’ll save money compared to store-bought treats while still giving your family a refreshing option. Lastly, you can top these off with your favorite ingredients—like tiny mint leaves, shredded coconut, or a sprinkle of lime juice—to elevate the flavor even further. Compared to other frozen desserts, like store-bought ice cream, making watermelon popsicles allows you to control ingredients and avoid unnecessary additives. And trust me, once you try it, there’s no going back!
How to Make Watermelon Popsicles
Quick Overview
Making watermelon popsicles is like a cool summer breeze—super easy and absolutely satisfying! With juicy watermelon as your main ingredient, the texture is icy and refreshing, while the flavor is sweet and delightful. The total preparation time is only about 10 minutes, plus a few hours of freezing time. That’s it!
Ingredients for Watermelon Popsicles
- 4 cups watermelon, cubed and seeded
- 2 tablespoons honey (adjust based on sweetness preference)
- 1 tablespoon lime juice (freshly squeezed for best flavor)
- Optional: Fresh mint leaves for garnish
Step-by-Step Instructions
- Prepare the Watermelon: Begin by cutting your watermelon into small, manageable cubes. Make sure to remove any seeds for a smooth texture!
- Blend the Ingredients: In a blender, combine the watermelon cubes, honey, and lime juice. Blend until you have a smooth mixture. If you like a bit of texture, feel free to leave some small pieces of watermelon!
- Taste the Mixture: Don’t forget to taste your blended watermelon popsicle mix! If it’s not sweet enough for your liking, add a bit more honey and blend again.
- Pour into Molds: Carefully pour the mixture into popsicle molds, leaving a small bit of space at the top to allow for expansion when freezing.
- Insert Sticks: If your molds don’t come with sticks, insert wooden popsicle sticks into each mold.
- Freeze: Place the molds into the freezer and let them freeze for at least 4-6 hours or until completely solid.
- Unmold and Serve: To remove the popsicles, run warm water over the outside of the molds for a few seconds, then gently pull out the popsicles. Serve immediately and enjoy the refreshing flavors!
Top Tips for Perfecting Watermelon Popsicles
- Substitutions: If you want to make these popsicles vegan, you can substitute honey for maple syrup or agave nectar.
- Timing: For the best results, let the popsicles freeze for at least 6 hours. This will ensure they are fully solid and hold their shape when removed from the molds.
- Avoid Common Mistakes: Make sure to blend the mixture thoroughly to avoid large chunks of watermelon that could break the popsicle sticks. Trust me; it’s all about a smooth blend!
Storing and Reheating Tips
To keep your watermelon popsicles fresh, store them in your freezer in airtight containers or wrapped in plastic wrap if they are already unmolded; they can last up to two weeks. If you’ve prepared a large batch, you can place them in a resealable plastic bag for an easy grab-and-go treat. Be sure to label them with the date, so you know when they were made!
When it comes to “reheating”, there’s actually no need to reheat watermelon popsicles—enjoy them straight from the freezer!
Now that you know how to make delicious watermelon popsicles, get your family involved and craft this wonderful treat. Trust me, once you bite into that icy texture, you’ll know you’ve made the perfect summer delight!
FAQ
Q: Can I add other fruits to the watermelon popsicles?
A: Absolutely! Feel free to mix in some strawberries or mango for added flavor.
Q: Are watermelon popsicles healthy?
A: Yes! They are a great way to enjoy a refreshing treat without added sugars or artificial ingredients.
Q: Can I use seedless watermelon?
A: Definitely. Seedless watermelon is perfect for these popsicles and will ensure a smoother texture.
Now it’s time for you to get creative and whip up a batch of these delightful watermelon popsicles—your summer barbecue and family gatherings will never be the same! Happy blending!

Watermelon Popsicles
Ingredients
Method
- Begin by cutting your watermelon into small, manageable cubes. Make sure to remove any seeds for a smooth texture!
- In a blender, combine the watermelon cubes, honey, and lime juice. Blend until you have a smooth mixture. If you like a bit of texture, feel free to leave some small pieces of watermelon!
- Don't forget to taste your blended watermelon popsicle mix! If it’s not sweet enough for your liking, add a bit more honey and blend again.
- Carefully pour the mixture into popsicle molds, leaving a small bit of space at the top to allow for expansion when freezing.
- If your molds don’t come with sticks, insert wooden popsicle sticks into each mold.
- Place the molds into the freezer and let them freeze for at least 4-6 hours or until completely solid.
- To remove the popsicles, run warm water over the outside of the molds for a few seconds, then gently pull out the popsicles. Serve immediately and enjoy the refreshing flavors!
Leave a Reply