
There’s something truly enchanting about a scoop of homemade ice cream on a warm evening. Imagine the velvety texture of rich cream swirling with the vibrant sweetness of blackberries – it’s pure bliss in a bowl! If you think making ice cream requires a fancy machine, think again. This No Churn Easy Blackberry Ice Cream recipe is your ticket to culinary joy without the fuss. Picture this: You’re sitting on your porch, the sun slowly setting, and you’ve just made a creamy dessert that speaks to your heart. Oh, and did you know that blackberries are packed with antioxidants? So not only do you get a delicious treat, but a nutritious one, too!
In comparison to other frozen delights, like the classic vanilla or chocolate ice cream found in many blog recipes, this blackberry version stands out for its unique flavor profile and vibrant color. It’s simple, satisfying, and perfect for family gatherings. Trust me; your loved ones will be raving about this delightful treat!
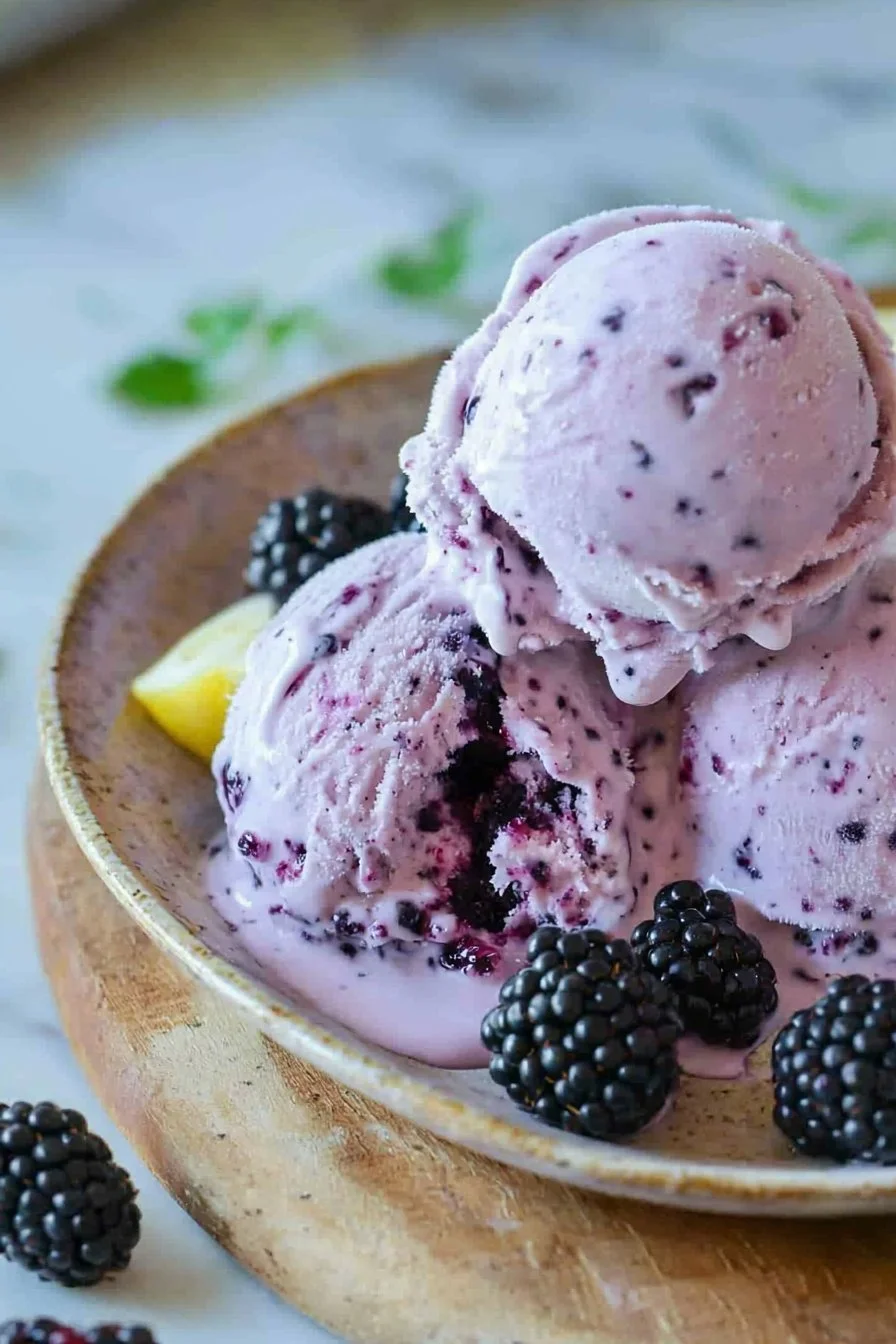
What is No Churn Easy Blackberry Ice Cream?
So what exactly is this No Churn Easy Blackberry Ice Cream? Well, let’s break it down! It’s ice cream without the need for an ice cream maker, which makes it super accessible. I mean, who doesn’t love easy? The name might sound fancy, but really, it just reflects the luxurious taste you can achieve without any of the complicated steps. Did you ever think that every scoop you take could create a tiny party in your mouth? That’s right! The way to a man’s heart is through his stomach, and this creamy dessert is your golden ticket! So if you’re ready for some deliciousness, grab your berries and let’s get going!
Why You’ll Love This No Churn Easy Blackberry Ice Cream
This delightful No Churn Easy Blackberry Ice Cream is not just another dessert; it’s an experience! The creamy base is bursting with the natural sweetness of blackberries, leaving a playful pop of flavor with each spoonful. Plus, think about the cost-saving benefits of cooking at home – no more spending a fortune at the ice cream shop when you can whip up this amazing treat yourself!
And let’s talk toppings! Picture adding crushed nuts, a drizzle of honey, or even a sprinkle of shredded coconut over your ice cream. Each bite becomes a canvas for creativity and flavor exploration. It’s like comparing a beautifully crafted piece of art to a regular vanilla cone. So why not gather your loved ones and make this wonderful recipe today?
How to Make No Churn Easy Blackberry Ice Cream
Quick Overview
This No Churn Easy Blackberry Ice Cream is not just simple to make; it’s also incredibly satisfying! You’ll love the contrast of the creamy base with the bold flavor of the blackberries, creating a refreshing dessert that’s perfect for any occasion. Set aside just about 10 minutes for prep, and let your freezer do the rest!
Ingredients
- 2 cups fresh blackberries
- 1 cup heavy cream
- 1 cup sweetened condensed milk
- 1 teaspoon vanilla extract
- 1 tablespoon lemon juice
Make sure your blackberries are fresh and ripe, and feel free to use frozen berries if needed, just be sure to thaw them before mixing!
Step-by-Step Instructions
- Prep the Blackberries: Rinse the blackberries under cold water and pat them dry. In a large mixing bowl, mash half of the blackberries with a fork or a potato masher. You can leave the other half whole for some texture!
- Whisk the Cream: In a separate bowl, use an electric mixer to beat the heavy cream until soft peaks form. This should take about 3-5 minutes. You want it fluffy, like a cloud, so be careful not to over-whip it!
- Combine Ingredients: In the bowl with the whipped cream, gently fold in the sweetened condensed milk, vanilla extract, and lemon juice. Be gentle with this step to keep the mixture light and airy.
- Add the Blackberries: Carefully fold in the mashed blackberries and the whole blackberries. Make sure to mix just enough so that the blackberries are evenly distributed throughout the cream.
- Freeze: Transfer the mixture into a freezer-safe container. Smooth out the top and press a piece of plastic wrap directly onto the surface (this prevents ice crystals from forming). Freeze for at least 6 hours or until solid.
- Serve: When you’re ready to indulge, scoop into bowls and add your favorite toppings. Enjoy your homemade joy!
Top Tips for Perfecting No Churn Easy Blackberry Ice Cream
- Use Fresh Ingredients: If possible, fresh blackberries will yield the best flavor, but if not, frozen work in a pinch. Just remember to thaw them before mixing to avoid excess water in your ice cream.
- Avoid Over-Whipping: Be careful when whipping your cream. Over-whipping can lead to a butter-like consistency, which we want to avoid for a smooth texture.
- Experiment with Flavors: Feel free to switch up the vanilla extract for almond or add a splash of orange juice for a different twist. Make it your own!
Storing and Reheating Tips
This No Churn Easy Blackberry Ice Cream makes for great leftovers – if there are any! Store it in an airtight container in the freezer, and it will be good for up to 2 weeks. To maintain its creamy texture, allow it to sit at room temperature for about 10 minutes before scooping. Avoid refreezing melted ice cream, as it can alter the creaminess and flavor.
By following these tips and the simple recipe, you’ll create a delightful treat that’s sure to be a favorite for family gatherings or cozy nights at home. Now, go ahead and treat yourself to a taste of summer anytime you please!

No Churn Easy Blackberry Ice Cream
Ingredients
Method
- Rinse the blackberries under cold water and pat them dry. In a large mixing bowl, mash half of the blackberries with a fork or potato masher. Leave the other half whole for texture.
- In a separate bowl, use an electric mixer to beat the heavy cream until soft peaks form, about 3-5 minutes.
- Gently fold in the sweetened condensed milk, vanilla extract, and lemon juice into the whipped cream to keep the mixture light and airy.
- Carefully fold in the mashed blackberries and whole blackberries until evenly distributed.
- Transfer the mixture into a freezer-safe container, smooth the top, and press plastic wrap onto the surface to prevent ice crystals. Freeze for at least 6 hours or until solid.
- When ready to indulge, scoop into bowls and add your favorite toppings like crushed nuts, honey, or shredded coconut.
Leave a Reply