
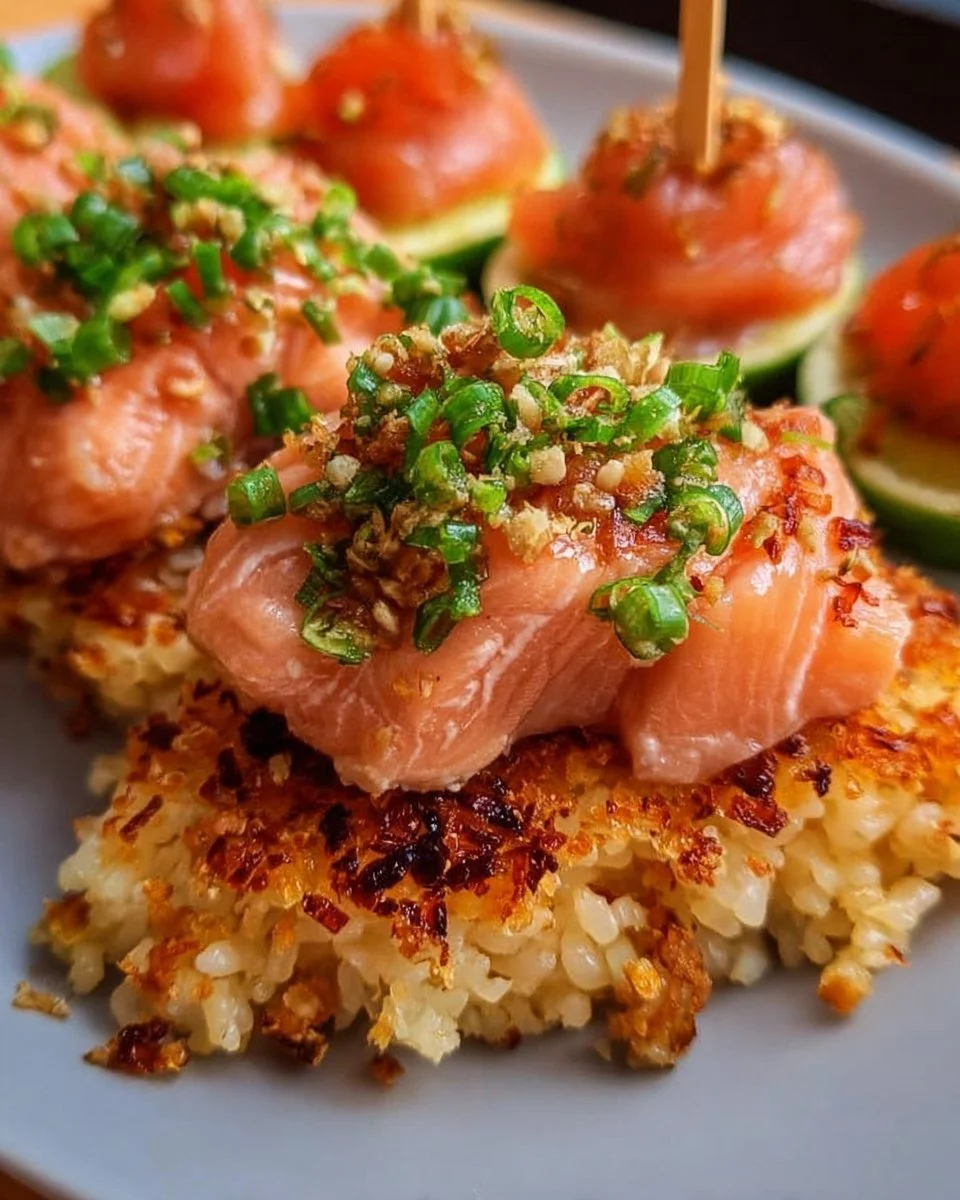
When it comes to combining bold flavors with satisfying textures, Salmon Crispy Rice tops the chart. Imagine sinking your teeth into a perfectly crispy rice base layered with tender, flavorful salmon—it’s an experience that’s both irresistible and comforting. This dish is a delightful twist that traces its roots to sushi-inspired creations, yet it stands on its own as a sensational option for family gatherings or casual winter evenings. Did you know that savory crispy rice is often favored in sushi restaurants, where it showcases the chef’s mastery of textures?
Not only is this Salmon Crispy Rice easy to prepare, but it’s also a family-friendly recipe that invites everyone into the kitchen. In fact, many say the way to a man’s heart is through his stomach, and with a dish this scrumptious, you might just win over hearts and taste buds alike! And if you’re a fan of my popular Tuna Poke Bowl recipe, you’ll likely find this dish just as thrilling—yet distinctively crispy!
What is Salmon Crispy Rice?
So, what exactly is this Salmon Crispy Rice everyone’s raving about? Well, it’s a culinary marvel that expertly combines crispy rice with delectably cooked salmon! But seriously, who names a dish like this? Maybe because of its crunchy base that offers a satisfying crunch, or perhaps it just sounds cool when you say it out loud? Either way, it’s a dish that transforms a simple salmon fillet into a crispy masterpiece worthy of a gourmet dinner—without the gourmet time commitment. So why not roll up your sleeves and give it a try? After all, what’s better than impressing your family with a delectable homemade meal that’s super simple and downright delicious?
Why You’ll Love This Salmon Crispy Rice
Get ready to fall in love with Salmon Crispy Rice! This dish is not just eye-catching; it’s a main attraction at any meal. The crispy texture of the base combined with the tender, juicy salmon creates a mouthwatering balance that is hard to resist. Plus, making this dish at home means you can save money without compromising on flavor—delicious food doesn’t have to come from a restaurant!
You can personalize it to your liking; perhaps you’d like to top it off with avocado, drizzles of soy sauce, or even sprinkle sesame seeds for that extra oomph! Compared to its cousin, Sushi Rolls, which can be a bit complex to master, Salmon Crispy Rice is easier to create and assemble. Ready to dive into this deliciousness? Let’s get to cooking!
How to Make Salmon Crispy Rice
Quick Overview
This Salmon Crispy Rice is a breeze to whip up, boasting an impressive preparation time of about 30 minutes. The beauty of this dish lies in its contrasting textures—the crispy rice base pairs perfectly with soft, flaky salmon. You won’t just enjoy your meal; you’ll relish every crunch and every burst of flavor!
Ingredients
To bring your Salmon Crispy Rice to life, you’ll need the following ingredients:
- 1 cup sushi rice
- 1.5 cups water
- 1 tablespoon rice vinegar
- 1 salmon fillet (about 6 oz)
- 2 tablespoons soy sauce
- 2 nori sheets
- 1 avocado, sliced
- 1 tablespoon sesame seeds
- 2 green onions, chopped for garnish
Step-by-Step Instructions
- Cook the Rice: Rinse the sushi rice under cold water until the water runs clear. In a pot, combine the rinsed rice and 1.5 cups of water. Bring to a boil, reduce the heat to low, cover, and simmer for about 15 minutes or until all the water is absorbed. Remove from heat and let it sit for an additional 10 minutes.
- Prepare the Salmon: While the rice is cooking, season the salmon fillet with soy sauce. Heat a non-stick skillet over medium heat and place the salmon skin-side down. Cook for about 3-4 minutes on each side until fully cooked. Remove it from the skillet and let it rest before flaking it into bite-sized pieces.
- Season the Rice: After the rice has rested, add the rice vinegar and mix gently, fluffing the rice for even seasoning.
- Assemble the Rice Cakes: In the same skillet, add a little oil and press the rice into the pan to form a layer about ½ inch thick, making a large rice cake. Cook until the bottom is crispy—about 4-5 minutes. Carefully flip the rice cake and crisp the other side.
- Top with Salmon: Once the rice cake is golden brown, top it with the flaked salmon. You can add your sliced avocado now or later.
- Garnish and Serve: Sprinkle with sesame seeds and green onions. Slice the nori sheets into strips and serve on the side or as decoration.
Top Tips for Perfecting Salmon Crispy Rice
- Substitutions: If you’re looking for Halal-friendly protein options, cooked chicken or even tempeh can be great alternatives to salmon without losing flavor.
- Timing is Everything: Ensure your rice is adequately cooled before pressing it into the pan; too warm, and it won’t crisp up nicely.
- Avoiding Mistakes: Don’t rush the cooking steps! Allow enough time for the rice to fully crisp—this is what makes the dish come to life.
Storing and Reheating Tips
If you have leftovers of your Salmon Crispy Rice, be sure to refrigerate them in an airtight container for up to 3 days. When you’re ready to enjoy the leftovers, reheat them in the oven at 350°F for about 10-15 minutes to regain that crispy texture. Avoid microwaving if you want to keep it crunchy!
In conclusion, Salmon Crispy Rice is not only a delicious meal option but also a great way to gather around the table for laughter and joy. Enjoy this recipe with your loved ones, and watch as it quickly becomes a household favorite! Happy cooking!

Salmon Crispy Rice
Ingredients
Method
- Rinse the sushi rice under cold water until the water runs clear. In a pot, combine the rinsed rice and 1.5 cups of water. Bring to a boil, reduce the heat to low, cover, and simmer for about 15 minutes or until all the water is absorbed. Remove from heat and let it sit for an additional 10 minutes.
- While the rice is cooking, season the salmon fillet with soy sauce. Heat a non-stick skillet over medium heat and place the salmon skin-side down. Cook for about 3-4 minutes on each side until fully cooked. Remove it from the skillet and let it rest before flaking it into bite-sized pieces.
- After the rice has rested, add the rice vinegar and mix gently, fluffing the rice for even seasoning.
- In the same skillet, add a little oil and press the rice into the pan to form a layer about ½ inch thick, making a large rice cake. Cook until the bottom is crispy—about 4-5 minutes. Carefully flip the rice cake and crisp the other side.
- Once the rice cake is golden brown, top it with the flaked salmon. You can add your sliced avocado now or later.
- Sprinkle with sesame seeds and green onions. Slice the nori sheets into strips and serve on the side or as decoration.
Leave a Reply