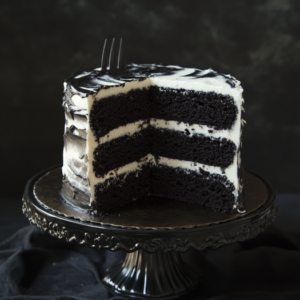
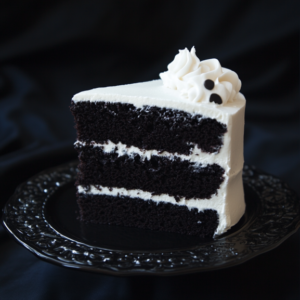
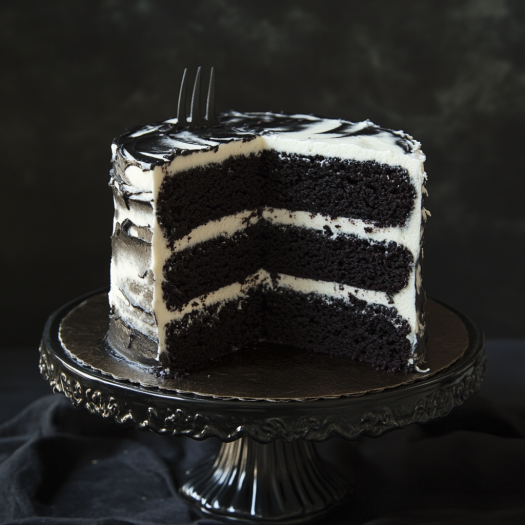
Spooky Black Velvet Cake is the ultimate Halloween dessert for anyone who loves a touch of drama with their sweet treats.

With its deep, rich black hue, velvety texture, and luxurious cream cheese frosting, this cake is both eerie and elegant. Perfect for Halloween parties or any gothic-themed gathering, this cake delivers flavor and a visual wow factor. The subtle hint of cocoa and moist crumb makes every bite irresistible. Whether you’re baking for family or friends, this spooky treat is guaranteed to bewitch everyone who tries it!
Kitchen Equipment Needed
- 2 8-inch round cake pans
- Mixing bowls
- Electric mixer or stand mixer
- Offset spatula
- Cooling rack
- Parchment paper
- Food-safe black gel food coloring
Ingredients
For the Cake:
- 2 1/2 cups all-purpose flour
- 1 1/2 cups granulated sugar
- 1 tsp baking powder
- 1/2 tsp baking soda
- 1/4 cup unsweetened cocoa powder
- 1 tsp salt
- 1 cup buttermilk
- 1/2 cup vegetable oil
- 2 large eggs
- 1 tsp vanilla extract
- 1 tsp white vinegar
- 1 tbsp black gel food coloring
For the Cream Cheese Frosting:
- 8 oz (226g) cream cheese, softened
- 1/2 cup unsalted butter, softened
- 4 cups powdered sugar
- 1 tsp vanilla extract
Directions
- Preheat the Oven: Preheat your oven to 350°F (175°C). Grease and line the cake pans with parchment paper.
- Mix the Dry Ingredients: In a large mixing bowl, sift together the flour, sugar, baking powder, baking soda, cocoa powder, and salt.
- Combine Wet Ingredients: In another bowl, whisk together the buttermilk, vegetable oil, eggs, vanilla extract, vinegar, and black food coloring until well combined.
- Make the Batter: Gradually mix the wet ingredients into the dry ingredients using an electric mixer on low speed. Beat until the batter is smooth.
- Bake the Cakes: Divide the batter evenly between the prepared pans. Bake for 25-30 minutes or until a toothpick inserted in the center comes out clean. Cool the cakes in the pans for 10 minutes, then transfer to a wire rack to cool completely.
- Prepare the Frosting: In a large bowl, beat the cream cheese and butter until creamy. Gradually add the powdered sugar and vanilla extract, mixing until smooth.
- Assemble the Cake: Place one cake layer on a serving plate. Spread a generous layer of cream cheese frosting over the top. Place the second layer on top and frost the top and sides of the cake. Smooth with an offset spatula.
- Decorate: Add spooky decorations like black sprinkles, candy spiders, or edible glitter for a hauntingly beautiful finish.
Prep Time
25 minutes
Cook Time
30 minutes
Total Time
55 minutes
Nutrition (Per Slice, Makes 12 Slices)
- Calories: 450
- Protein: 4g
- Carbohydrates: 60g
- Fat: 20g
- Fiber: 1g
Expert Tips
- Gel Food Coloring: Use gel food coloring for a rich black color without altering the texture of the batter.
- Moist Layers: Brush the cake layers with simple syrup before frosting for extra moisture.
- Decorating Tip: For an extra spooky touch, pipe spiderweb designs or use black frosting to create eerie patterns.
FAQs
Can I make this cake ahead of time?
Yes, you can bake the cake layers a day in advance. Wrap them tightly in plastic wrap and store at room temperature. Frost just before serving.
Can I use natural food coloring?
Natural food coloring may not achieve the deep black color, but you can try adding activated charcoal for a similar effect.
What if I don’t have buttermilk?
Make your own by combining 1 cup of milk with 1 tablespoon of vinegar or lemon juice. Let it sit for 5 minutes before using.
Can I make this cake gluten-free?
Yes, substitute the all-purpose flour with a gluten-free baking mix that includes xanthan gum.
Storing & Reheating
- To Store: Keep in an airtight container in the refrigerator for up to 5 days.
- To Serve: Bring to room temperature before serving for the best texture.

Substitutions & Variations
- Flavor Twist: Add 1 tsp almond extract or orange zest for a unique flavor.
- Mini Cakes: Use the batter to make cupcakes or mini cakes for individual servings.
- Dairy-Free: Use vegan cream cheese and plant-based milk for a dairy-free version.

Spooky Black Velvet Cake
Ingredients
Equipment
Method
- **Preheat the Oven:** Preheat your oven to 350°F (175°C). Grease and line the cake pans with parchment paper.
- **Mix the Dry Ingredients:** In a large mixing bowl, sift together the flour, sugar, baking powder, baking soda, cocoa powder, and salt.
- **Combine Wet Ingredients:** In another bowl, whisk together the buttermilk, vegetable oil, eggs, vanilla extract, vinegar, and black food coloring until well combined.
- **Make the Batter:** Gradually mix the wet ingredients into the dry ingredients using an electric mixer on low speed. Beat until the batter is smooth.
- **Bake the Cakes:** Divide the batter evenly between the prepared pans. Bake for 25-30 minutes or until a toothpick inserted in the center comes out clean. Cool the cakes in the pans for 10 minutes, then transfer to a wire rack to cool completely.
- **Prepare the Frosting:** In a large bowl, beat the cream cheese and butter until creamy. Gradually add the powdered sugar and vanilla extract, mixing until smooth.
- **Assemble the Cake:** Place one cake layer on a serving plate. Spread a generous layer of cream cheese frosting over the top. Place the second layer on top and frost the top and sides of the cake. Smooth with an offset spatula.
- **Decorate:** Add spooky decorations like black sprinkles, candy spiders, or edible glitter for a hauntingly beautiful finish.

Leave a Reply